Simple Sugar Cookies

Happy 1st birthday Bakerholics Anonymous! To celebrate this milestone I thought I would share a recipe that I have only recently discovered but used frequently. These sugar cookies are so versatile – you can cut them into any shape you like, flavour the dough with cocoa or cinnamon, and decorate however you desire.

Image

Ingredients (makes approx. 50 small heart cookies)
250g butter
1 cup sugar
2 teaspoons vanilla
1 egg
3 cups plain flour
1 ½ teaspoons baking powder

Icing
2 cups icing sugar
1 tablespoon or so of melted butter
1 teaspoon vanilla
Food colouring of your choice (I used Wilton Red food gel)

Method
Cream butter, sugar & vanilla using electric beaters until well combined.

Add the egg and beat until light and fluffy.

Using a wooden spoon or silicone spatula, mix sifted dry ingredients into wet ingredients until a dough forms. Divide into 2 roughly equal pieces, cover with glad wrap (or plastic wrap) and refrigerate for an hour.

Preheat oven to 180°C (160 fan-forced). Roll out dough onto a lightly floured surface using a rolling pin until you reach your desired thickness (I like mine around 6-7mm) and cut out shapes using cookie cutters.

Place onto a baking tray (they don’t have to be spread out much as they don’t really expand) and bake for 5-8 minutes, or until lightly golden.

While the cookies cool, make the icing by combining all ingredients into a bowl. Add more butter if the icing is too thick or more icing sugar if it is too thin.

Once cool, spread the icing on the cookies with a spatula and decorate as desired.

ImageAdapted from ‘Alice & Lois.com’ – ‘The Best Valentine Sugar Cookies’

Advertisement

Rainbow Layer Cake with Swiss Meringue Buttercream Frosting

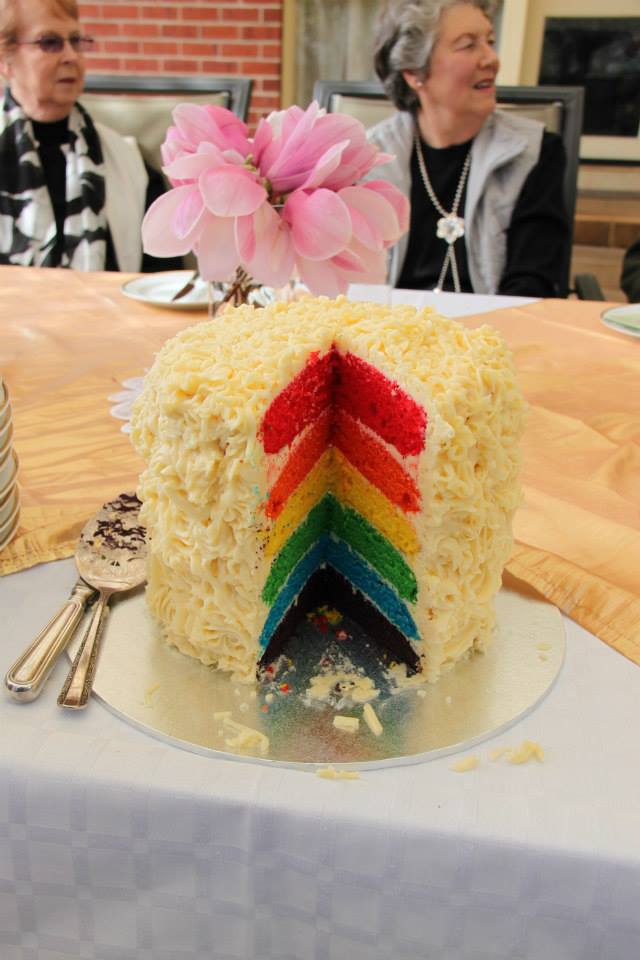
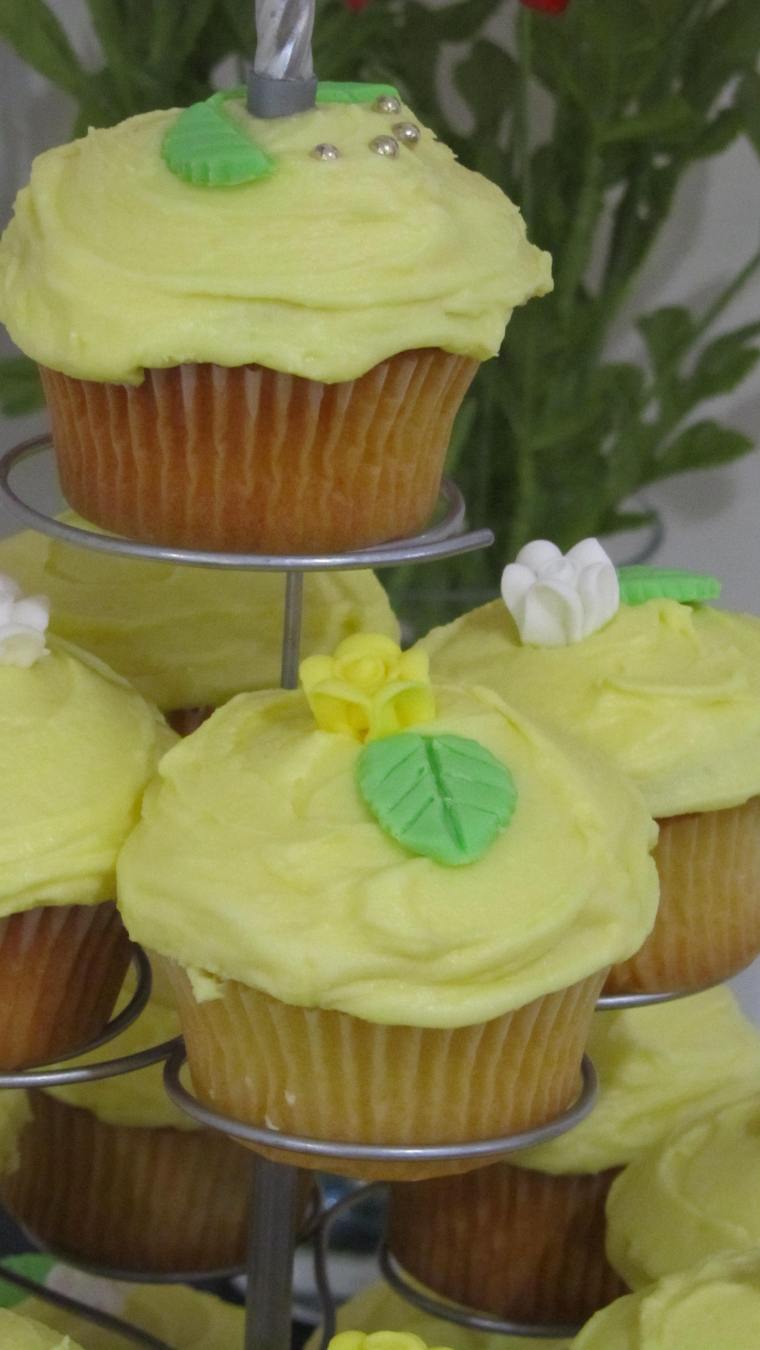
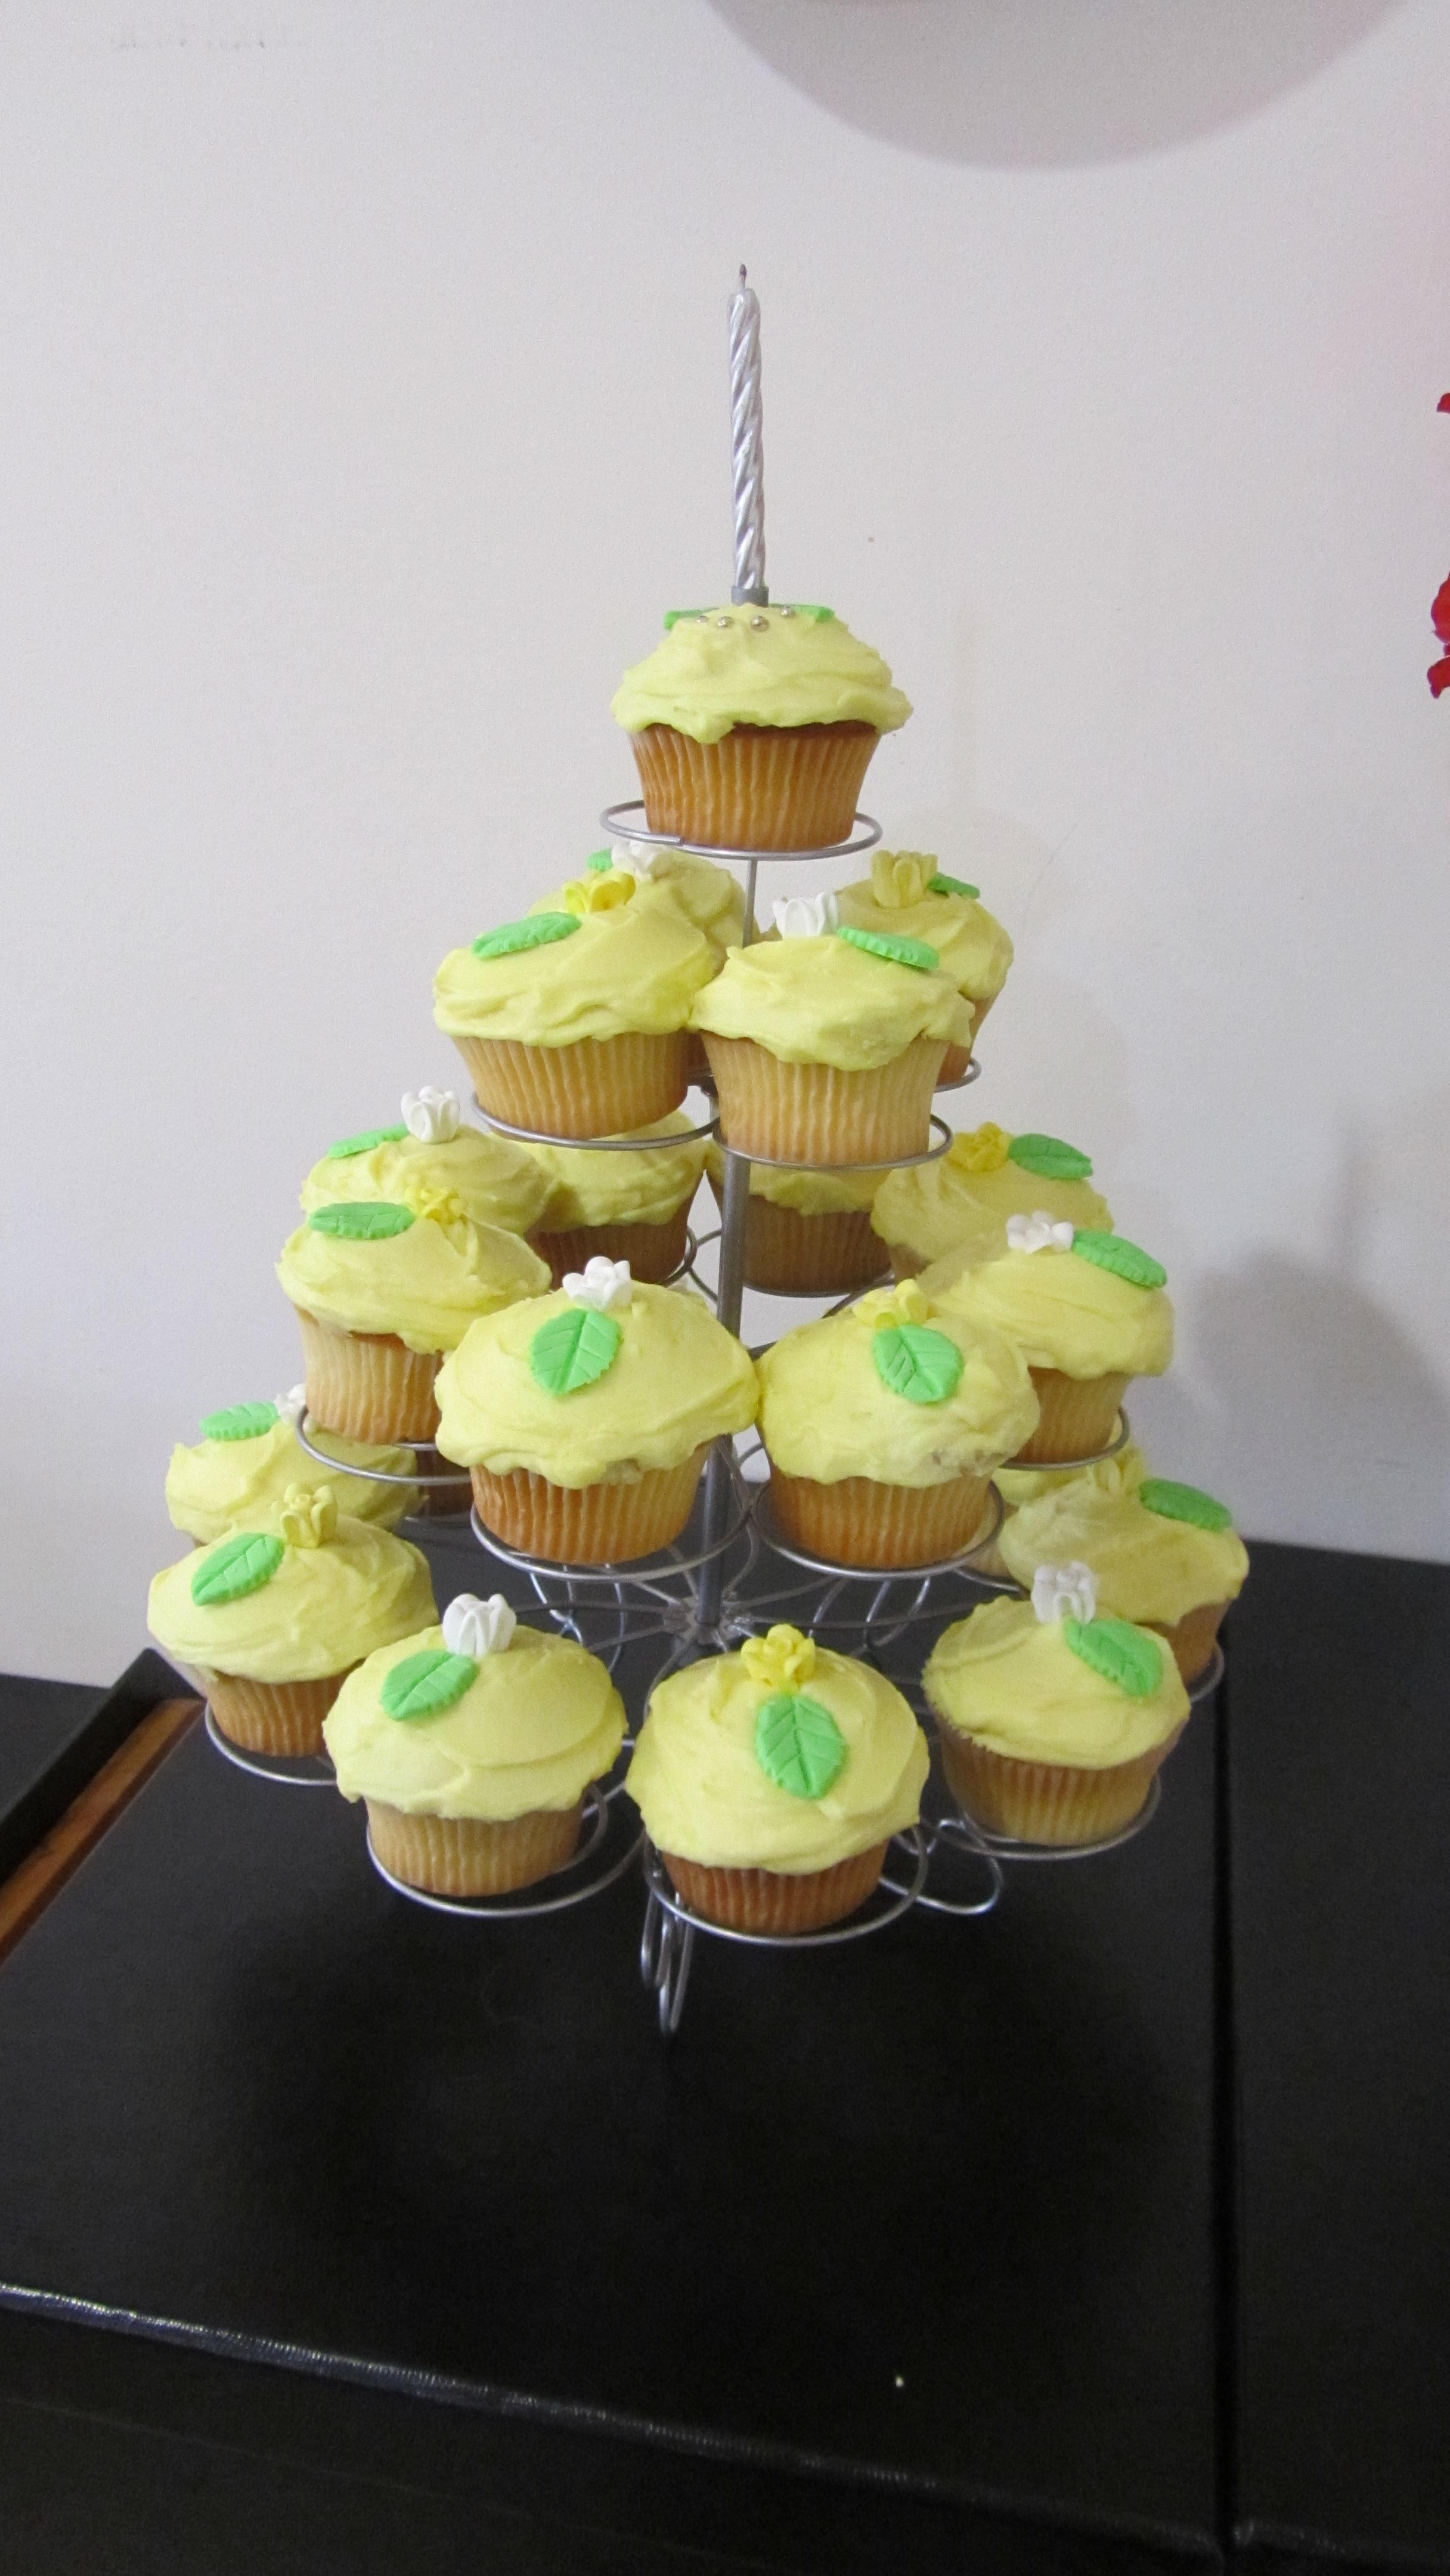
As I’m sure you all know by now, rainbow cakes are in. To surprise my family at my 19th Birthday party, I decided to make one and keep it top secret. While it was time-consuming and challenging and, I admit, I had a few diva moments where I wanted nothing more than to throw the darn cake out the window, it was definitely worth it for the squeals of surprise and delight and the warm fuzzy feeling it gave me. I had, ambitiously, pictured it covered with perfect snow white roses. But it wasn’t to be when my rather overpriced Wilton star tip exploded and I was left with a huge mess and a 2-minute noodle effect. Still I persevered, and when topped with some flowers it didn’t look too bad. I have attempted to make this recipe idiot-proof (if I can do it, you can!) and so have used a packet cake base and converted all measurements. Good luck, this cake isn’t for the faint of heart!

Image

Image

Ingredients (serves 12-16)
Rainbow Cakes
2 boxes Betty Crocker SuperMoist vanilla cake mix (cheating, I know!)
Milk (as directed on the cake box x2)
Eggs (as directed on the cake box x2)
Red, yellow, green & blue edicol food dye powders

Swiss Meringue Buttercream
12 egg whites (split over 2 batches – 6 per batch)
480g caster sugar (split over 2 batches – 240g per batch)
600g unsalted butter (split over 2 batches – 300g per batch)
4 teaspoons vanilla extract (split over 2 batches – 2 tspns per batch)

Image

Method
1. Heat oven as directed on the Betty Crocker cake box. Spray three 20cm round cake pans with cooking oil spray.

2. In a large bowl, beat cake mix and other ingredients as directed by the cake box (I have stupidly thrown mine out and can’t remember exactly but I’m pretty sure there were eggs, unsalted butter and milk) *remember to double the quantities as you’re using 2 boxes worth* until well combined.1170685_10151734990259463_1454942815_n

3. Divide batter evenly among 6 bowls.

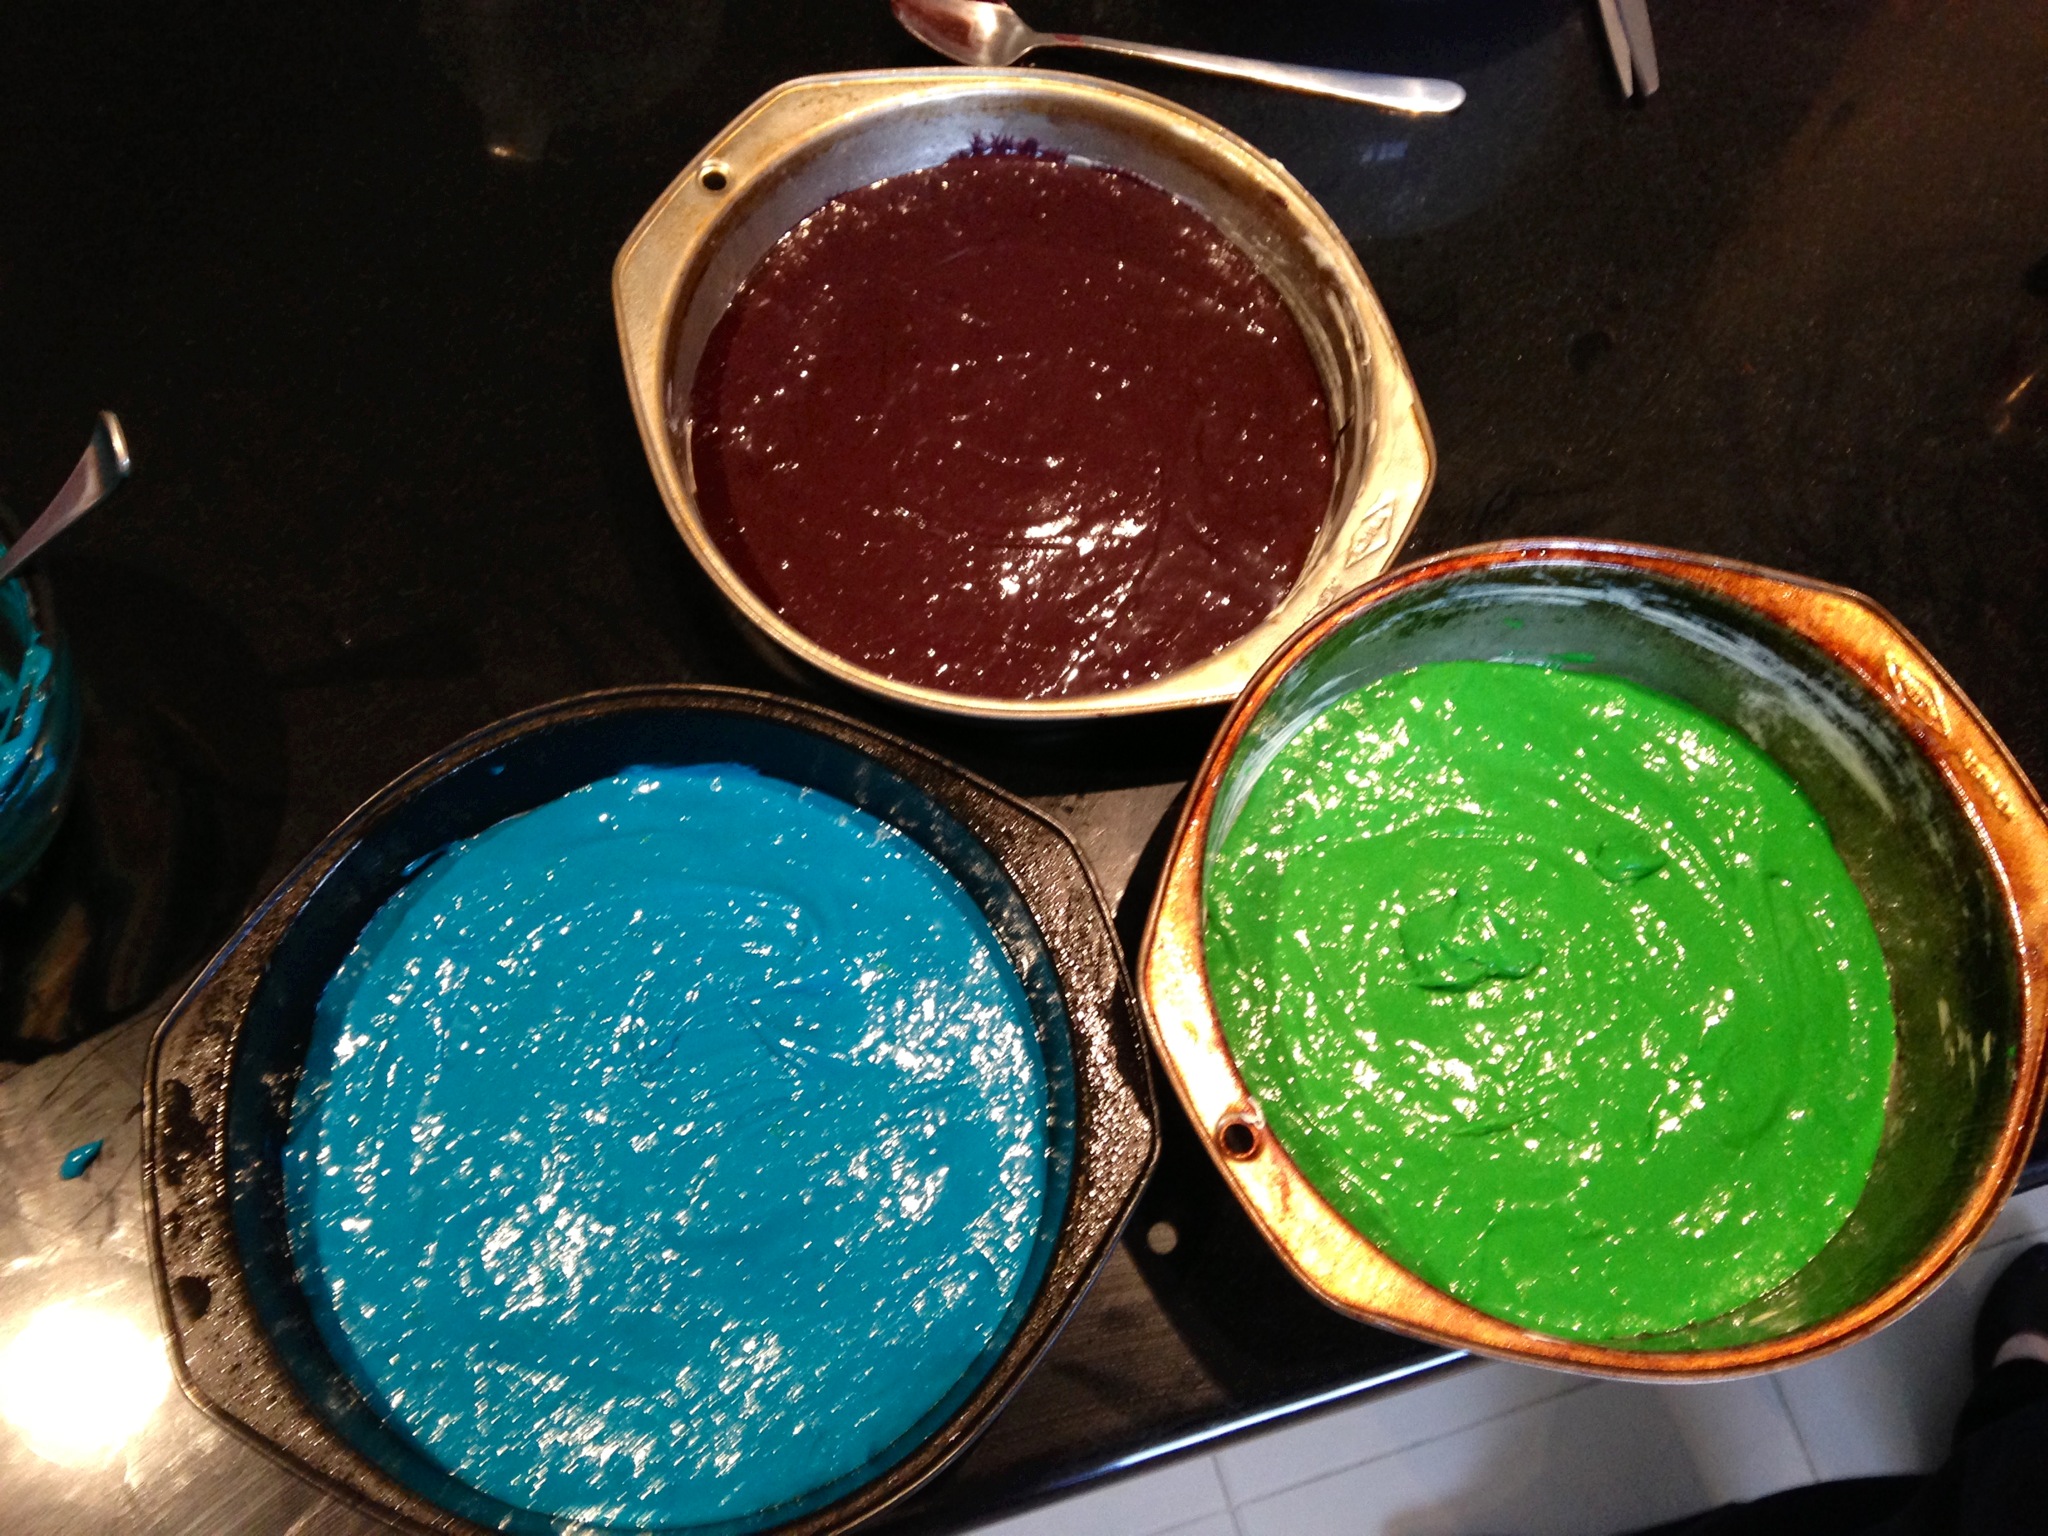
4. Using food dye and a small quantity of water, make a red, orange (using red & yellow), yellow, green, blue and purple (using red and blue) paste. Add one colour to each bowl and mix until all the dye is incorporated. It might take a few goes to ensure your colours are really vibrant, but it is definitely worth making sure they are for the finished product.

5. Refrigerate the green, blue and purple batters until ready to bake. Pour remaining 3 colours into the 3 prepared cake pans.

6. Bake for 18-20mins or until a skewer inserted into the middle of the cake comes out clean and the cake has started to pull away from the edges of the pan. Cool 10 minutes. Remove from pans and gently place onto cooling racks to cool completely.

7. Wash and dry cake pans. Lightly spray with cooking oil and then pour in the remaining 3 batters and repeat the baking process.

Image

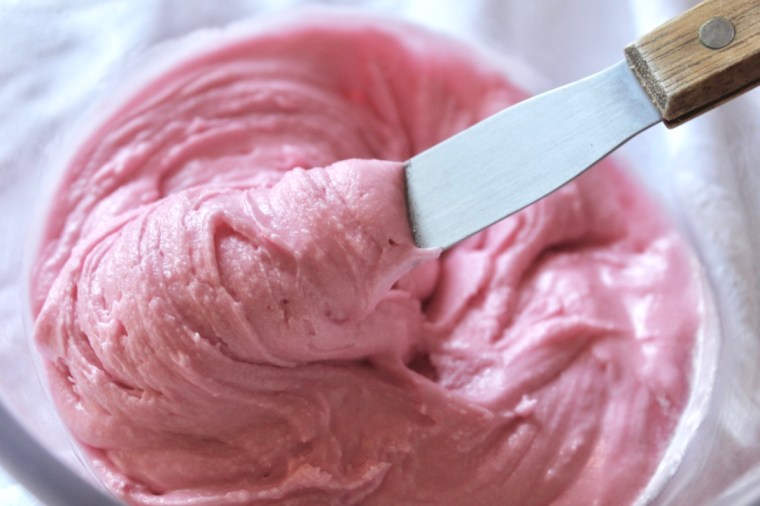
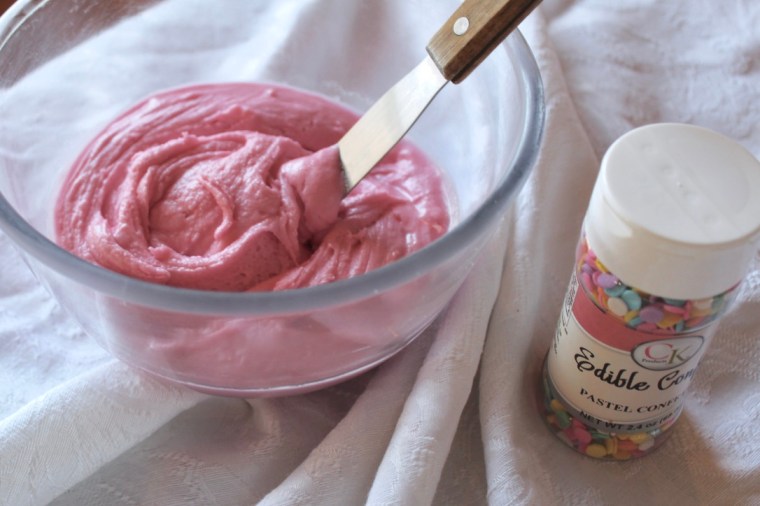
8. To make the first batch of buttercream, add egg whites and sugar to a large metal bowl and place over a pot of simmering water, whisking constantly but gently until the mixture reaches 70 degrees C or until the sugar has completely dissolved and the egg whites are hot.

9. With whisk attachment of mixer, begin to whip the eggwhites until the meringue is thick, glossy and the bottom of the bowl feels neutral to the touch (NOT WARM).

10. Switch to paddle attachment and, with mixer on low speed, add butter cubes, one at a time until incorporated and mix until it has reached a silky smooth texture (if it curdles, keep mixing and it will eventually come back together).

11. Add vanilla, continuing to beat on a low speed until well combined.

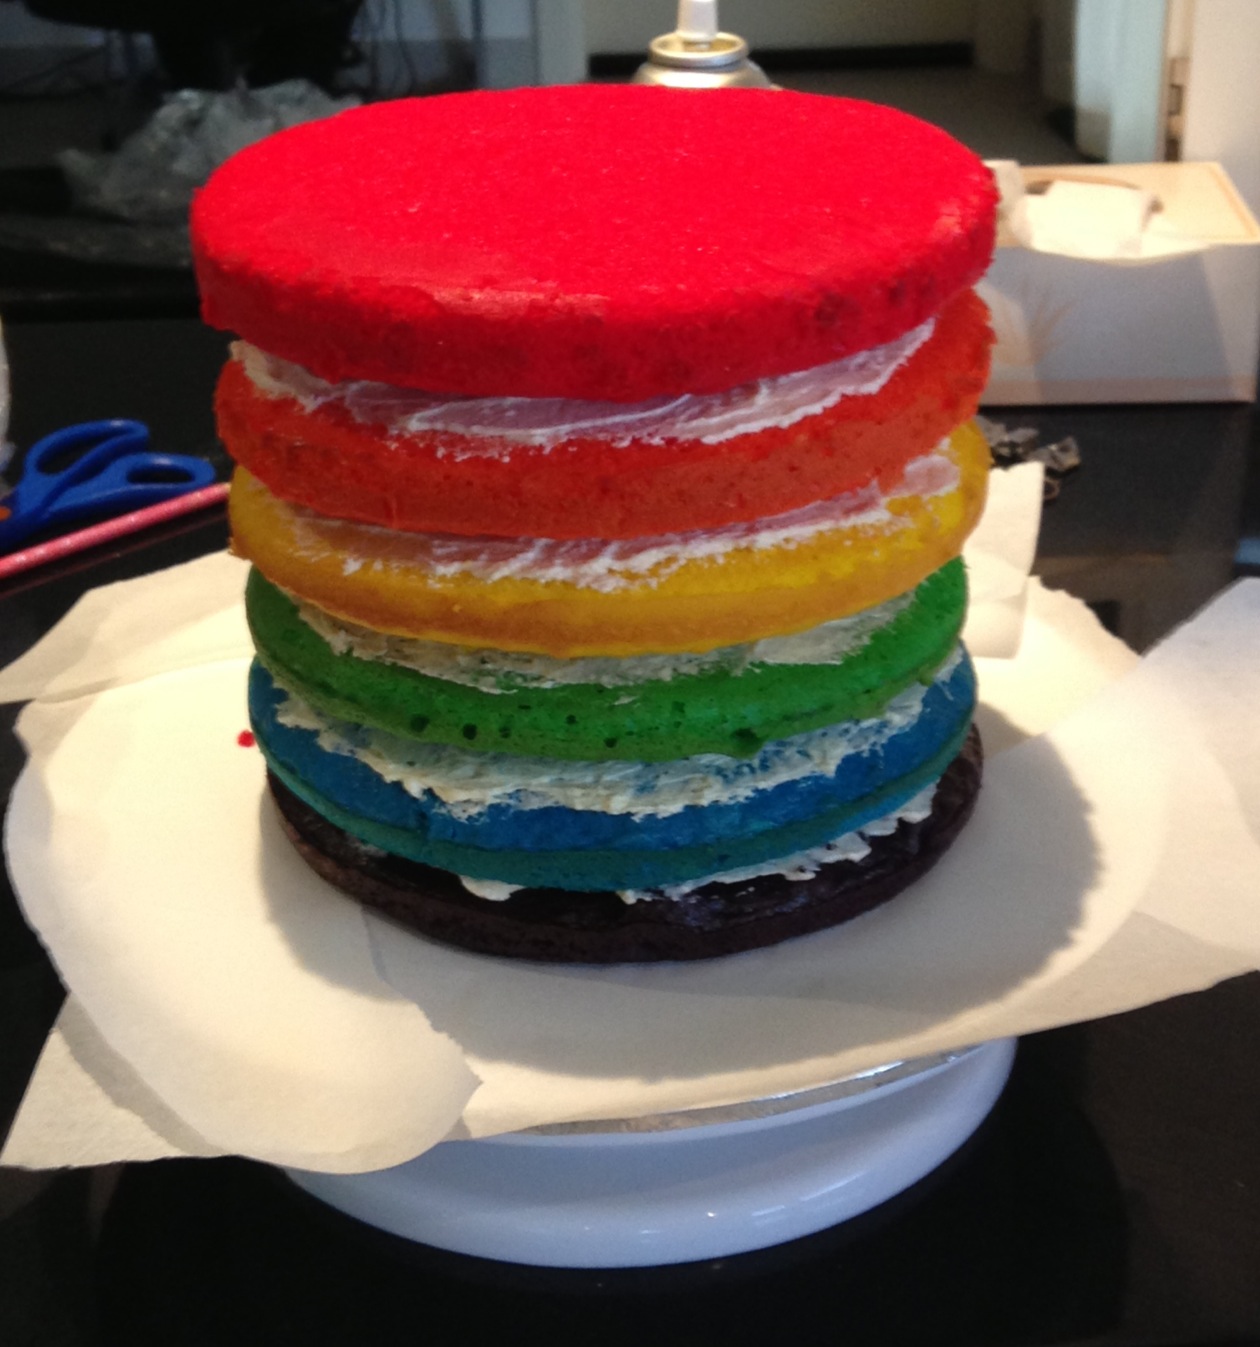
12. Trim rounded tops off cakes to level (if necessary). Place the purple layer on the plate you wish to serve the finished cake on. Spread with buttercream to within a quarter of an inch of the edge. Place blue cake on top and repeat. Then add green, yellow, orange and, finally, red.

Image

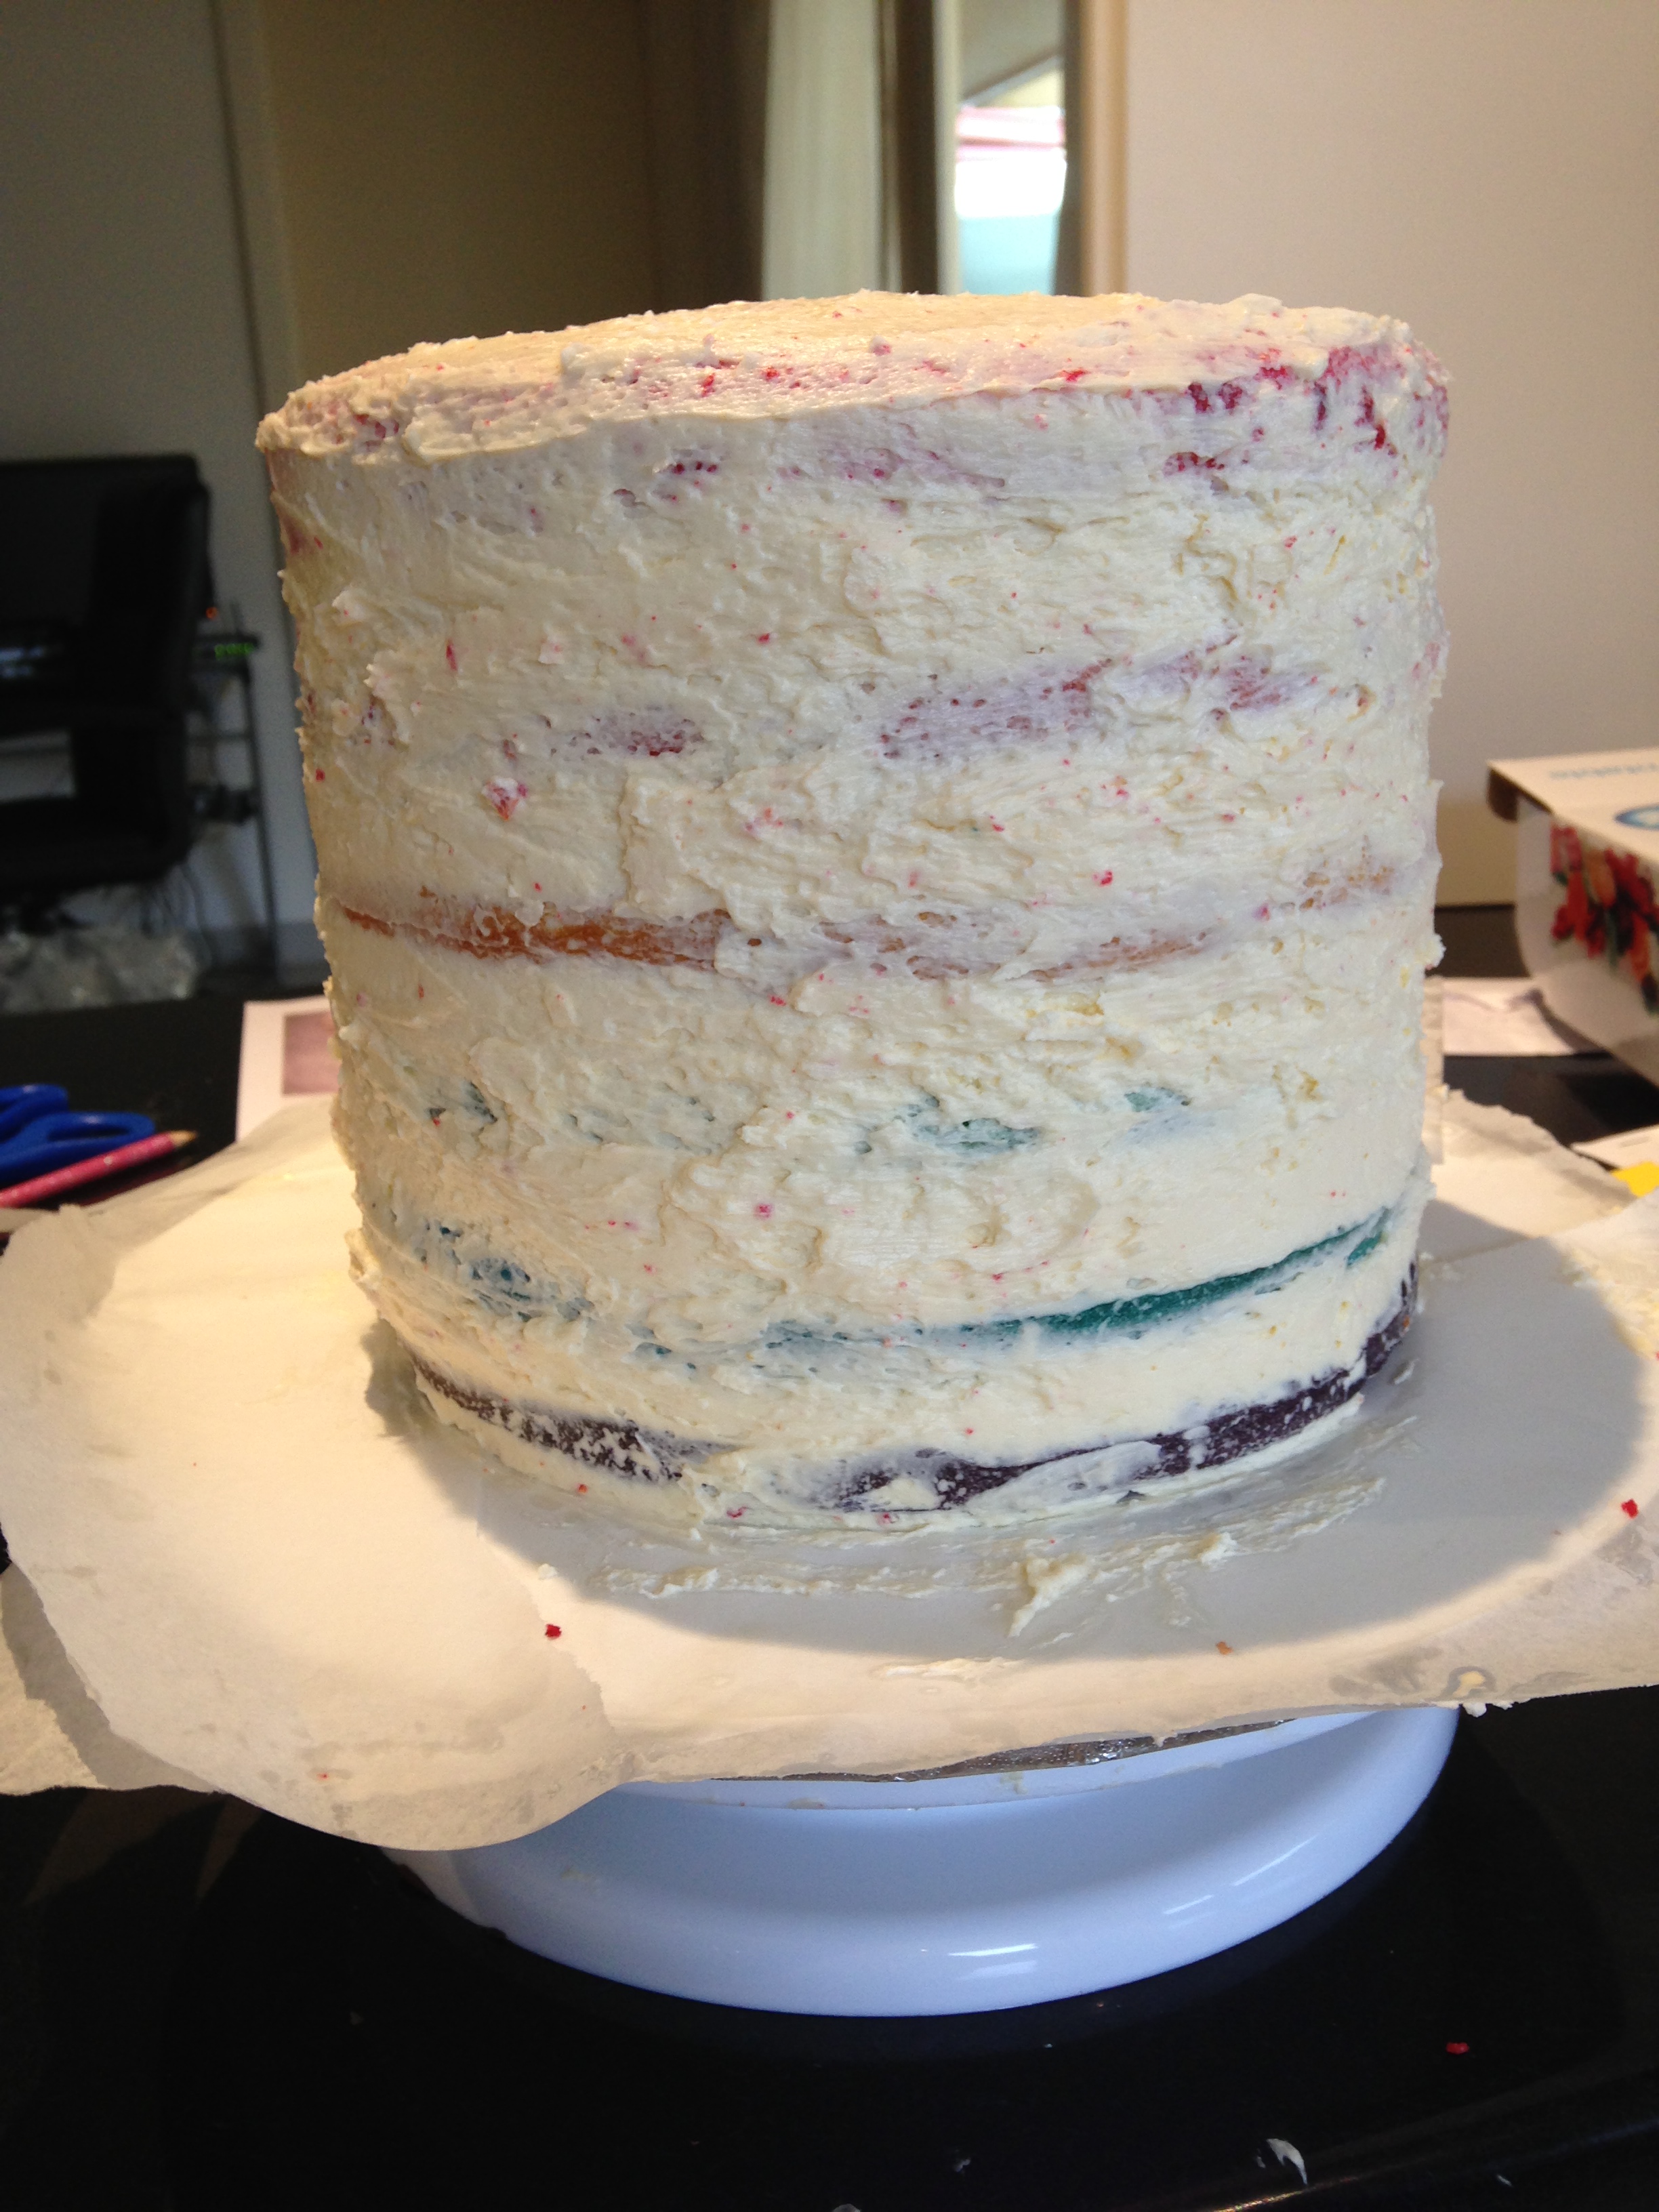
13. Spread a light coat of buttercream on the top and sides of the cake to seal in crumbs. Then place the entire cake into a freezer while you make the second batch of buttercream.

Image

14. Repeat steps 8-11.

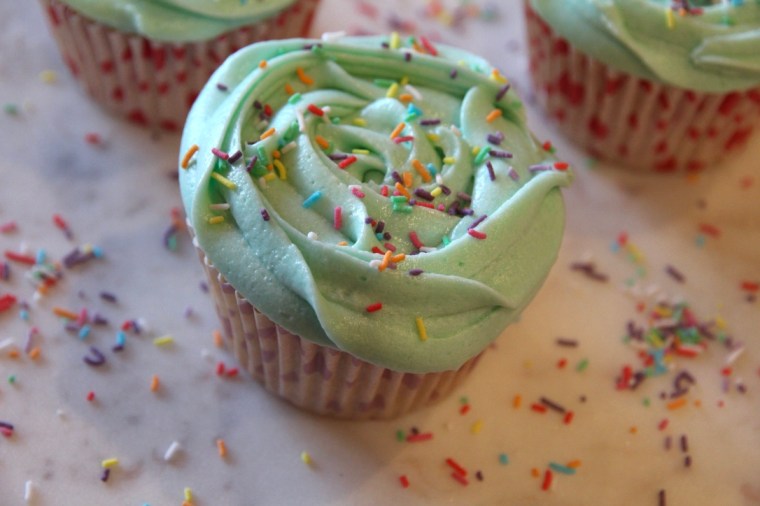
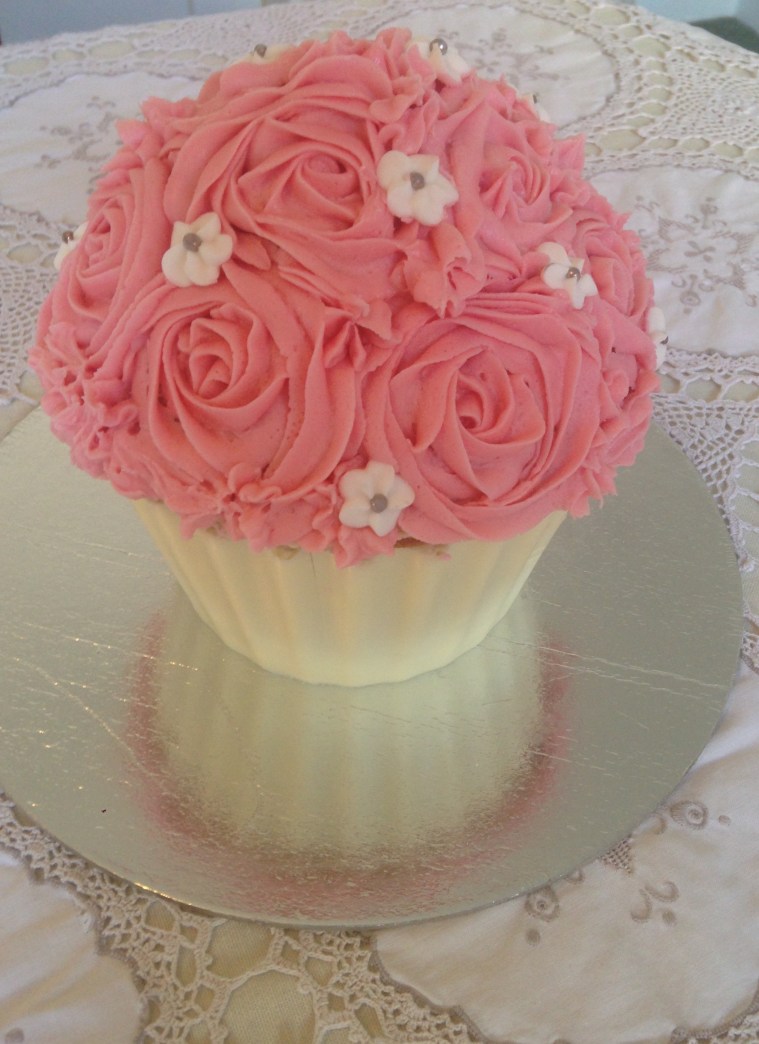
15. Remove cake from freezer, prepare a piping bag with a Wilton star tip (I used 2D) and fill piping bag about 2/3 full with frosting.

16. To make buttercream roses, starting at the bottom of your cake, hold your piping bag perpendicular to the surface you are icing, starting the centre of your desired rose and with a small amount of pressure, pipe in clockwise spiral around your centre, about 1 1/2 rotations or until your rose is of the desired size.

17. Repeat for the whole bottom row and then start a new layer, with the centre of your roses between the two roses below. Continue until the cake is fully frosted. Alternatively, just spread the buttercream thickly over the cake and decorate as desired. Enjoy!

Image

Image

Swiss Meringue Buttercream recipe adapted from Dessert Design Life.

Vanilla Buttercream Frosting

This is probably my most requested frosting/icing/addictive substance that goes on cakes. It works beautifully on cupcakes and large cakes and is a favourite with both children and adults!

thumb_img_2908_1024

Ingredients
Note: This makes HEAPS and I often halve or only use 3/4 of the recipe, however if you want really thick icing or will make a second batch soon after, the full recipe is the way to go (it lasts for about a week)
200g butter, softened
½ cup milk
1 tblspn vanilla extract
8 cups icing sugar
A few drops of food colouring/flavouring as desired

Yaxh0kg6T2+SJzFIs38sfA_thumb_d31

Method
Cream the butter for 1-2 mins in a large bowl using an electric mixer. Add the milk, vanilla and half of the icing sugar and beat for at least 3 mins (until the mixture is light and fluffy). Add the remaining icing sugar and beat for a further 3 mins or until of a spreadable consistency. Add extra milk if too dry or extra icing sugar if too wet. Add  colouring/flavouring and beat in until combined and the desired colour/flavour has been achieved.

Using a knife or piping bag, apply buttercream to cupcakes or cake and decorate as desired.

Cds2oTvKTQChj+iFM86QIw_thumb_d2e

Adapted from the Crabapple Cupcake Bakery Cookbook

image1-16July-Aug 2011 094

Velvety Vanilla Cupcakes

This is my absolute favourite vanilla cupcake recipe adapted from my absolute favourite cupcake cookbook (and that’s saying something because I have A LOT), ‘The Crabapple Bakery Cupcake Cookbook’ by Jennifer Graham. I’m not paid or employed by them (promise!) but I have tried so many cupcake recipes in my time, and have found this book to contain many of the best (as well as providing fabulous decorating ideas).

Anyway, now my spruiking is out of the way…  This vanilla cupcake recipe produces cupcakes that are full-flavoured, not overly sweet or cloying with a beautiful, delicate texture. You can ice them any way you like – I love vanilla buttercream, but you can just as easily ice them with chocolate icing, plain glacé icing or fondant icing as I have done directly below. Perfect for birthdays, picnics, afternoon teas or anytime you have a hankering!

E's birthday party and netball 044

Ingredients (makes 24+ cupcakes)
2 ¾ cups plain flour
2 tspns baking powder
200g unsalted butter, softened
1 ¾ cups caster sugar
4 eggs
1 tblspn vanilla extract
1 cup milk

July-Aug 2011 082

Method
Preheat the oven to 170°C (150°C-ish fan forced). Line two 12-hole muffin trays with patty pans.

Sift together the flour and baking powder. In a different bowl, cream the butter for 1-2 mins. Add the caster sugar about a third at a time, beating for 2mins after each addition. After the last of the sugar has been beaten, beat until the mixture is light and fluffy and the sugar dissolved. Add the eggs one at a time, beating for 1 min after each addition or until the mixture is light and fluffy. Add the vanilla and beat until just combined.

Add approximately a third of the flour mixture to the creamed mixture and beat on a low speed until combined. Add half of the milk and beat until combined. Repeat this process until all of the flour and milk is thoroughly combined but be careful not to overbeat (this will toughen the mixture).

Spoon mixture into the patty pans (filling each about 3/4 full) and bake for about 18-20mins or until the top springs back when touched. Remove the cupcakes from the trays immediately and cool on a wire rack for at least half an hour before icing.

Old Fashioned Vanilla Fudge

This fudge reminds me of my childhood as it tastes just like the vanilla fudge I used to buy at my local community’s autumn fair. Smooth, creamy and delicious – this fudge has the power to change lives (or at least bring on diabetes…) BEWARE: Highly addictive!

IMG_9887

Ingredients (makes approx. 40 pieces)
250ml milk
50ml double cream
350g caster sugar
100g butter
1 tsp vanilla

Method
Grease and line a cake tin of your choice (I used two thin loaf tins because I wanted fewer, thicker pieces to experience full creaminess). Put milk, cream, sugar and butter in a large heavy-based saucepan and heat slowly, stirring continuously.

Bring to the boil, keep stirring & cook until the mixture has reached soft ball stage (approx. 115°C – I’m lucky that my sugar thermometer has it marked). Remove from the heat and continue to stir it for a few minutes then add the vanilla. Keep stirring for a few more minutes and then pour into prepared tin/s, leaving it to cool at room temperature (NOT THE FRIDGE!)

Once cooled, cut into pieces of your desired size and say goodbye to all your troubles.

Nomnomnomnom

Adapted from Frugal Feeding’s ‘Traditional Vanilla Fudge’