Vanilla Raspberry Layer Cake

Well.. I lied. I completely intended to blog more in the last few weeks (as evidenced by my last post!) but I’ve just been too busy. I had my 21st Birthday to plan, uni assessments galore, the Psychology ball to organise, and now Laura’s 18th is coming up in a couple of weeks. Yikes, I get exhausted just thinking about it all! However, while I haven’t been blogging, I have been baking.

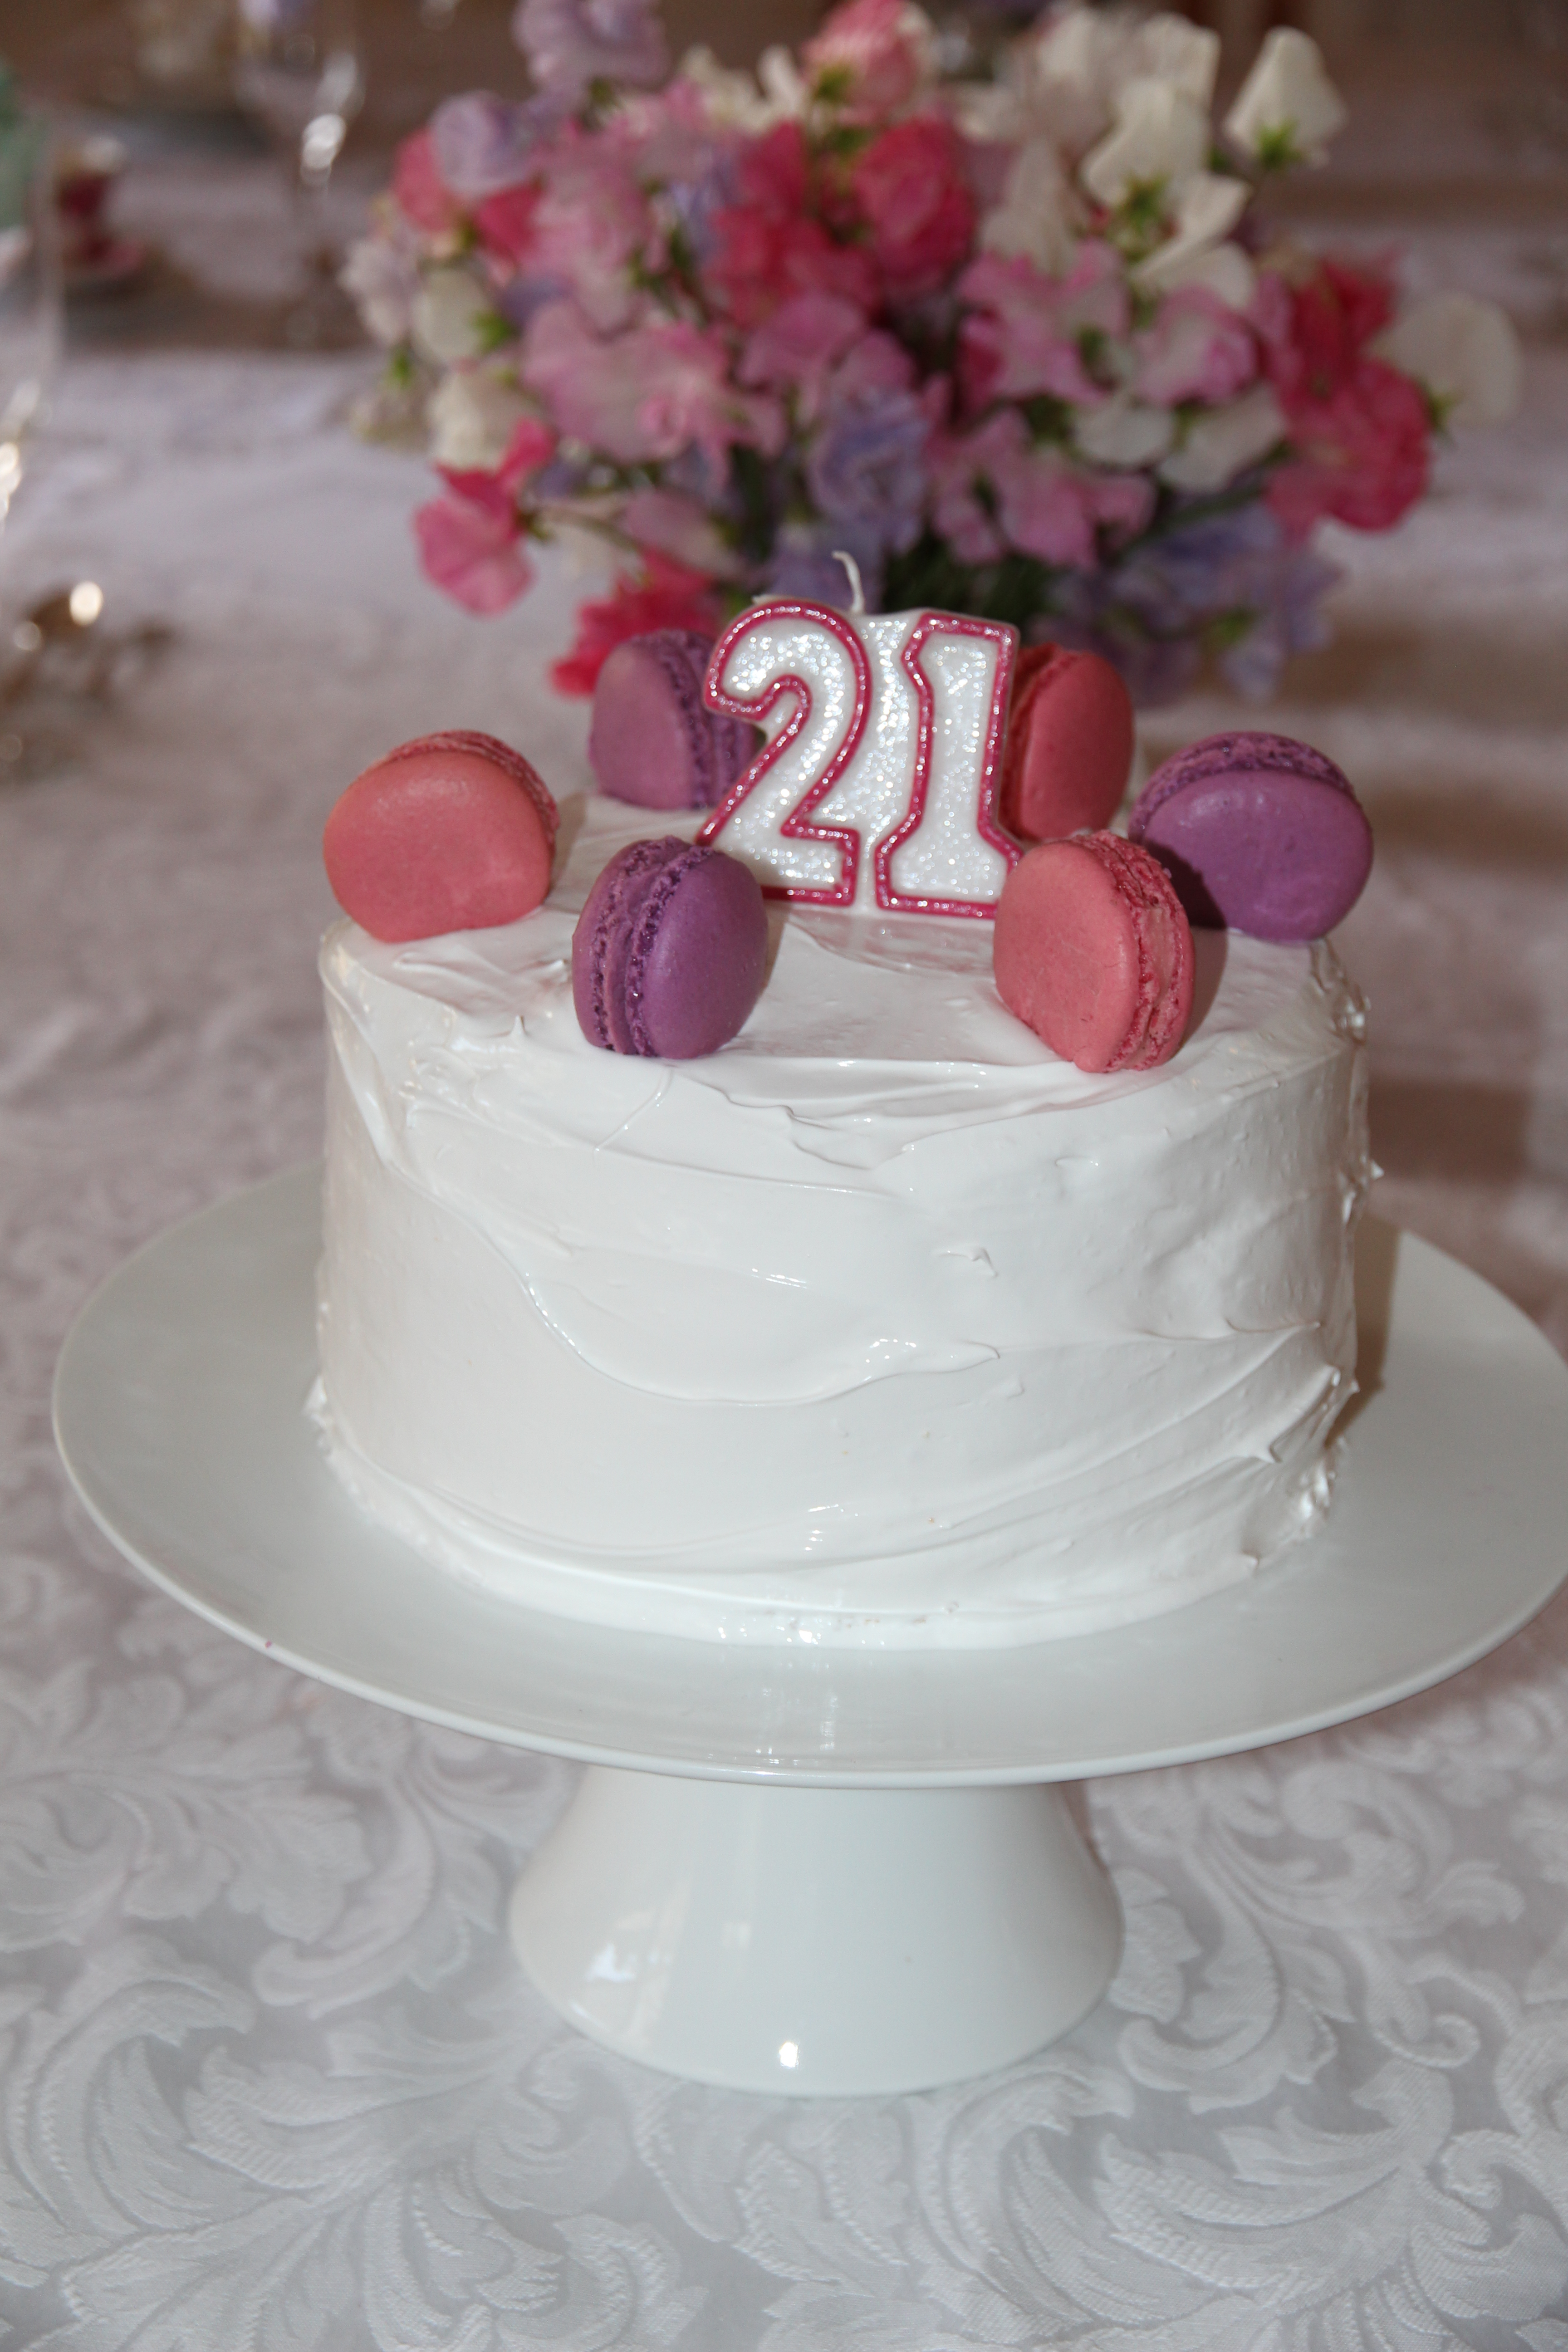
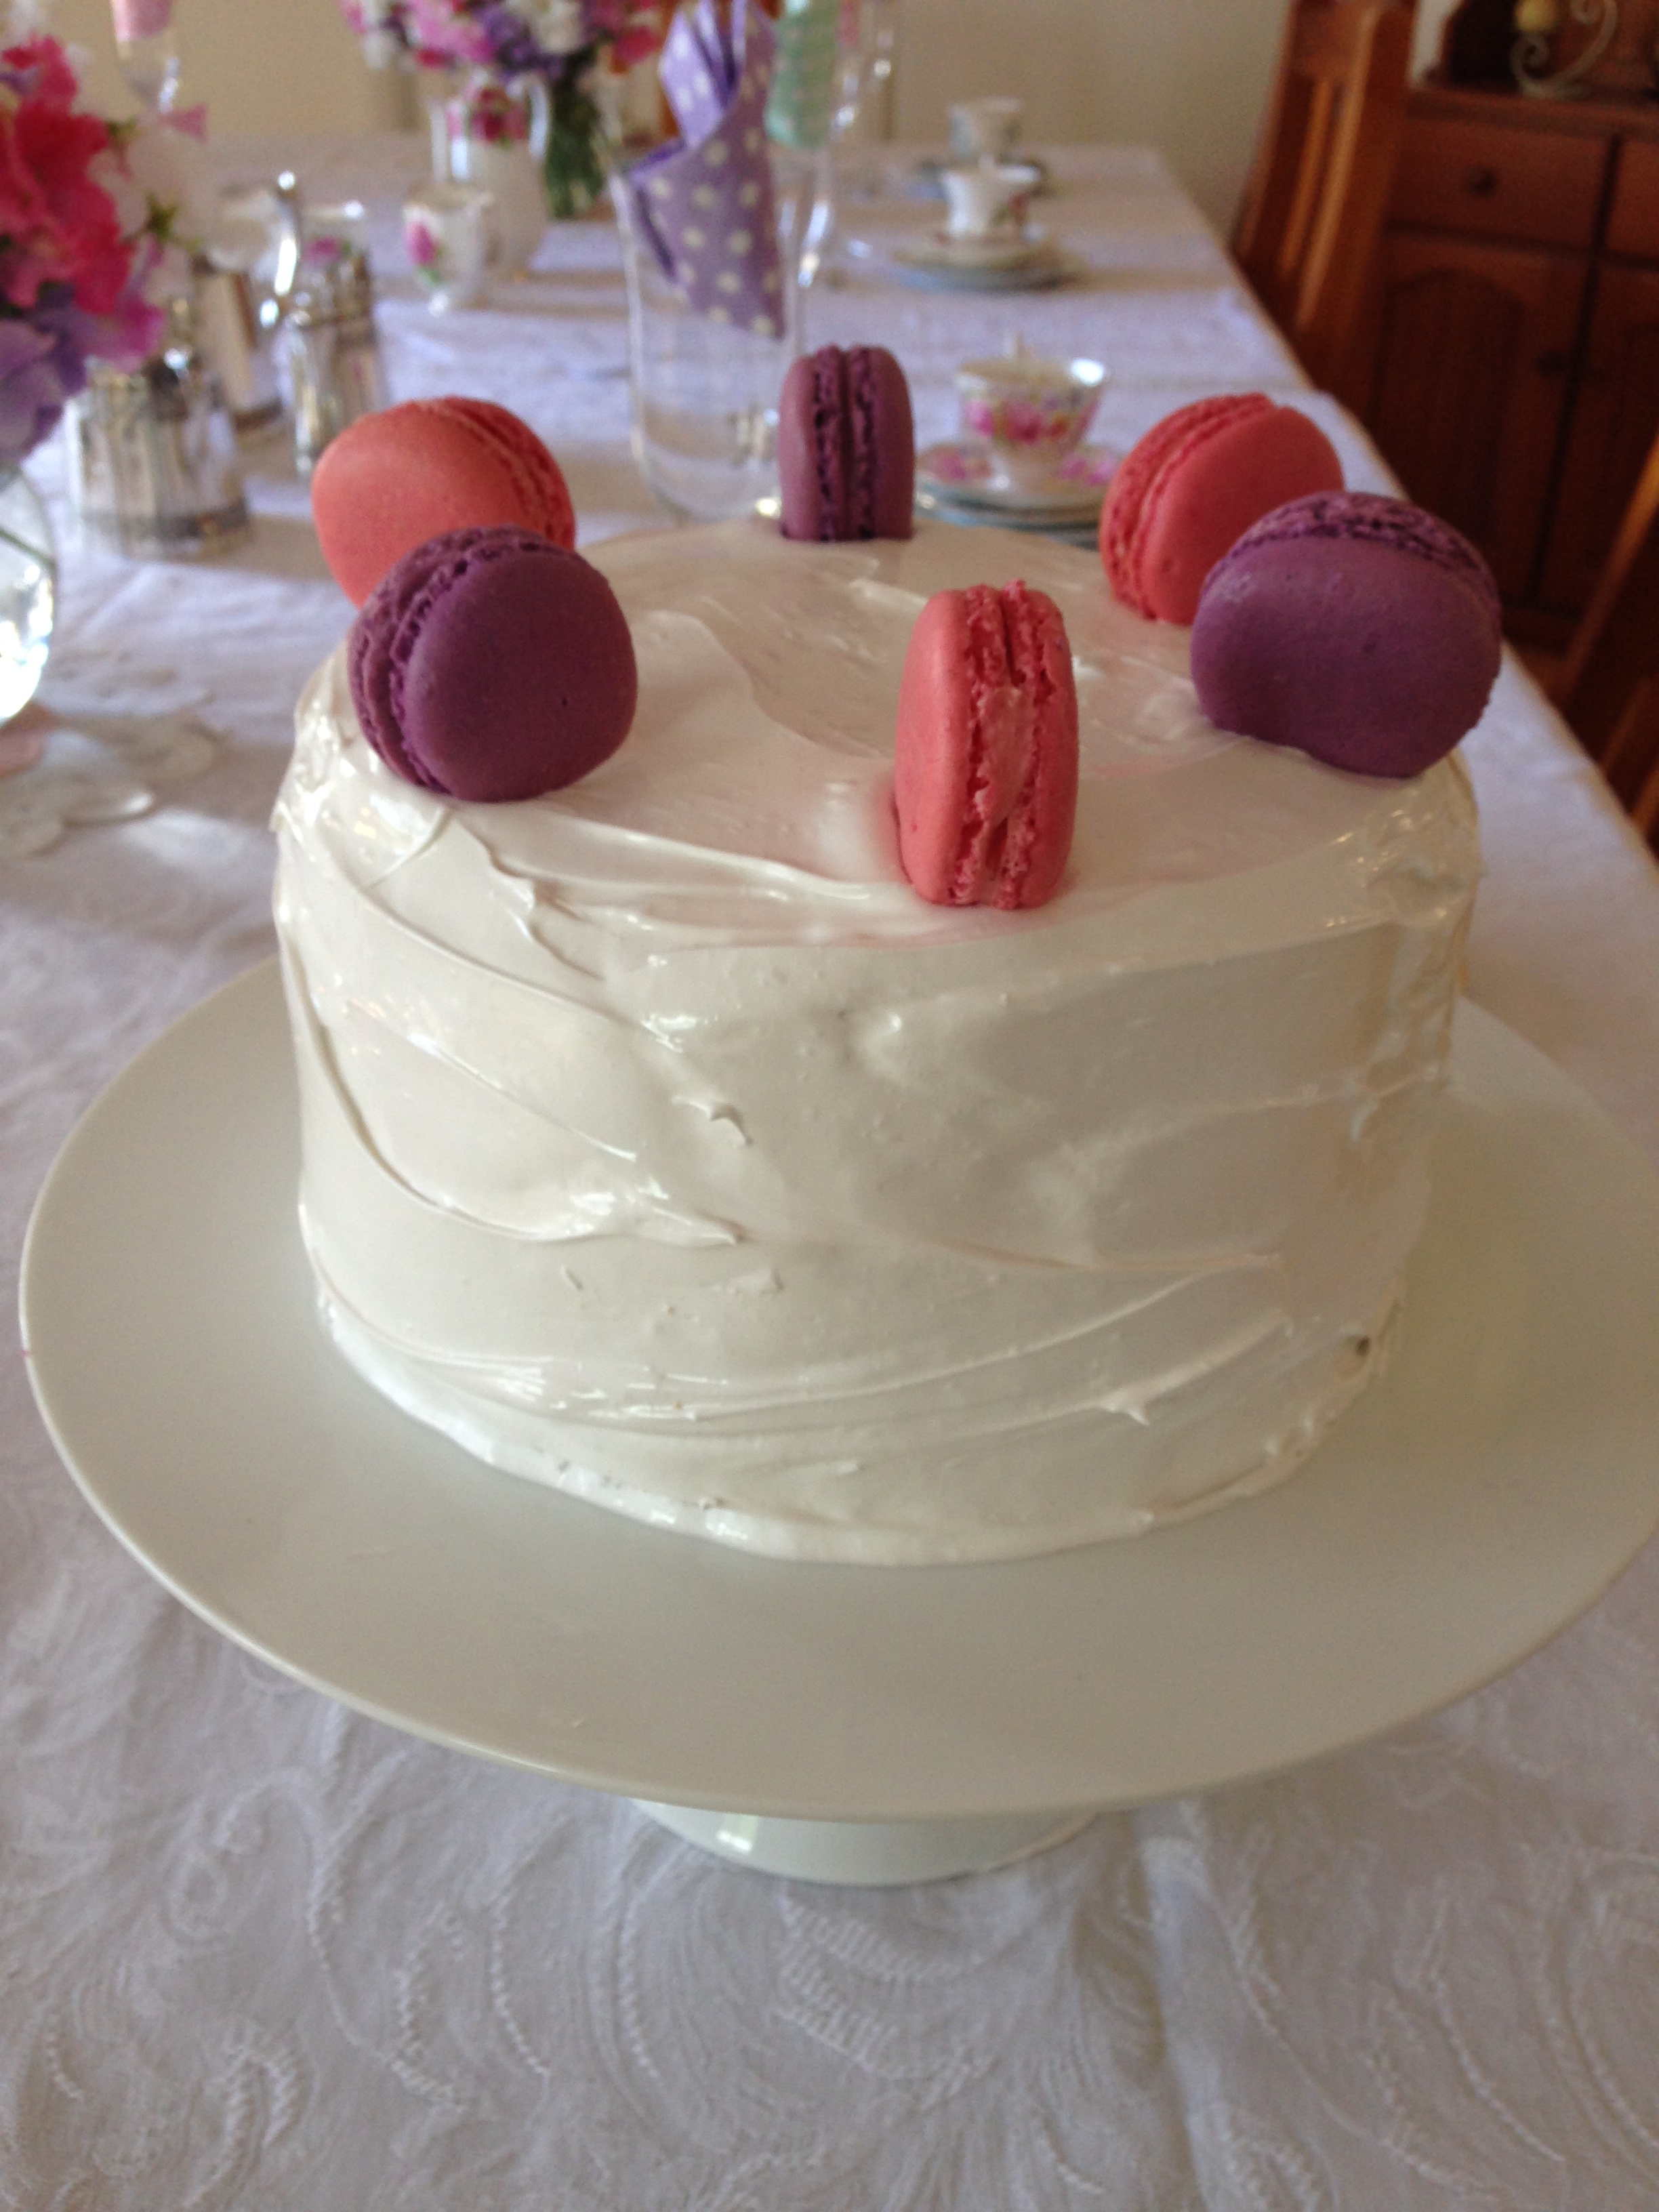
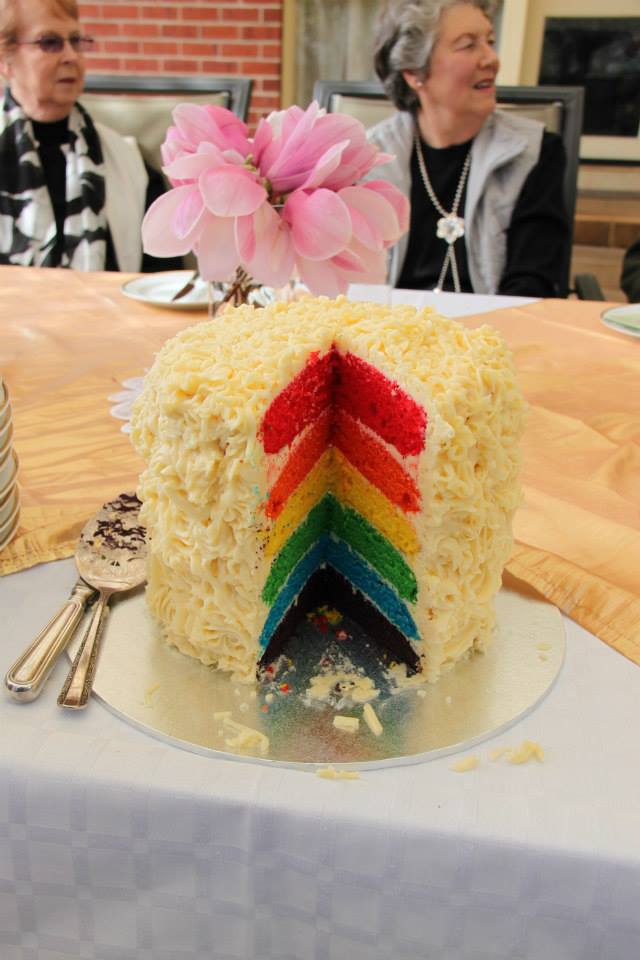
Here is the cake I made for my 21st Birthday afternoon tea – triple layer vanilla cake with a tangy raspberry filling & super glossy meringue frosting, topped with vanilla bean macarons. The raspberry filling was perfect as, otherwise, this cake was going to be too sweet, so I would certainly recommend leaving it (or perhaps substituting it for a tangy lemon curd if you’re not a raspberry fan) to cut the sweetness from the frosting.

Elise's 21st Birthday 039
Don’t worry, the empty plates in the background didn’t stay empty!

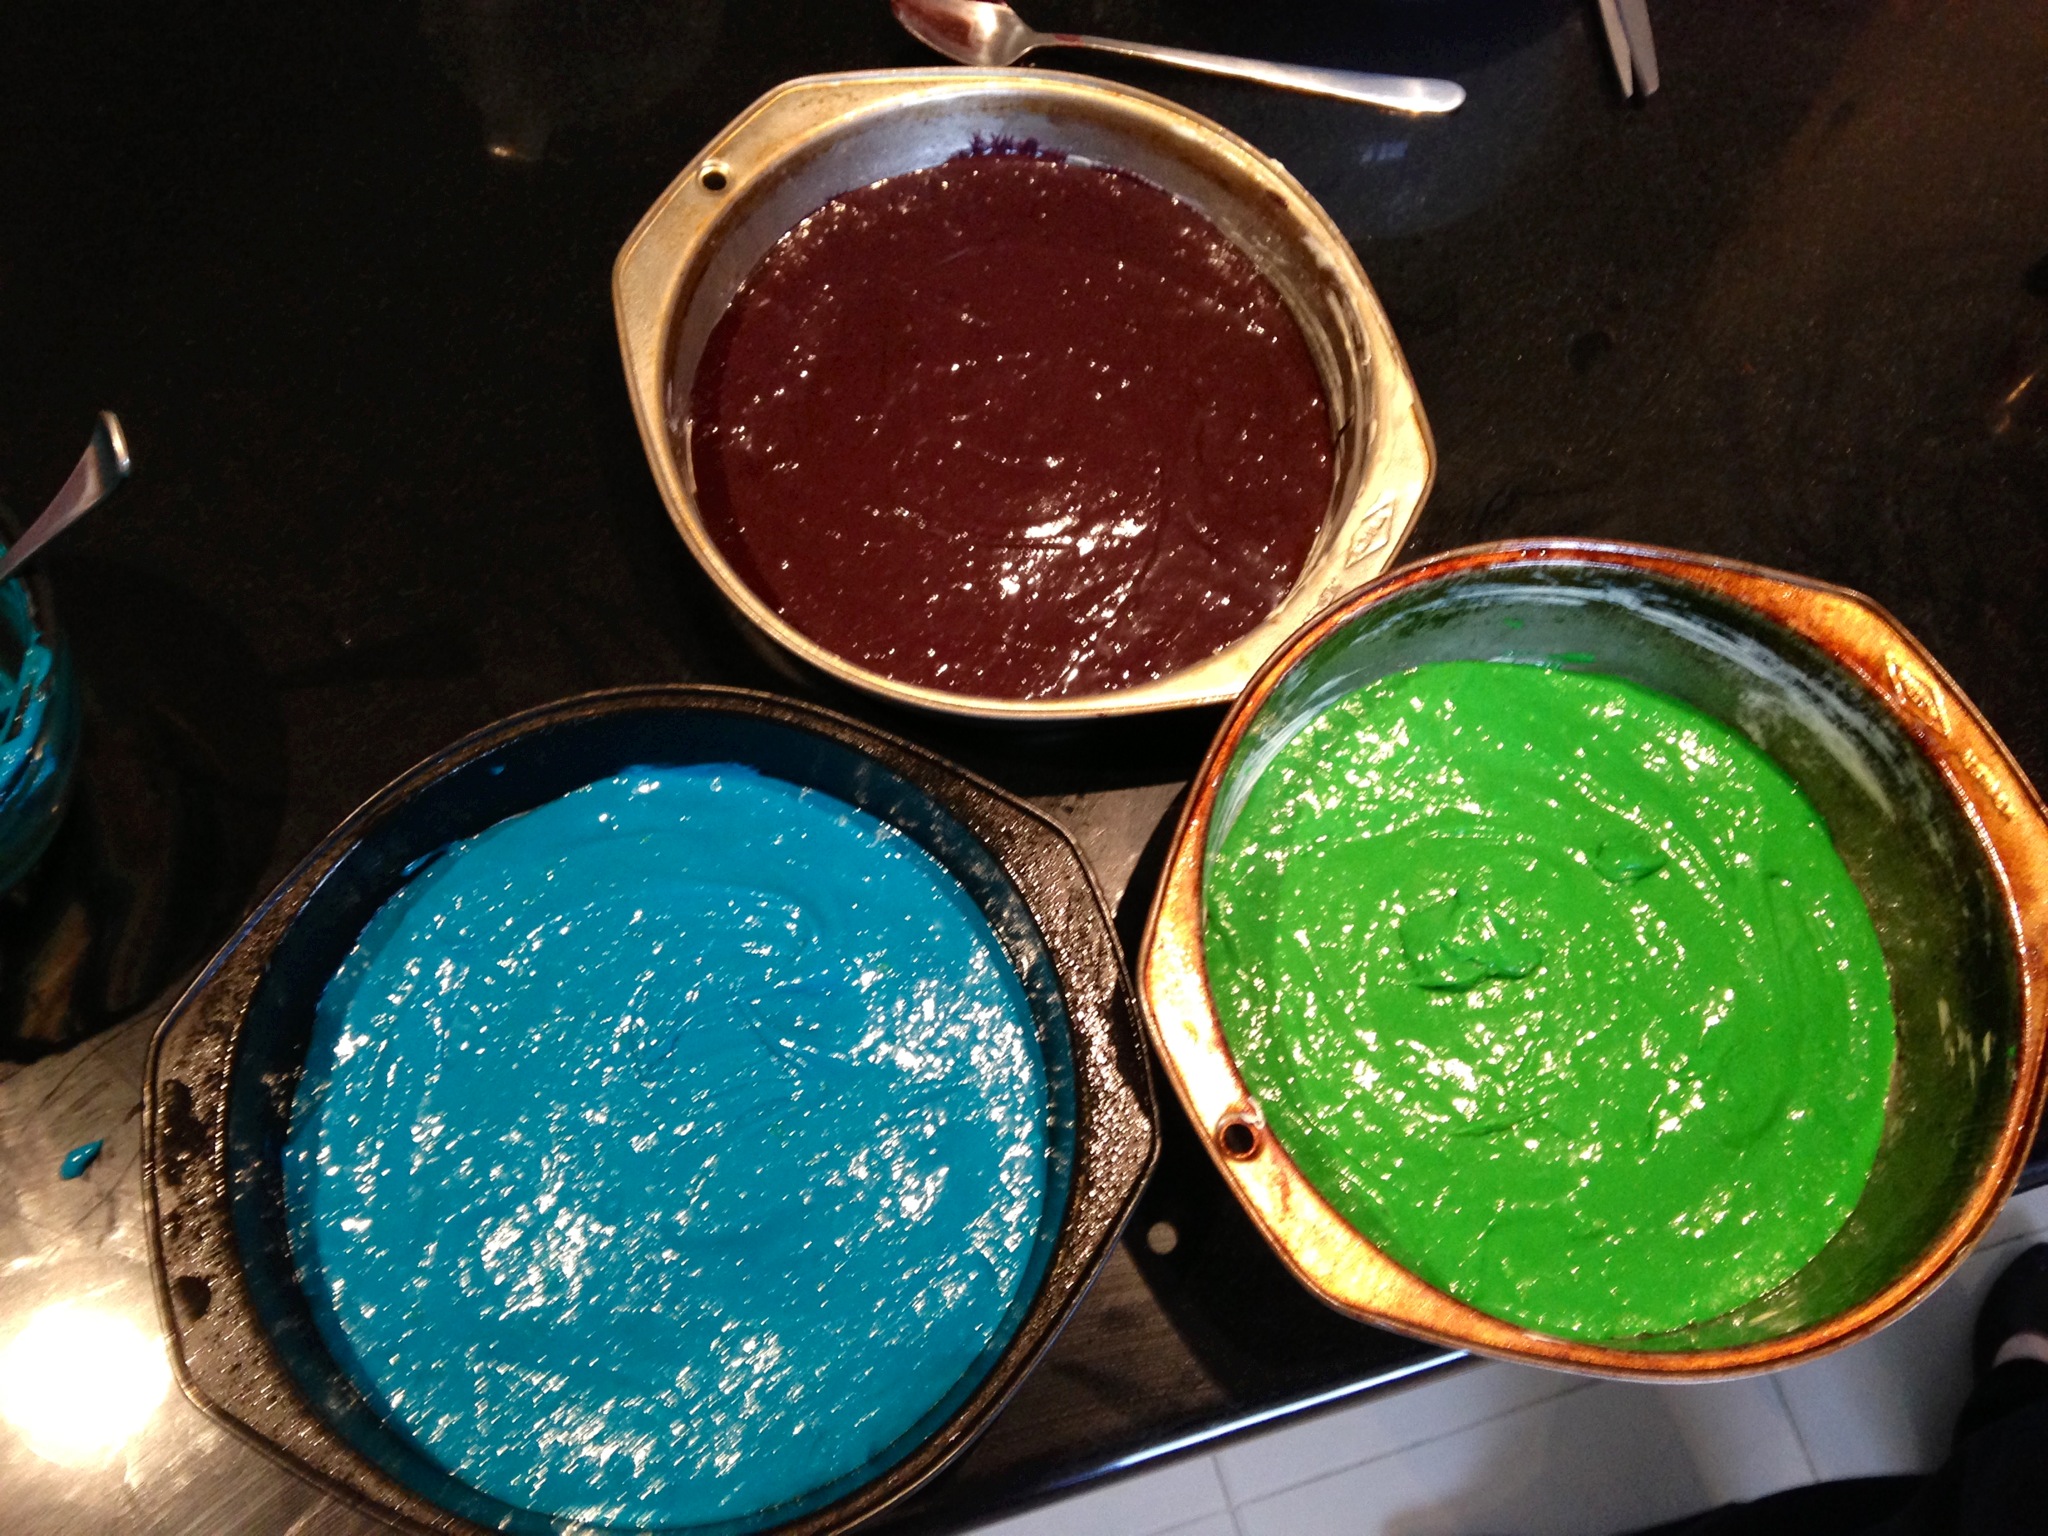
For my 21st birthday cake, I used 2 packets of Betty Crocker’s SuperMoist Vanilla cake mix, with some extra vanilla added so they tasted more ‘home-made’ divided into 3 20cm lined pans. I did this for 2 main reasons; it saved a lot of time (and time was precious as I had so much other cooking to do!), and because it reliably produces an even, stable, fine-crumbed cake that is easy to work with. If you don’t want to use cake mixes, just make a double batch of your favourite vanilla/butter cake and that will work as well 🙂

The raspberry filling needs to be made at least a day ahead but keeps well in the fridge so can be made up to a week ahead.

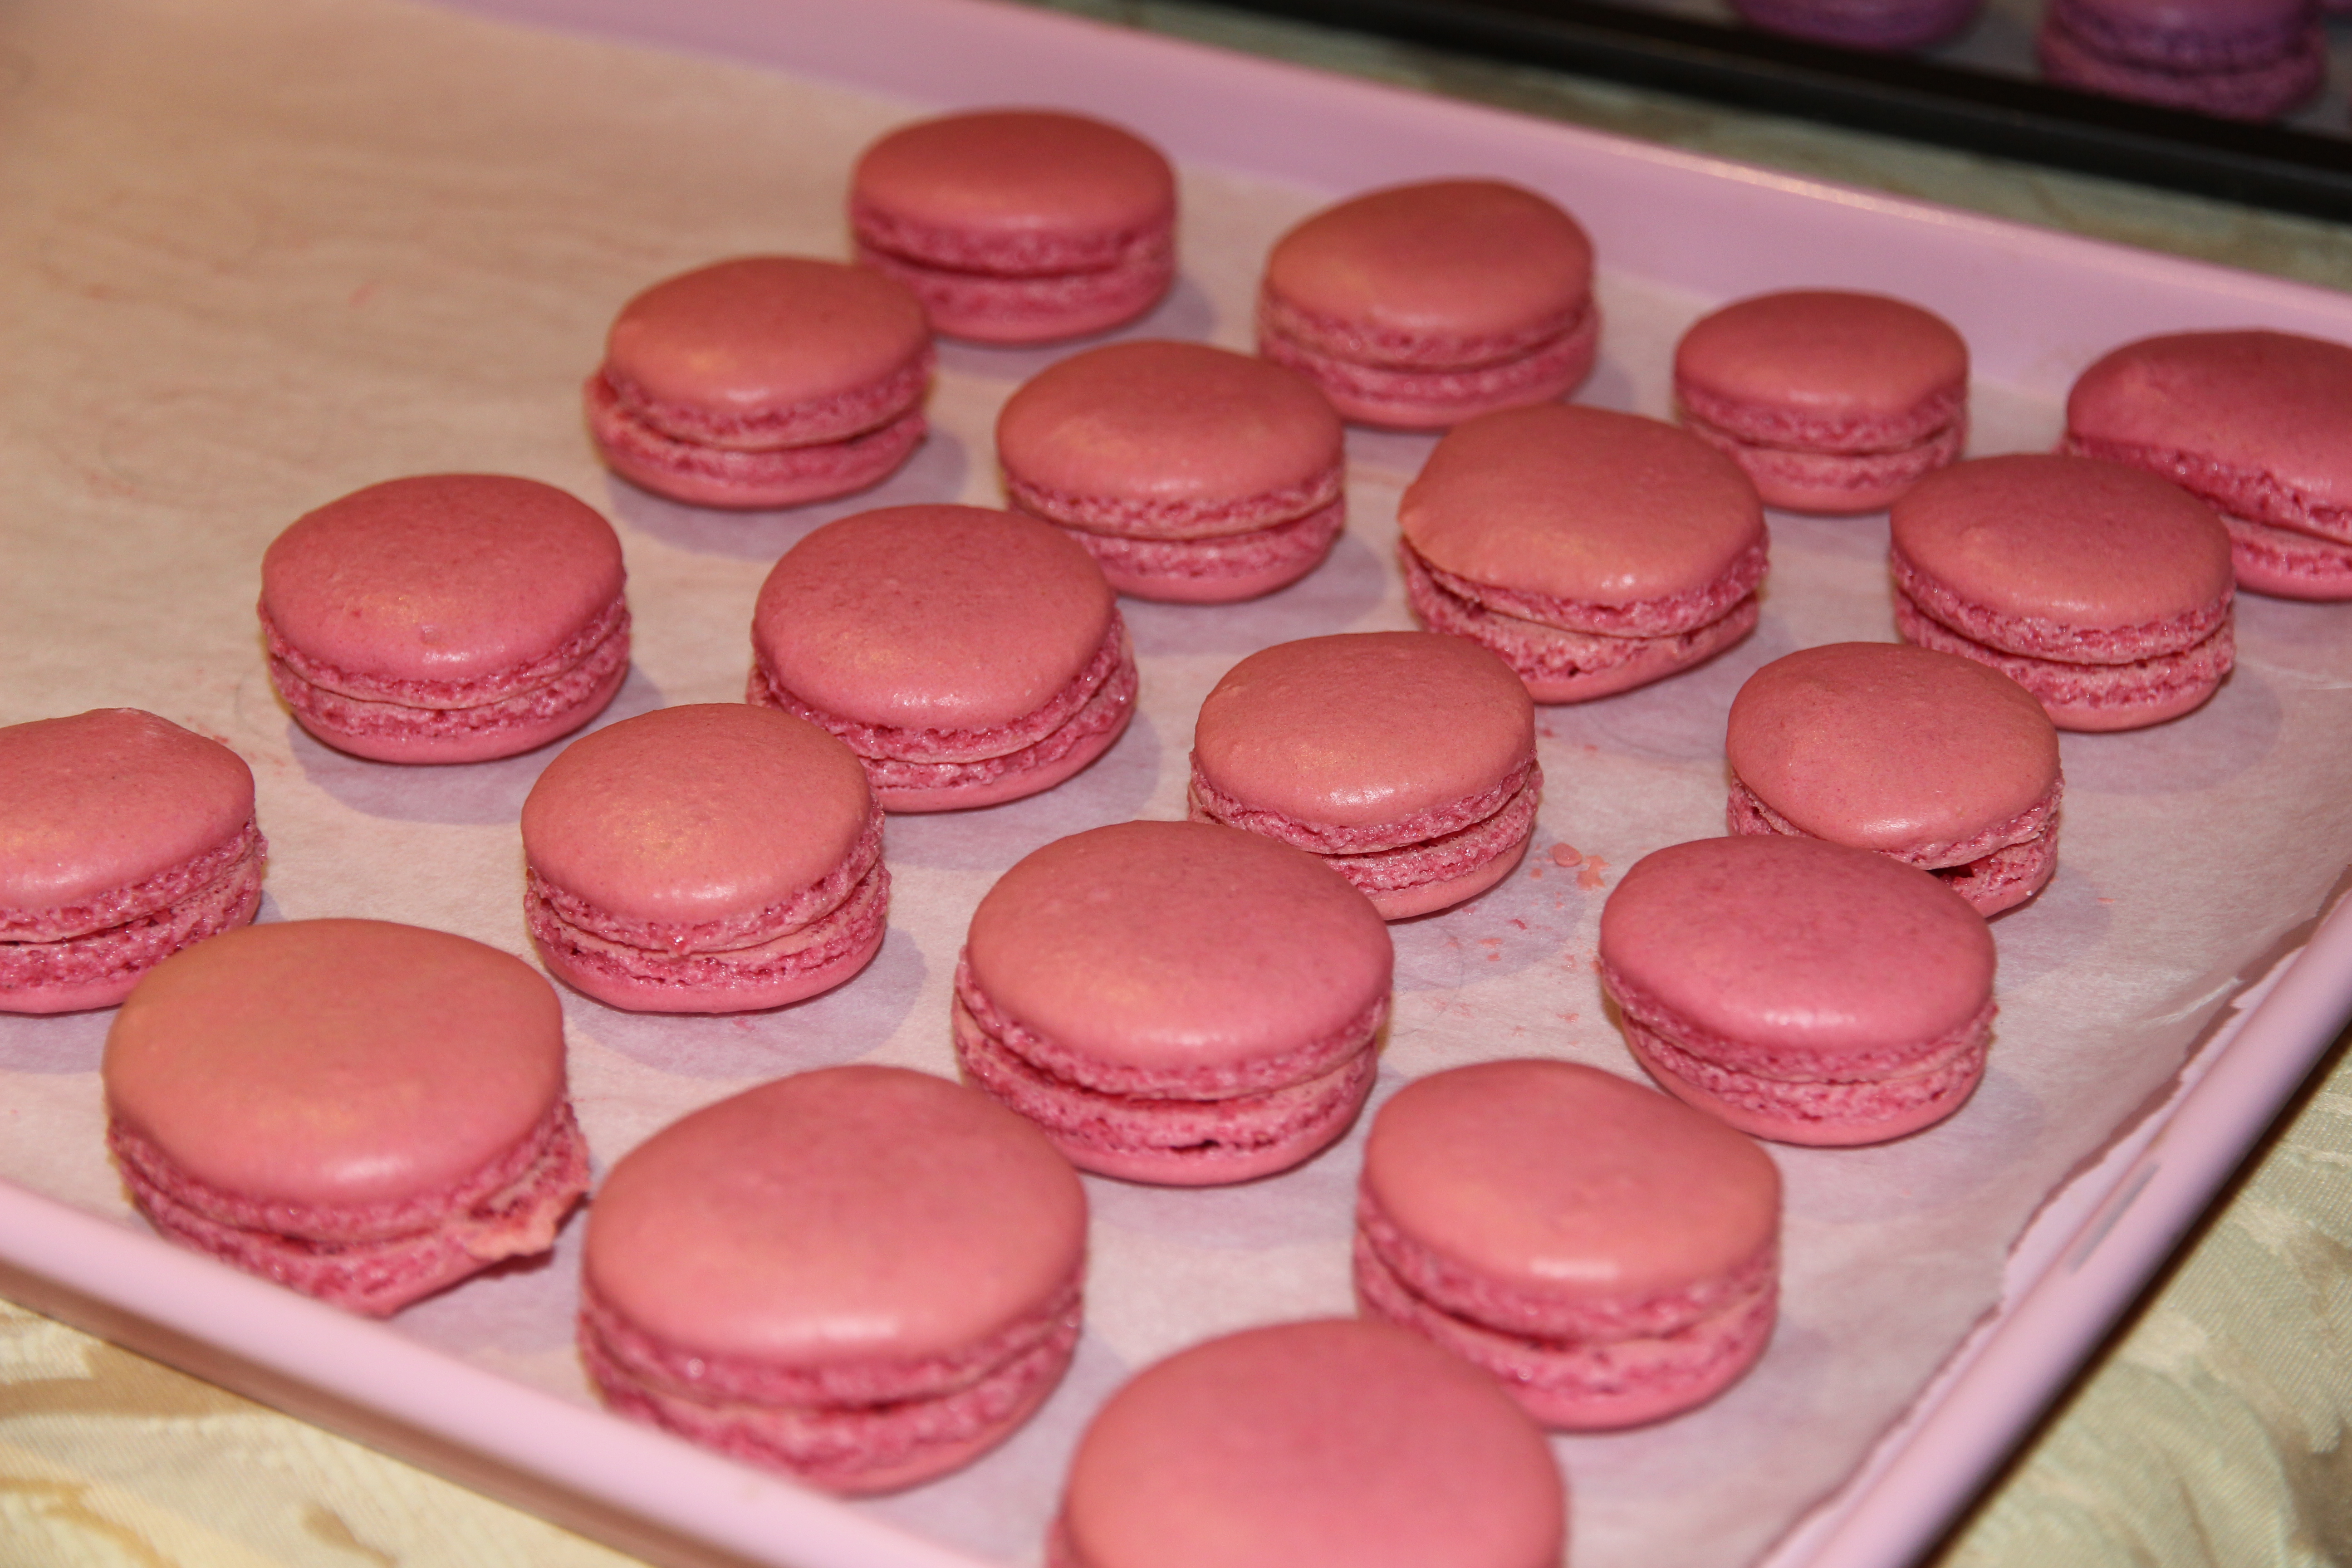
I also made the macaron shells a couple of days ahead to save me some stress on the actual party day.

The frosting should be made the day of serving as it does not keep particularly well.

Ingredients

For the raspberry filling (make at least a day ahead)
340g frozen raspberries
⅔ cups water
½ cup white, granulated sugar
1 tblspn lemon juice
2 ½ tblspns cornstarch dissolved in ¼ cup of water

For the cake
2 boxes Betty Crocker’s SuperMoist Vanilla cake mix (made following instructions, so add the eggs, milk, butter etc. as specified by the box)
½ tablespoon vanilla extract

For the meringue frosting
6 egg whites
1 ¾ cups caster sugar
2 tblspns liquid glucose (or light corn syrup)
¼ teaspoon cream of tartar
2 teaspoons vanilla extract

For the macarons
https://bakerholicsanonymous.wordpress.com/recipes-2/cookies-biscuits-macarons/vanilla-bean-macarons/

Elise's 21st Birthday 048

Method
To make the raspberry filling:
In a saucepan combine the raspberries, water, sugar, and lemon juice. Bring to boil and simmer for 15-20mins  or until the raspberries have broken down.
Remove the mixture from the heat and strain with a fine mesh sieve. Return the stained mixture to the heat. Dissolve the cornstarch in water. Whisk the cornstarch mix into the raspberry mixture.
Bring the mixture back to a boil and simmer for 5 more minutes, stirring occasionally. Remove from heat and cool completely.
Refrigerate overnight to set.

To make the cakes: Line & grease 3 20cm cake pans. Set oven to temperature specified by the cake mix boxes. Make cakes according to box instructions, add ½ teaspoon of vanilla extract to each cake mix & divide mixture among the three pans. Bake for specified time, or until a skewer inserted comes out clean.

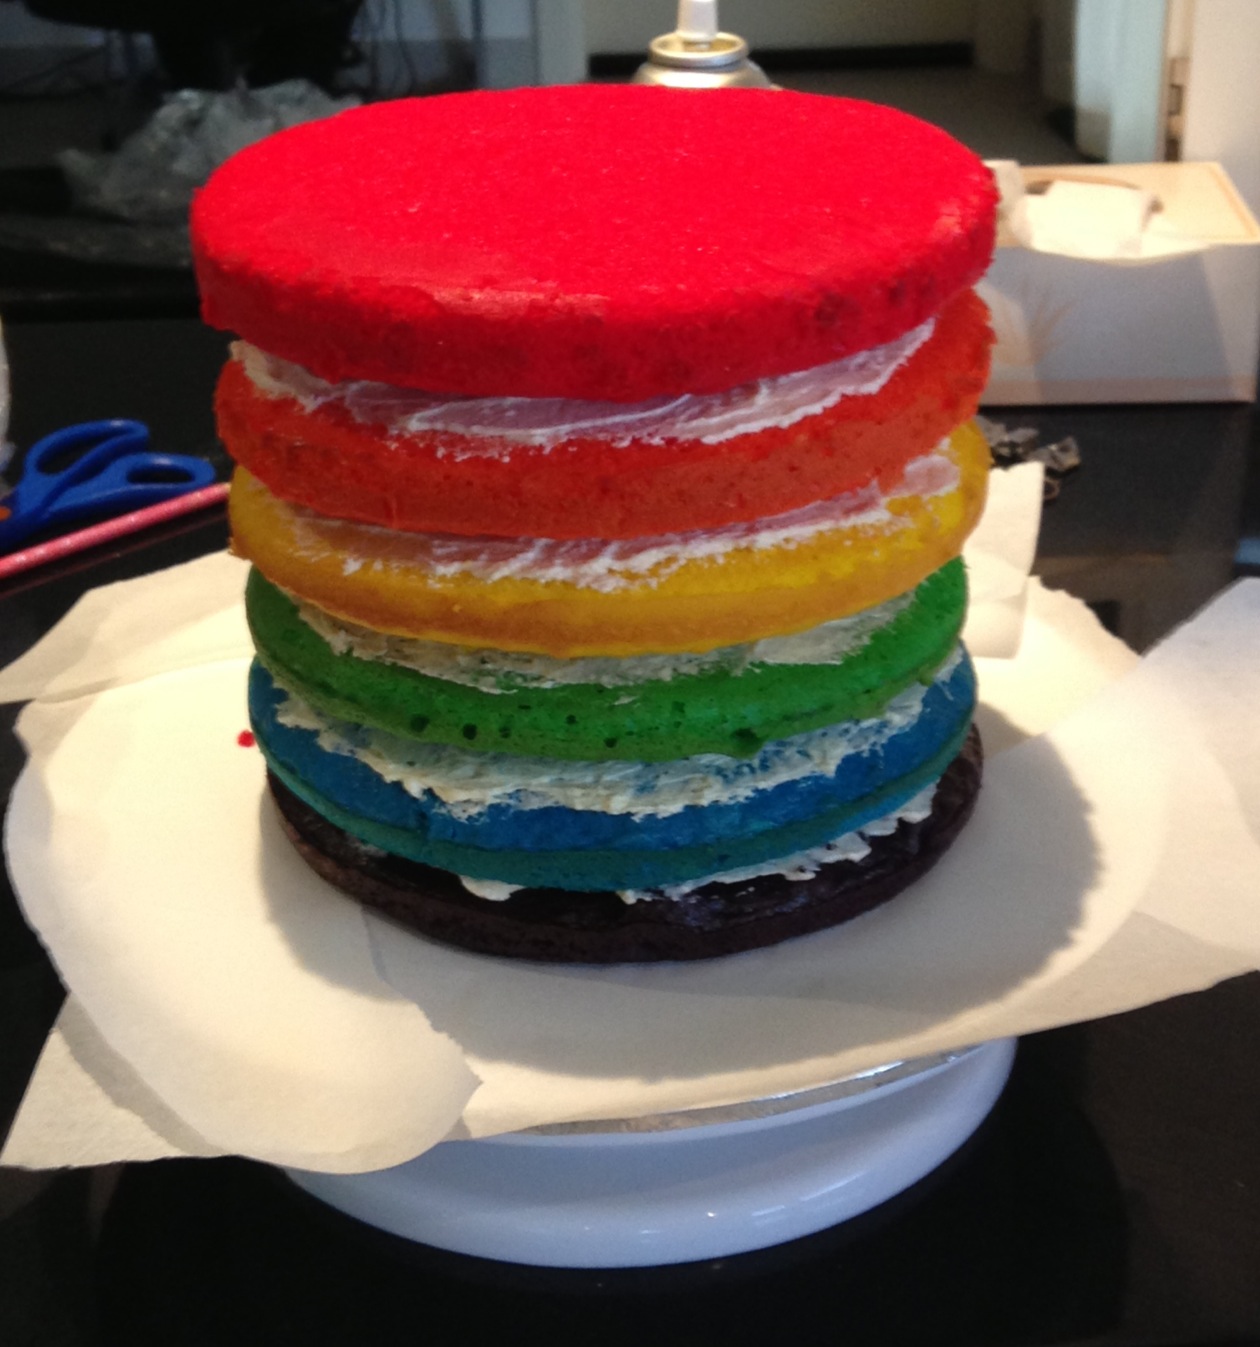
To assemble the cake: Carefully place a cake layer on your serving platter. Top with a generous amount of raspberry filling and spread gently using a spatula to make an even layer. Top with another cake layer and repeat. Finally, top with the final cake, ready to be frosted.

Elise August 2015 111

To make the meringue frosting: Add egg whites, sugar, liquid glucose and cream of tartar, and simmer over a pot of water (not boiling), whisking constantly but gently, until temperature reaches 54°C on a thermometer (be patient, it does get there eventually!).
Beat heated mixture with electric beaters on a low speed for 2 minutes, then increase the speed to medium and beat for 2 more minutes. Increase the speed to high and beat until it is very thick and glossy, about 5 minutes.
Add vanilla and beat to combine.
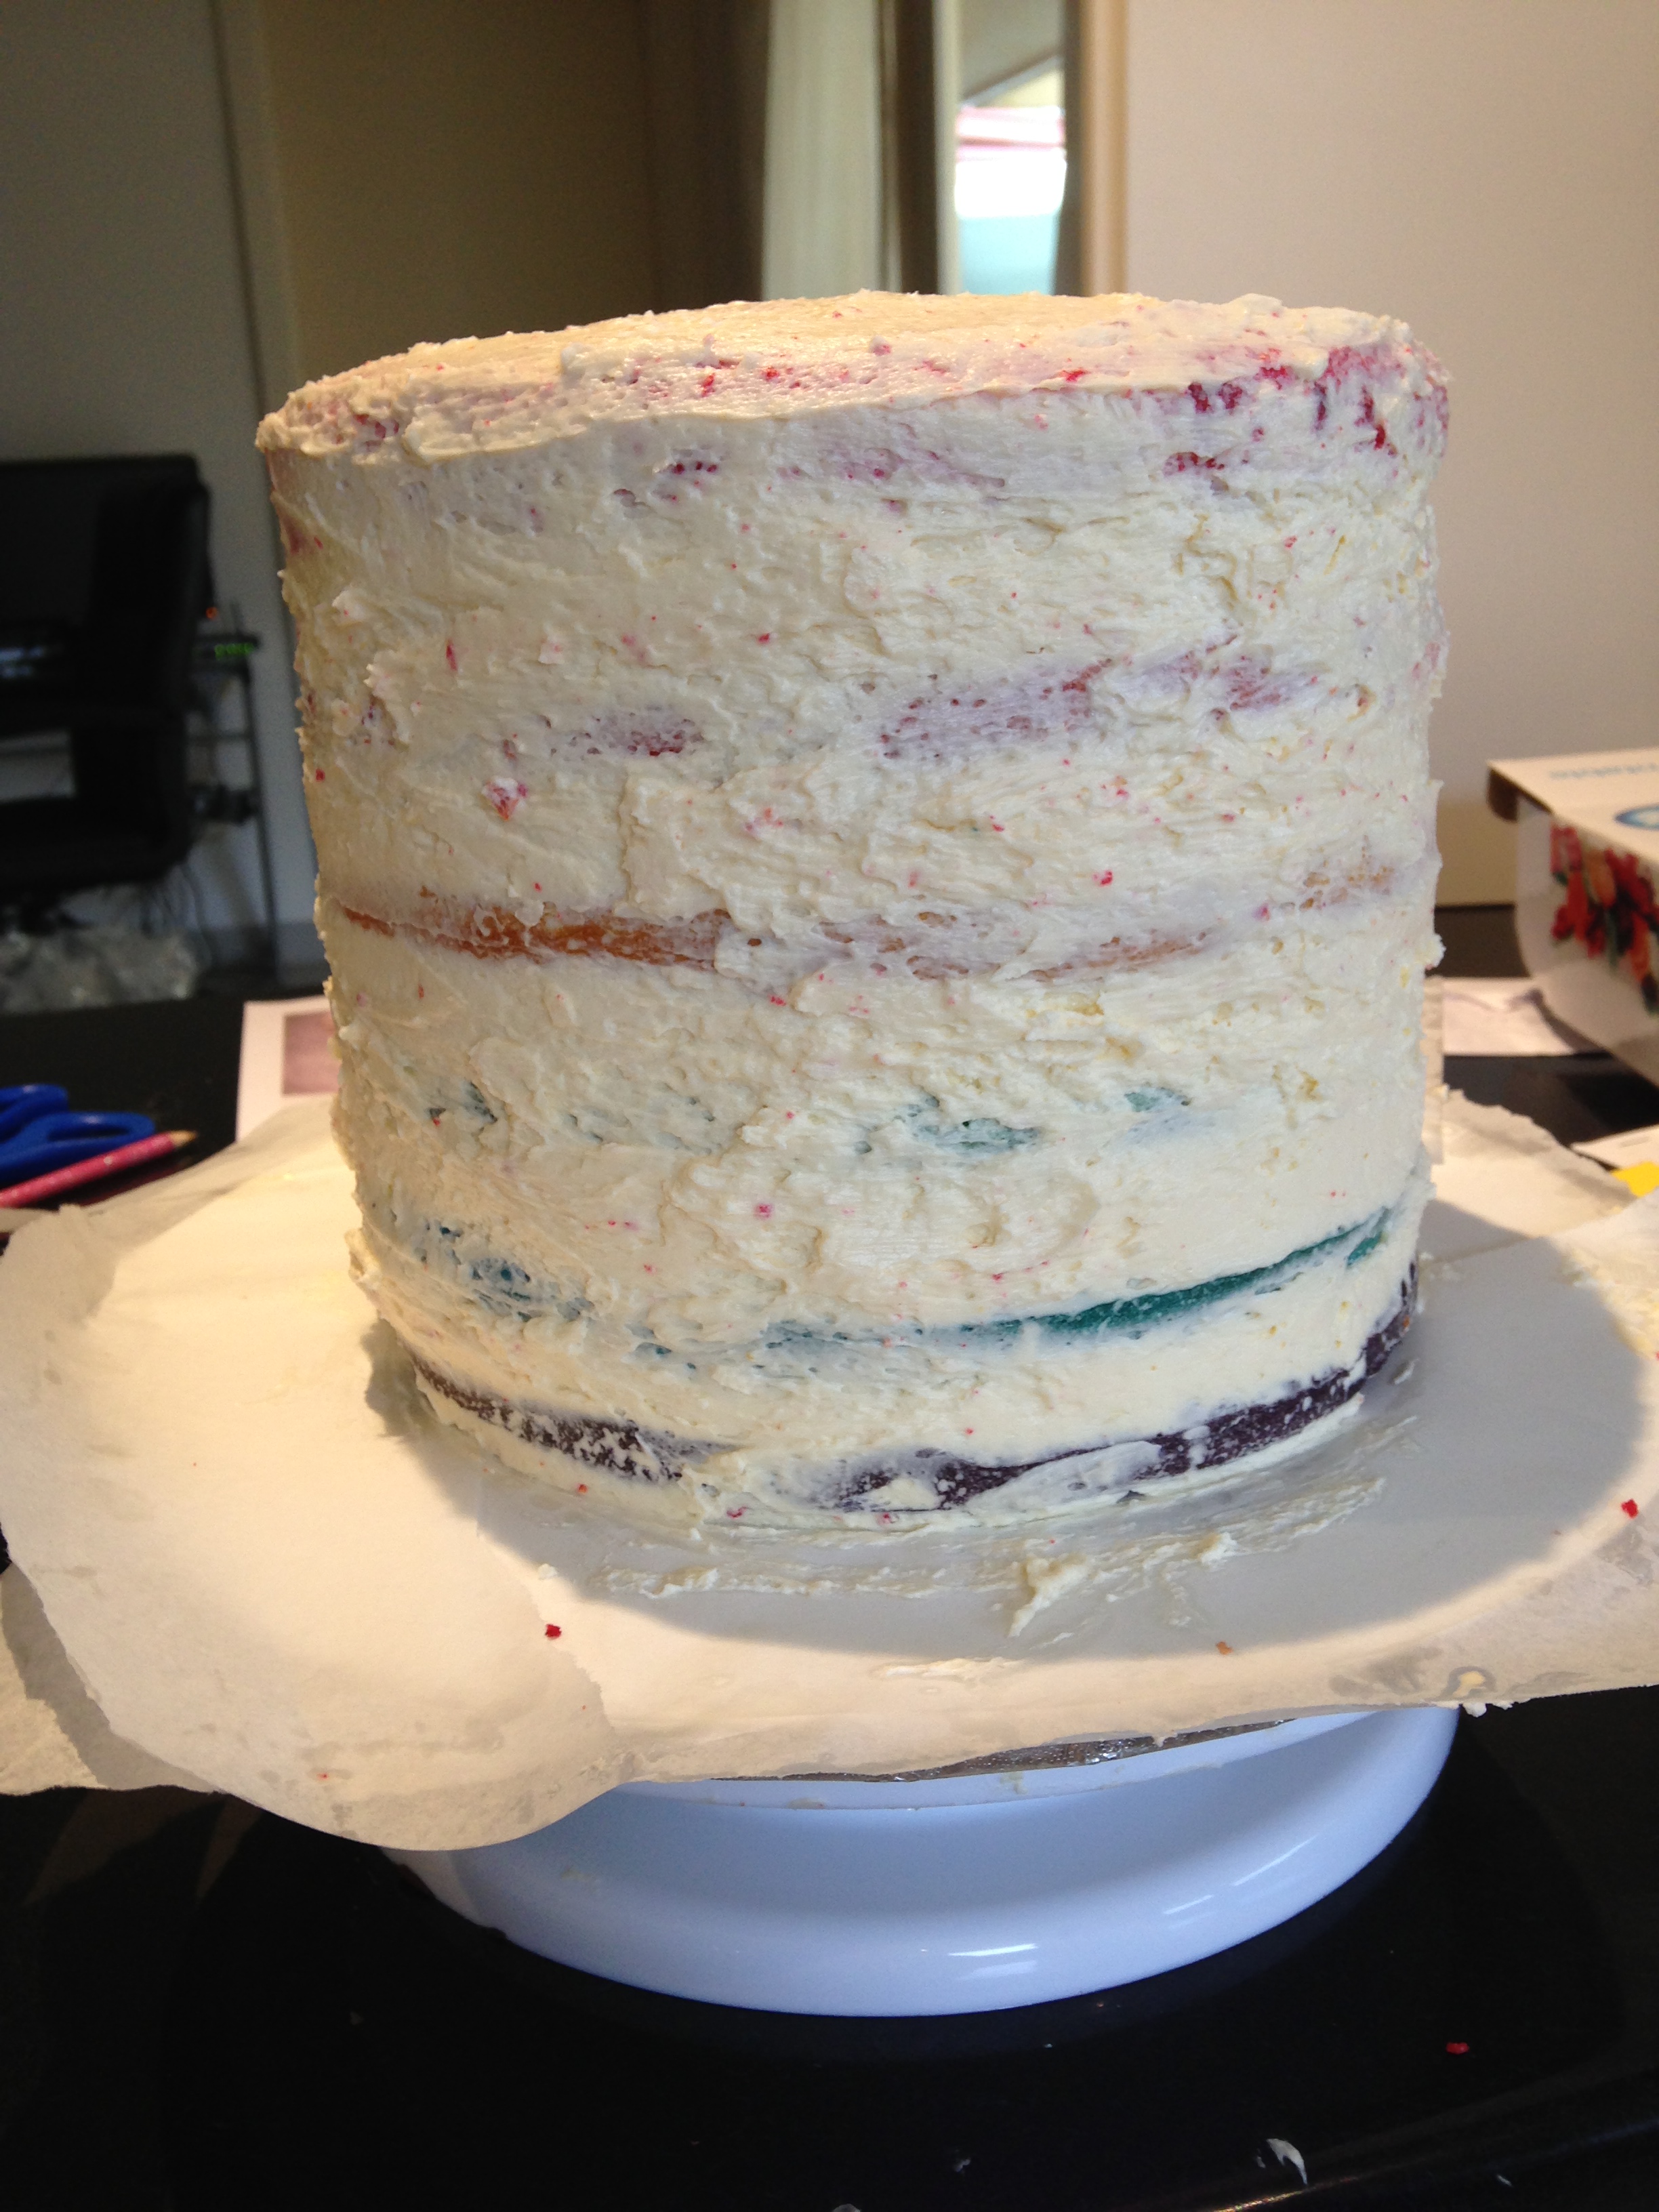
Frost cake immediately by piling the frosting on top of the cake and, using a metal spatula, gently spreading from the top down. Smoothe as much as possible with your spatula.

Top with 6 macarons, 3 of each colour and a candle (if desired).

Serve each piece with a macaron & enjoy!

Elise's 21st Birthday 048

Elise August 2015 131

Elise August 2015 132

Raspberry filling recipe adapted from: Pinterest (various sources with the same basic recipe)

Meringue frosting recipe adapted from Sweetapolita’s ‘Perfectly Pink Angel Food Cake’ http://sweetapolita.com/2015/05/perfectly-pink-angel-food-cake/

Advertisement

Vanilla Bean Macarons

Elise August 2015 113

I made these particular macarons to sit on top of my 21st birthday cake (and because I think no afternoon tea is complete without them!) Feel free to adapt the colours or flavours as you wish.

Ingredients (makes around 40 macarons, 20 paired)
Macaron shells
225g pure icing sugar
130g almond meal
115g egg whites
60g caster sugar
1g bicarb soda
A few drops of rose pink & violet food colouring

Vanilla bean filling
100g butter, softened
¼ cup milk
½  tblspn organic vanilla bean paste
4 cups icing sugar
Rose pink & violet food colouring

Method
Preheat oven to 150°C fan forced. Grease and line two large baking trays with baking paper.

Separately sift icing sugar and almond meal into medium bowls or over sheets of baking paper. Repeat process 3 times and re-weigh ingredients (I know this seems excessive but trust me, it’s worth it). You will need to top up the ingredients as you may have lost some in the sifting process. Sift icing sugar and almond meal into a bowl and repeat, ensure there are no lumps.

Whisk egg whites until doubled in size using electric beaters or an electric stand mixer. While still whisking, gradually add caster sugar and bicarb, whisking until mixture forms very stiff peaks.

Gently fold almond meal mixture into meringue using a spatula until incorporated.

Divide mixture into 2 bowls. Add food colouring (pink to one, purple to the other) one drop at time, stirring very gently with a spatula, until desired colour reached.

Spoon into a piping bag fitted with a 9mm round nozzle (approximately). Hold nozzle close to the baking tray and pipe 3cm diameter circles onto prepared trays – don’t make a circular motion àla soft serve. Tap the underside of the tray to allow macarons to settle and air bubbles to escape. If there is still a little peak on top, dip a teaspoon in water and use the back to smooth the surface. Repeat with other colour. 217929_10151403883896183_1104201680_n

Leave to rest for at least 20-30 minutes or until the macarons form a skin and the top is no longer shiny or sticky to the touch (this is VERY important as it will give your macaron its lovely ‘foot’).

Bake for 12 minutes. Remove trays from the oven and allow macarons to cool on the tray. They will still be soft at this stage but will firm up on cooling.

Elise August 2015 087

To make the buttercream, cream the butter for 1-2 mins. Add the milk, vanilla and half of the icing sugar and beat for at least 3 mins (until the mixture is light and fluffy).

Add the remaining icing sugar and beat for a further 3 mins or until of a spreadable consistency. Add extra milk if too dry or extra icing sugar if too wet.

Halve the mixture and add a drop of rose food colouring to one half and a drop of violet colouring to the other.

Pipe a generous amount of buttercream onto half the macarons and sandwich with a second macaron.

Elise's 21st Birthday 003

Elise's 21st Birthday 004

Elise's 21st Birthday 039

Recipe adapted from Callum Hann’s ginger macarons

Honey Joys

Also known as honey jumbles or honey crackles, these delicious sweet treats were a staple birthday party food of my childhood. They always bring back wonderful memories and I really should make them more often as they require incredibly little effort & take about 10 minutes to make from start to finish.

thumb_IMG_1883_1024

Ingredients (Makes approximately 40 small or 16-20 large)
1 heaped tablespoon of good quality honey
60g butter
90g sugar
125g cornflakes

thumb_IMG_1887_1024

Method
Preheat oven to 150°C.

Melt butter, sugar & honey in a small saucepan over a medium heat.

Pour gradually over cornflakes in a large bowl, and stir until well mixed.

Place dessert spoonfuls of mixture into small paper patties, and bake for 6 minutes.

Enjoy!

thumb_IMG_1884_1024

Recipe from my amazing Mum, Anne Bills

Rainbow Layer Cake with Swiss Meringue Buttercream Frosting

As I’m sure you all know by now, rainbow cakes are in. To surprise my family at my 19th Birthday party, I decided to make one and keep it top secret. While it was time-consuming and challenging and, I admit, I had a few diva moments where I wanted nothing more than to throw the darn cake out the window, it was definitely worth it for the squeals of surprise and delight and the warm fuzzy feeling it gave me. I had, ambitiously, pictured it covered with perfect snow white roses. But it wasn’t to be when my rather overpriced Wilton star tip exploded and I was left with a huge mess and a 2-minute noodle effect. Still I persevered, and when topped with some flowers it didn’t look too bad. I have attempted to make this recipe idiot-proof (if I can do it, you can!) and so have used a packet cake base and converted all measurements. Good luck, this cake isn’t for the faint of heart!

Image

Image

Ingredients (serves 12-16)
Rainbow Cakes
2 boxes Betty Crocker SuperMoist vanilla cake mix (cheating, I know!)
Milk (as directed on the cake box x2)
Eggs (as directed on the cake box x2)
Red, yellow, green & blue edicol food dye powders

Swiss Meringue Buttercream
12 egg whites (split over 2 batches – 6 per batch)
480g caster sugar (split over 2 batches – 240g per batch)
600g unsalted butter (split over 2 batches – 300g per batch)
4 teaspoons vanilla extract (split over 2 batches – 2 tspns per batch)

Image

Method
1. Heat oven as directed on the Betty Crocker cake box. Spray three 20cm round cake pans with cooking oil spray.

2. In a large bowl, beat cake mix and other ingredients as directed by the cake box (I have stupidly thrown mine out and can’t remember exactly but I’m pretty sure there were eggs, unsalted butter and milk) *remember to double the quantities as you’re using 2 boxes worth* until well combined.1170685_10151734990259463_1454942815_n

3. Divide batter evenly among 6 bowls.

4. Using food dye and a small quantity of water, make a red, orange (using red & yellow), yellow, green, blue and purple (using red and blue) paste. Add one colour to each bowl and mix until all the dye is incorporated. It might take a few goes to ensure your colours are really vibrant, but it is definitely worth making sure they are for the finished product.

5. Refrigerate the green, blue and purple batters until ready to bake. Pour remaining 3 colours into the 3 prepared cake pans.

6. Bake for 18-20mins or until a skewer inserted into the middle of the cake comes out clean and the cake has started to pull away from the edges of the pan. Cool 10 minutes. Remove from pans and gently place onto cooling racks to cool completely.

7. Wash and dry cake pans. Lightly spray with cooking oil and then pour in the remaining 3 batters and repeat the baking process.

Image

8. To make the first batch of buttercream, add egg whites and sugar to a large metal bowl and place over a pot of simmering water, whisking constantly but gently until the mixture reaches 70 degrees C or until the sugar has completely dissolved and the egg whites are hot.

9. With whisk attachment of mixer, begin to whip the eggwhites until the meringue is thick, glossy and the bottom of the bowl feels neutral to the touch (NOT WARM).

10. Switch to paddle attachment and, with mixer on low speed, add butter cubes, one at a time until incorporated and mix until it has reached a silky smooth texture (if it curdles, keep mixing and it will eventually come back together).

11. Add vanilla, continuing to beat on a low speed until well combined.

12. Trim rounded tops off cakes to level (if necessary). Place the purple layer on the plate you wish to serve the finished cake on. Spread with buttercream to within a quarter of an inch of the edge. Place blue cake on top and repeat. Then add green, yellow, orange and, finally, red.

Image

13. Spread a light coat of buttercream on the top and sides of the cake to seal in crumbs. Then place the entire cake into a freezer while you make the second batch of buttercream.

Image

14. Repeat steps 8-11.

15. Remove cake from freezer, prepare a piping bag with a Wilton star tip (I used 2D) and fill piping bag about 2/3 full with frosting.

16. To make buttercream roses, starting at the bottom of your cake, hold your piping bag perpendicular to the surface you are icing, starting the centre of your desired rose and with a small amount of pressure, pipe in clockwise spiral around your centre, about 1 1/2 rotations or until your rose is of the desired size.

17. Repeat for the whole bottom row and then start a new layer, with the centre of your roses between the two roses below. Continue until the cake is fully frosted. Alternatively, just spread the buttercream thickly over the cake and decorate as desired. Enjoy!

Image

Image

Swiss Meringue Buttercream recipe adapted from Dessert Design Life.