Giant Vanilla Cupcake

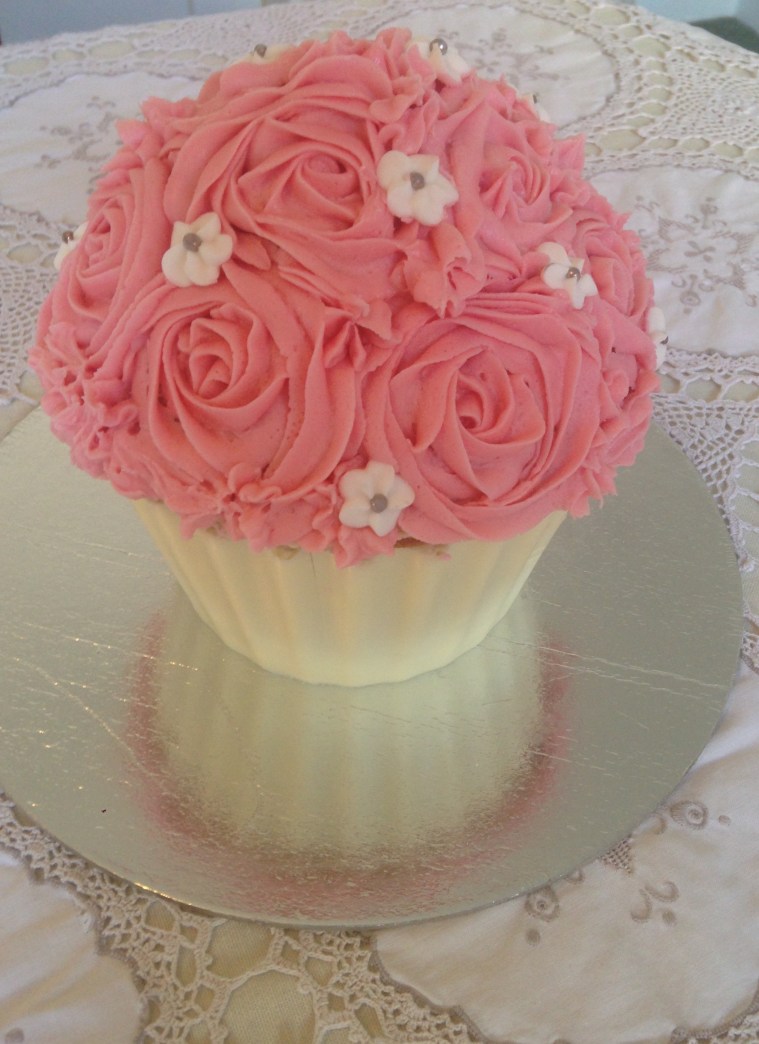
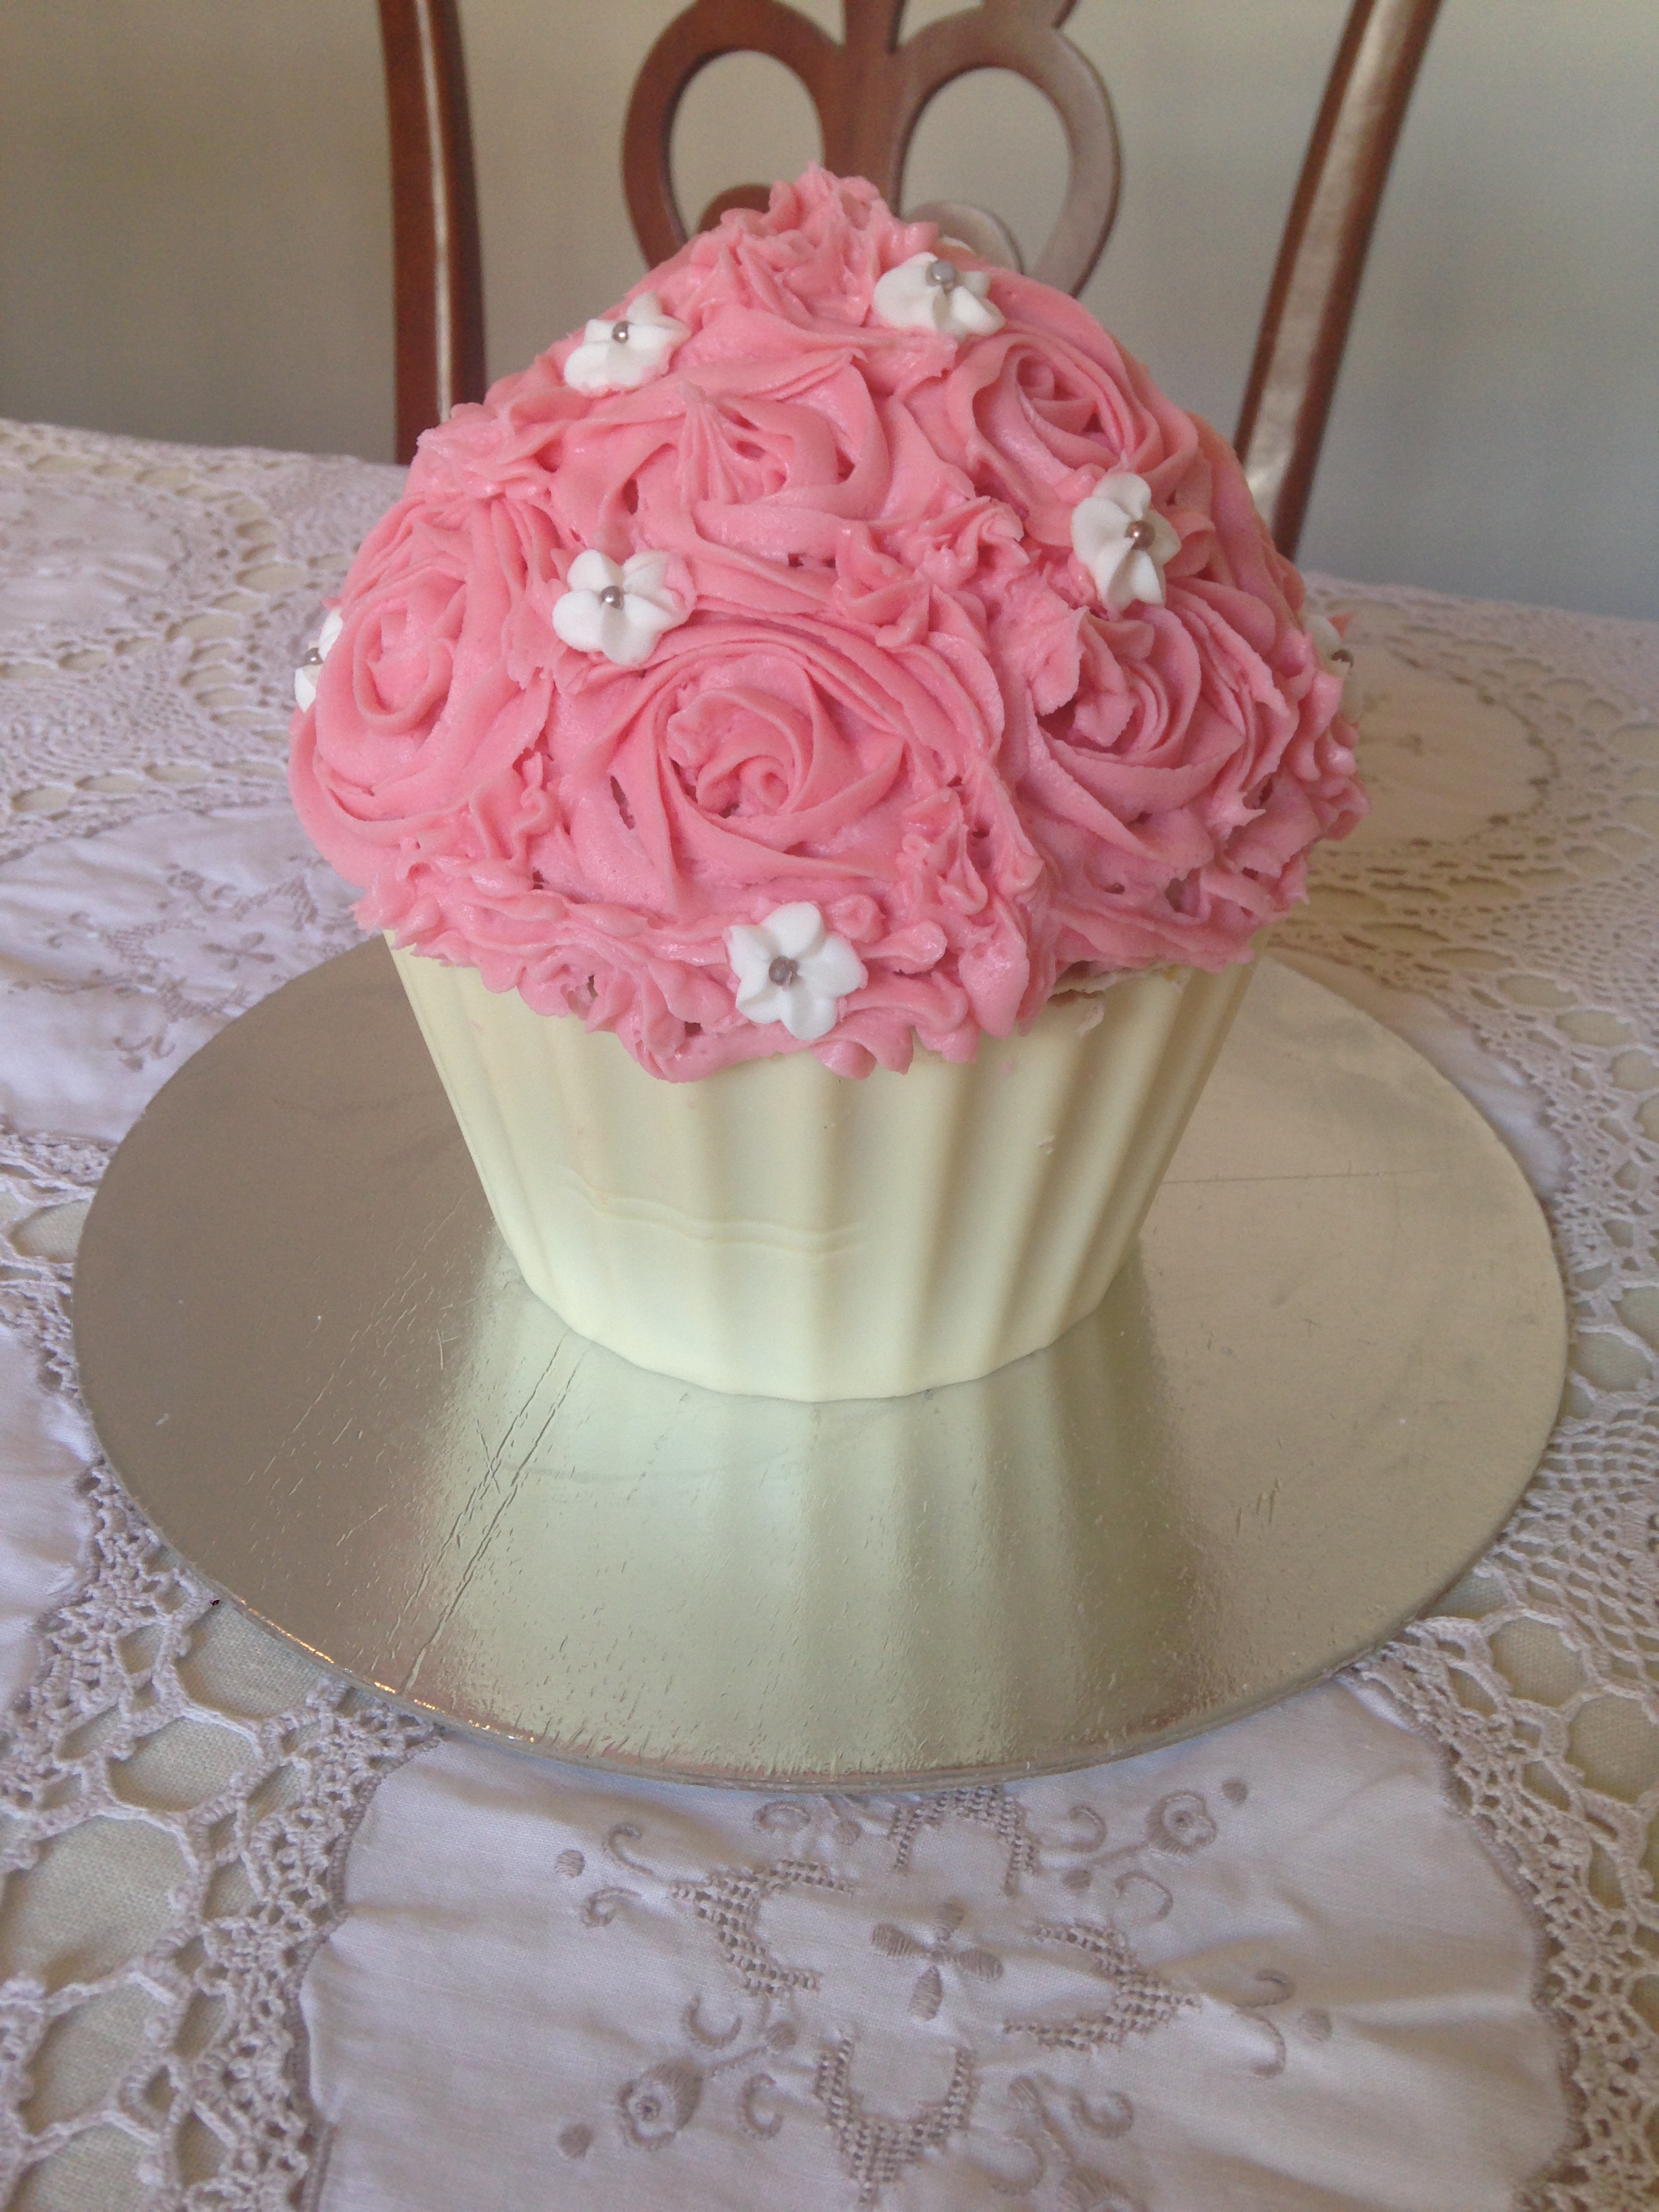
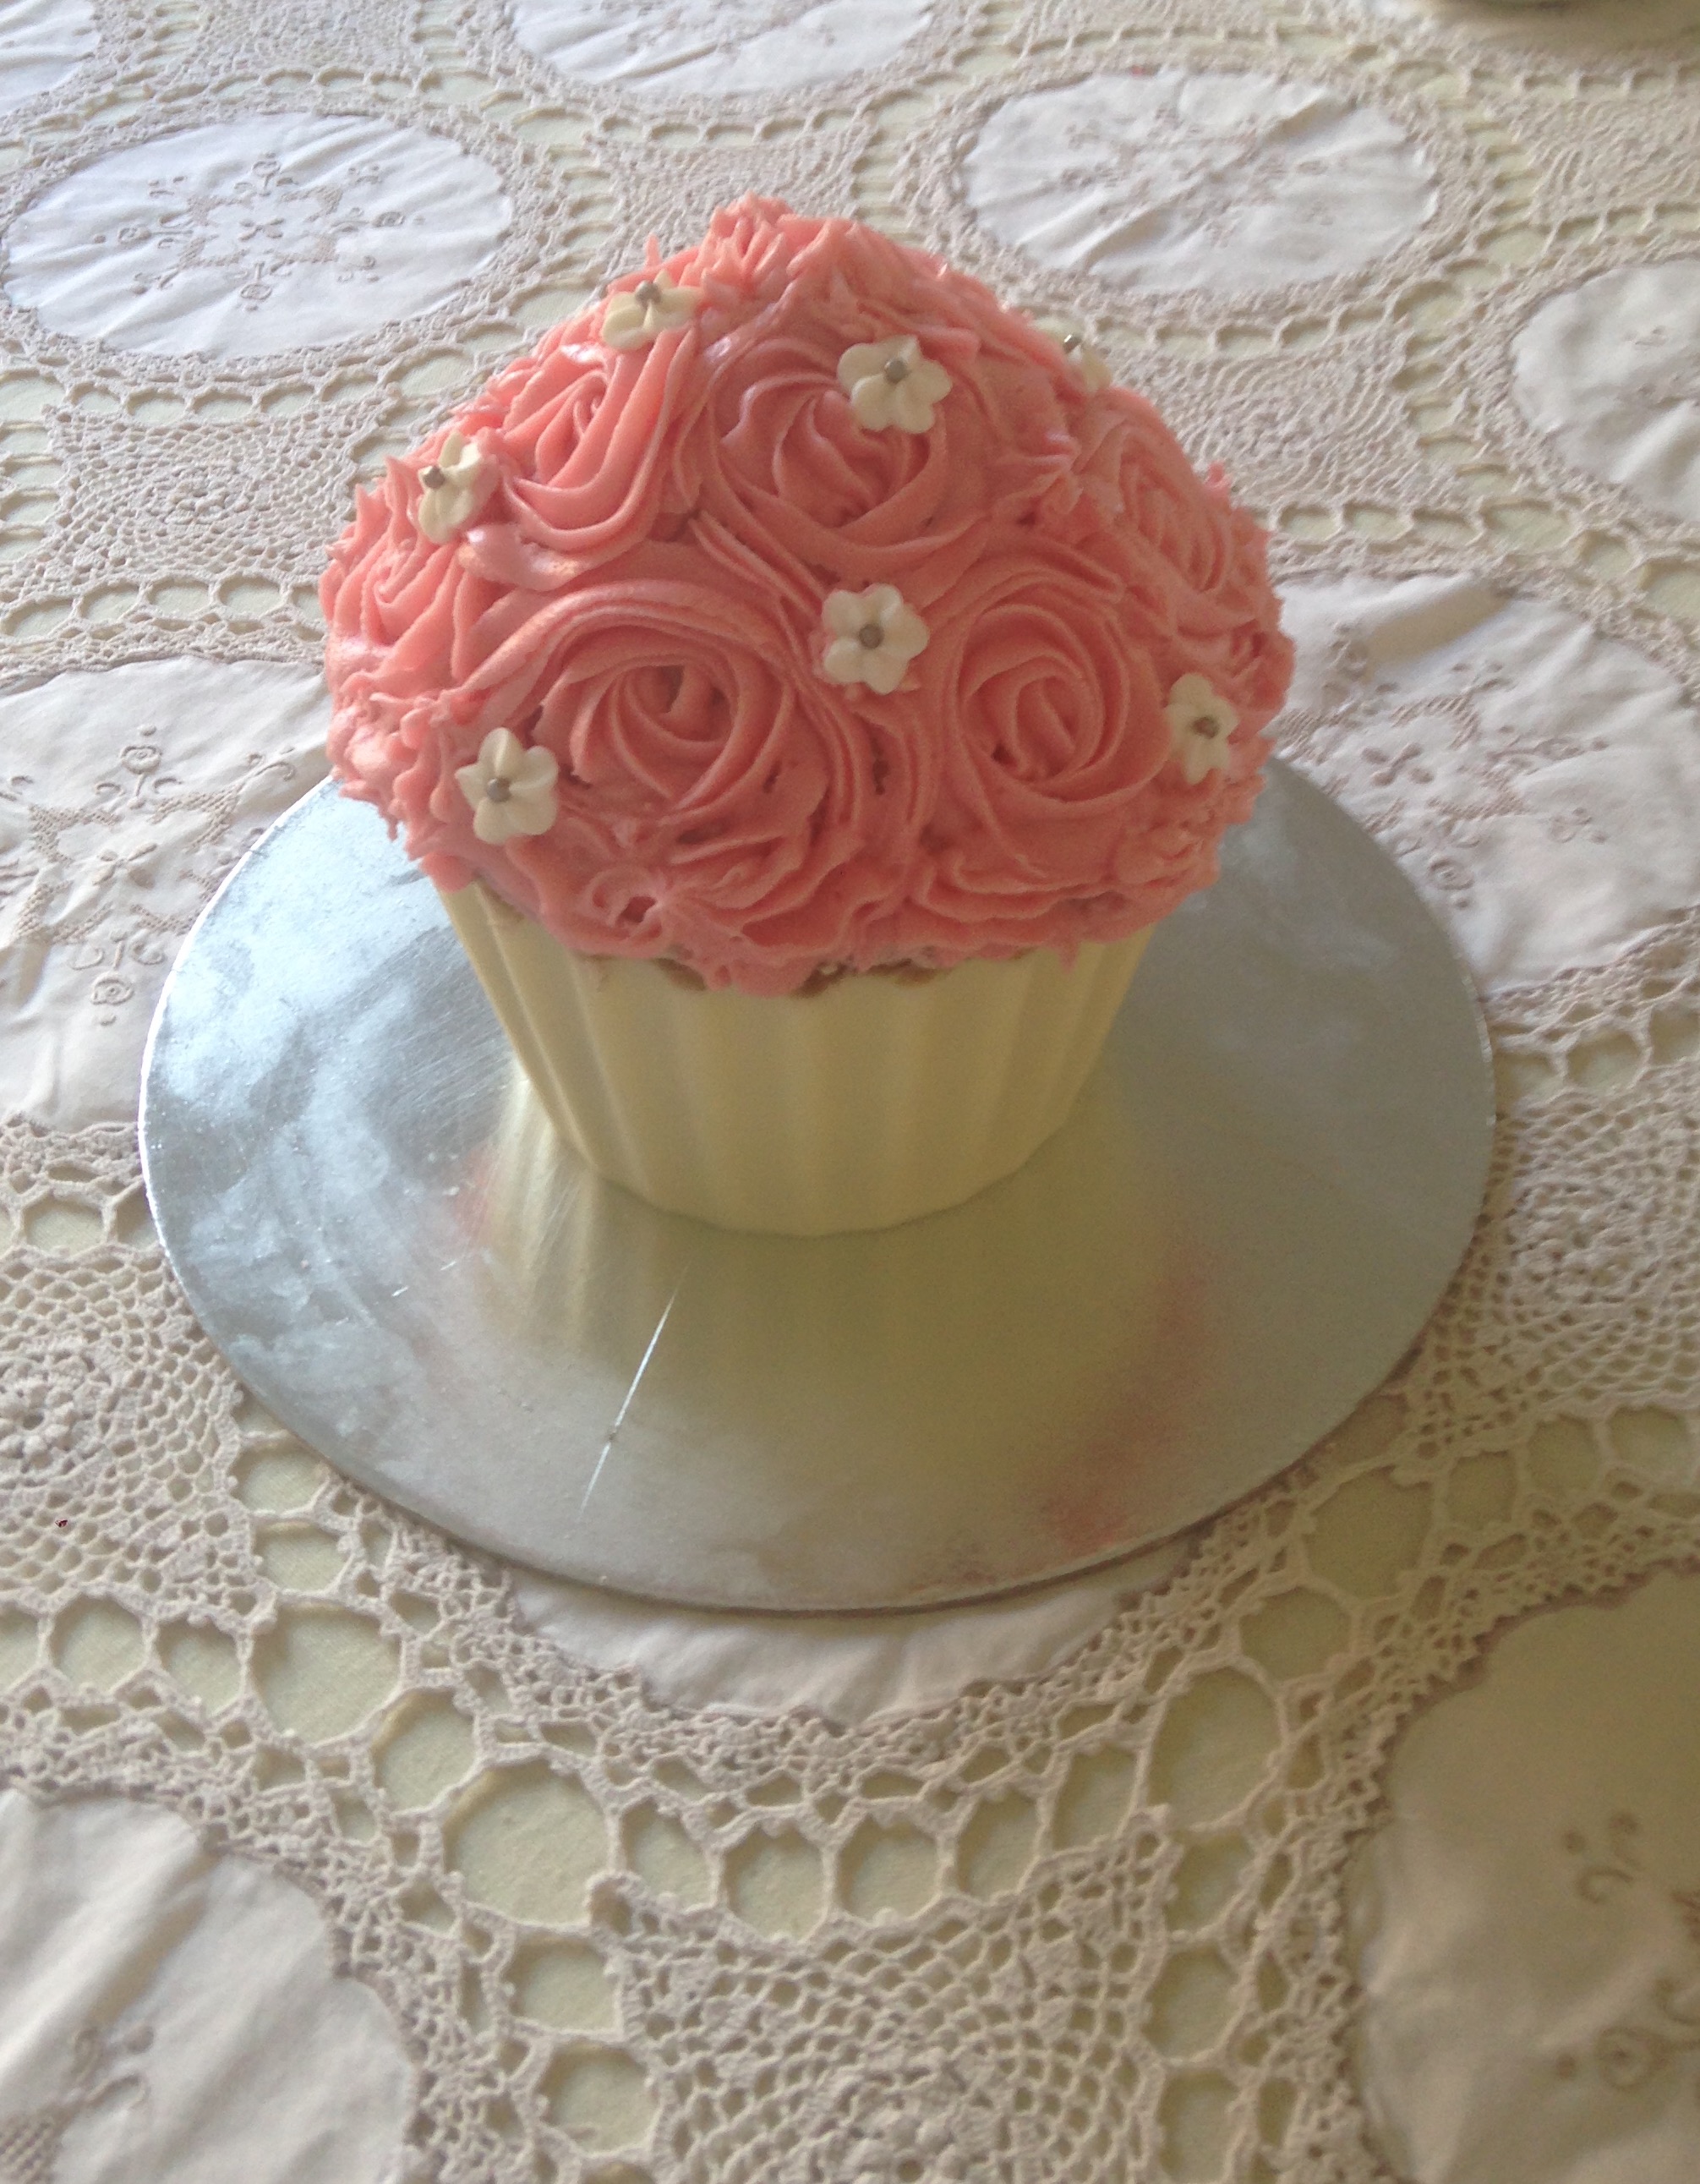
I haven’t made a giant cupcake for about 18 months but I’m so glad I found my giant cupcake cases again because they’re so much fun to make (and eat!) They’re also really easily adaptable as you can make them any flavour you like and decorate them in a million different ways. This time I’ve used buttercream roses but you could ice it as simply (or complexly) as you like – there’s a link to my fondant ‘soft serve’ icing instructions at the bottom of the page.image1-16

Ingredients (serves 10-12):
Cake
375g butter, softened
375g caster sugar
6 eggs
1 tablespoon vanilla extract
375g self-raising flour
3 tablespoons milk

Cupcake Case
375g white chocolate melts or Wilton candy melts

Buttercream icing
250g butter, softened
800g icing sugar
1 ½ tablespoons vanilla extract
4 tablespoons of milk
Food colouring

image1-17

Method
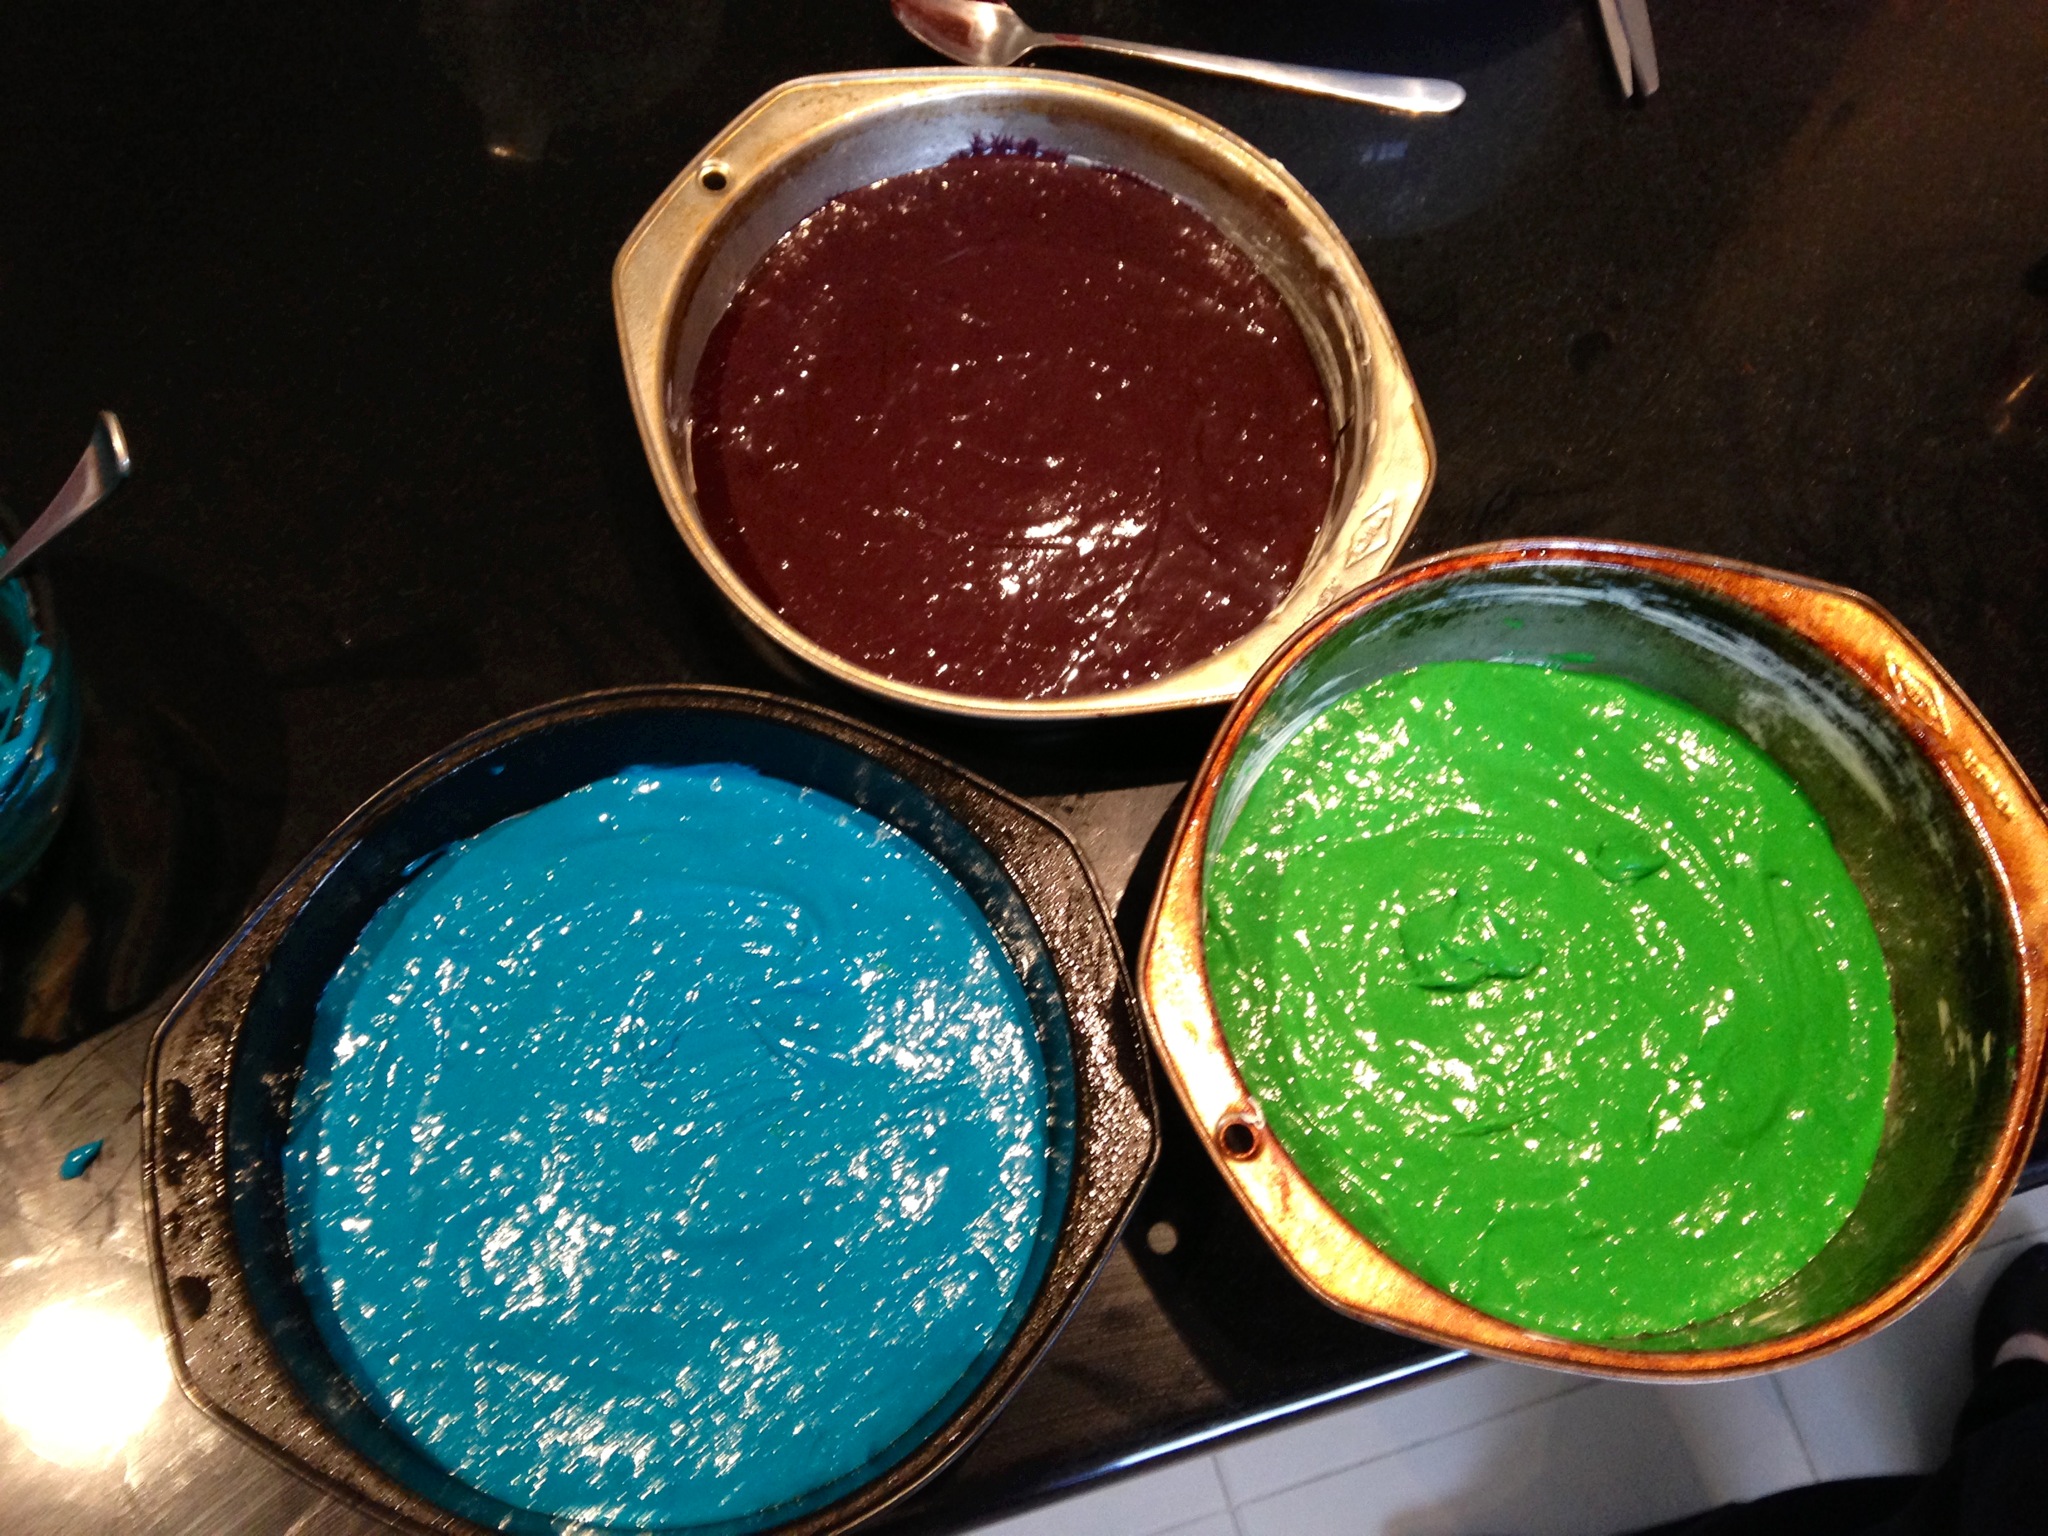
Spray silicone giant cupcake pan liberally with canola oil and preheat oven to 160°C fan-forced.

Cream together butter and sugar with an electric mixer until light and fluffy. Add in vanilla and then eggs, one at a time, ensuring that each egg is fully incorporated before adding the next. Add in half of the flour followed by two tablespoons of the milk, and then add remaining flour and milk. Mix until just combined.

Fill the giant cupcake pans, starting with the cupcake top. Fill until approximately 2cm shy of the top of the pan. Then fill the bottom pan with the remaining batter.

Bake in the oven for between 40-70 minutes, checking regularly. Note: the cupcake top will bake faster than the bottom so take it out before the bottom is done. The cake is ready when a skewer inserted into the middle of the cake comes out clean.

Leave cakes in their pans for at least 20 minutes before gently peeling the silicone off and allowing the cakes to cool completely on a cooling rack.

jan-proj3-041-Copy
Image credit: The Pink Whisk

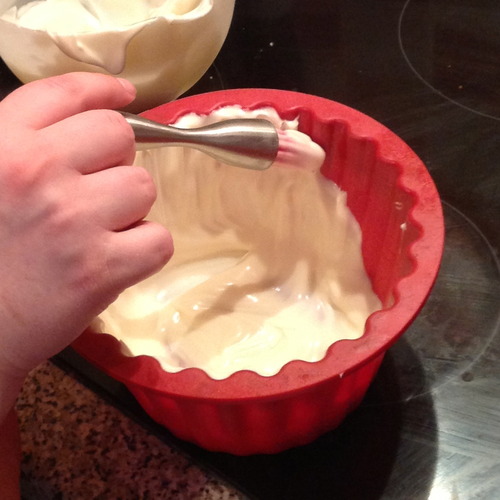
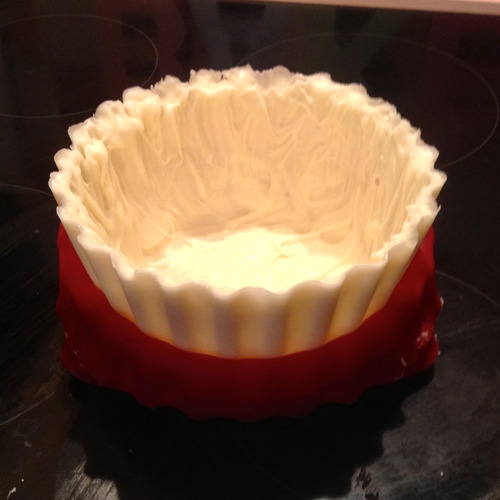
While the cakes are cooling, wash and dry the bottom cupcake pan ready to make the cupcake case. Melt half the chocolate/candy melts and pour into the bottom cupcake pan. Spread evenly up the sides using a pastry brush. Refrigerate for 20 minutes and then repeat with the remaining melts. Refrigerate for 30 minutes and then gently peel off the silicone mould.

tumblr_inline_mmyiwlTG1X1qz4rgp
Image credit: She Who Bakes
tumblr_inline_mmyixnTdp41qz4rgp
Image credit: She Who Bakes
tumblr_inline_mmyj0njISG1qz4rgp
Image credit: She Who Bakes

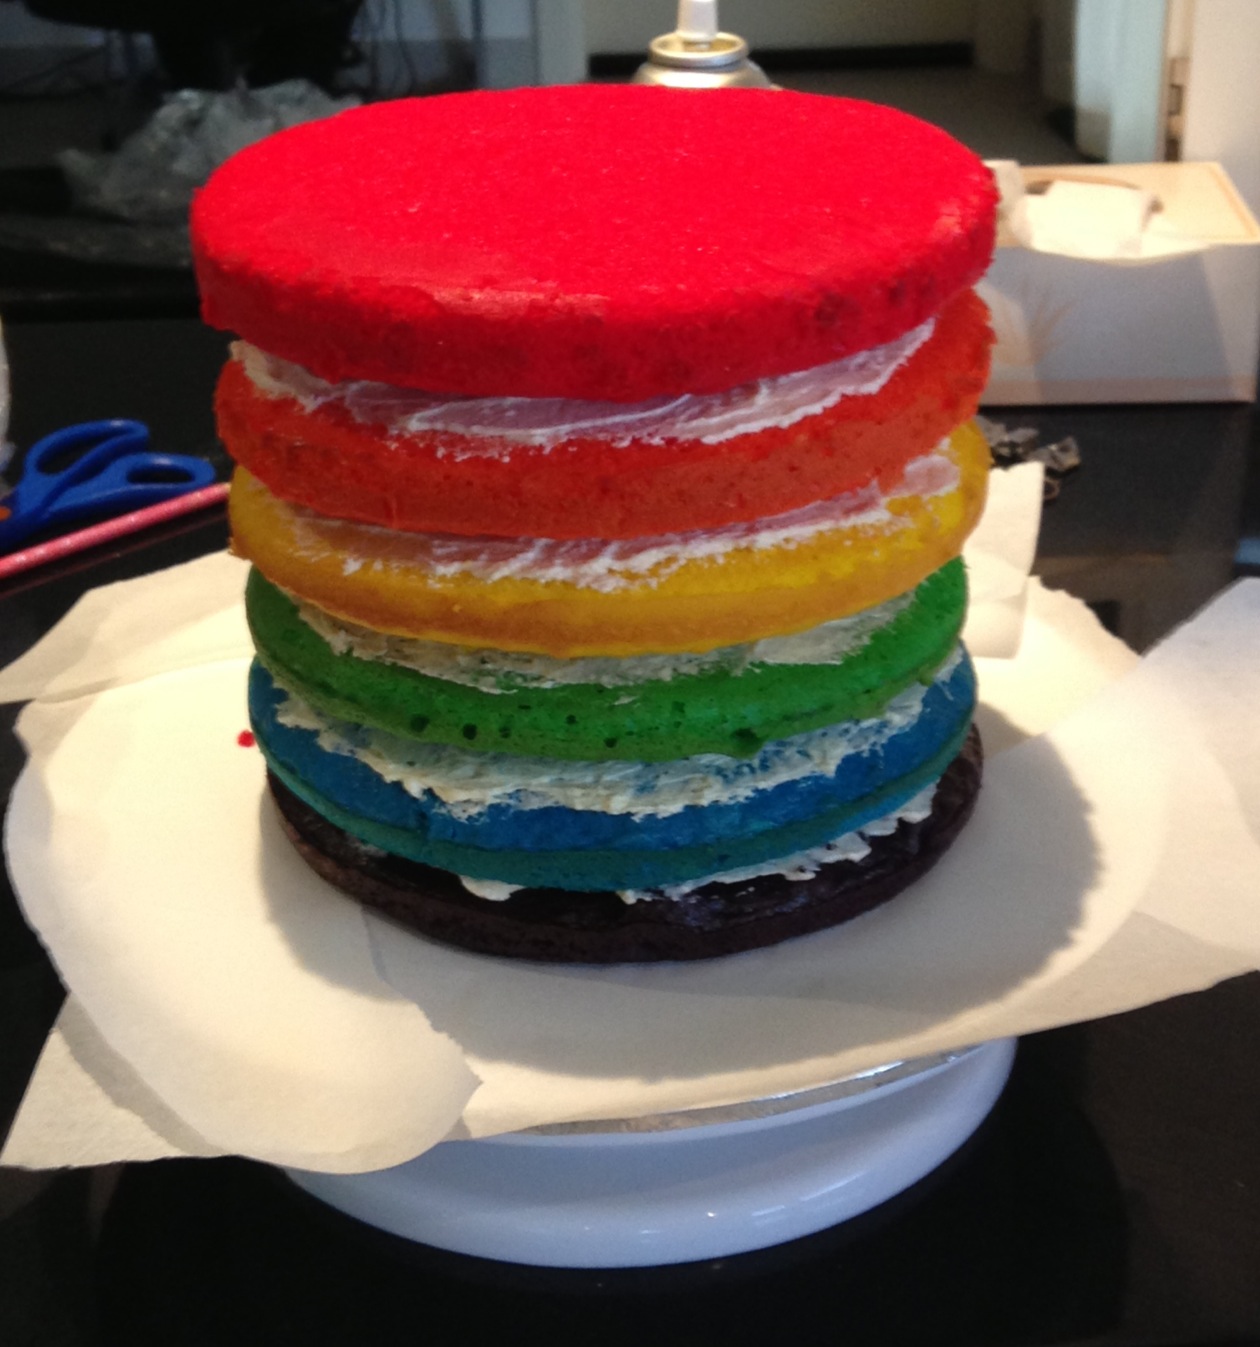
Using a serrated bread knife, trim around bottom cake so all crunchy edges are removed. Level top (of base) and then cut base in half. Cut off bottom layer off top piece. Level base (of top).

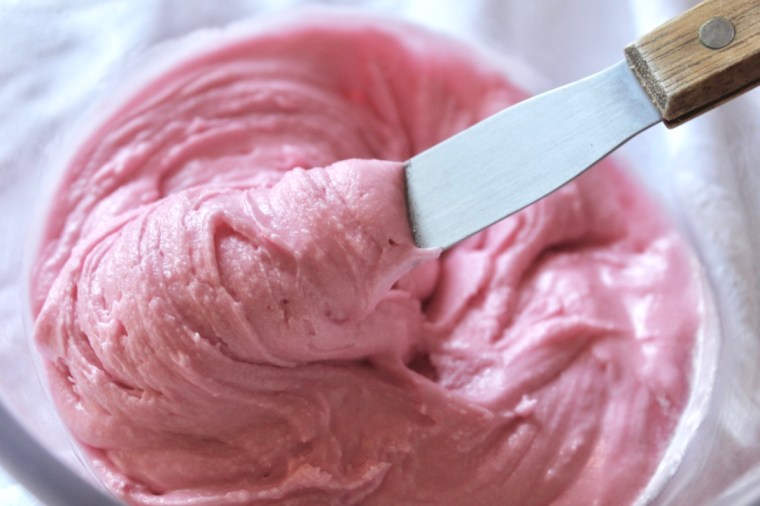
Make buttercream by beating all ingredients but the food colouring until light and fluffy. Set half aside for the crumb coat, and then add the food colouring to the remaining buttercream.

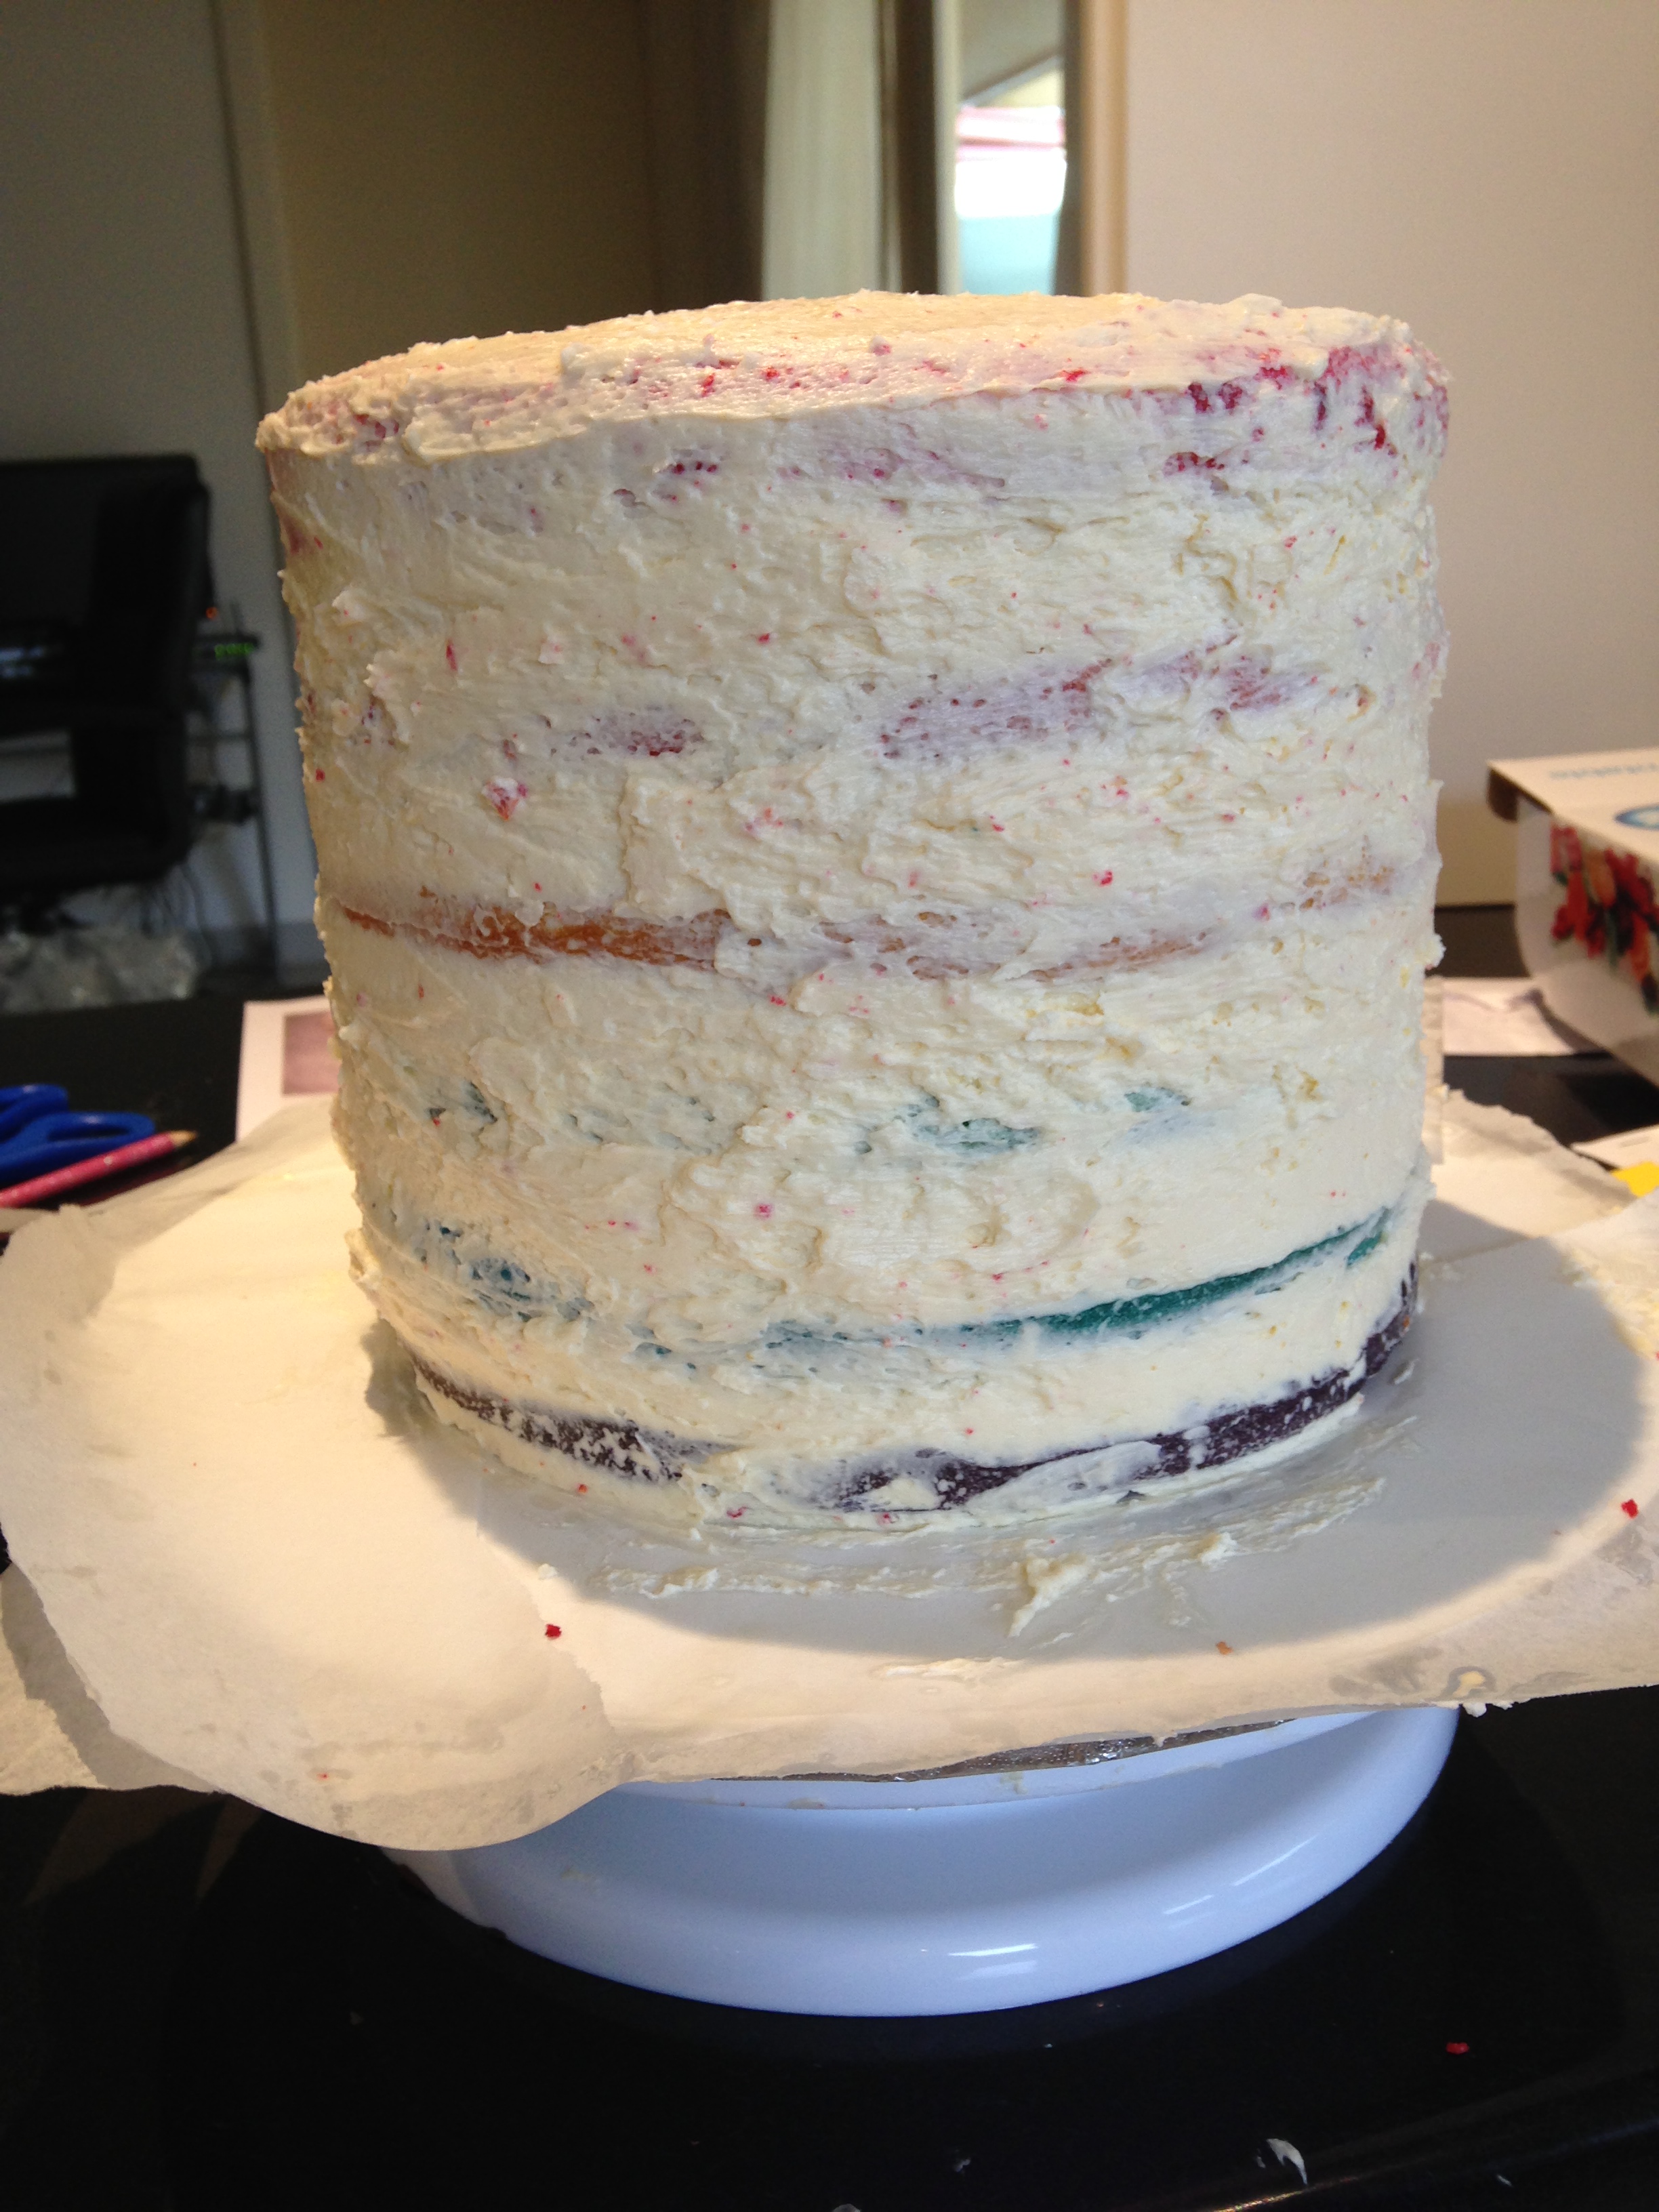
Put a 1cm thick coating of the uncoloured buttercream between 2 bottom layers of cake and then between the base and top (ensure level – cut if necessary). Then put a thin layer of buttercream on the inside of the chocolate case and gently ease cake into it. Cover top of cake liberally with buttercream to form a protective barrier against crumbs.

image1.PNG-2

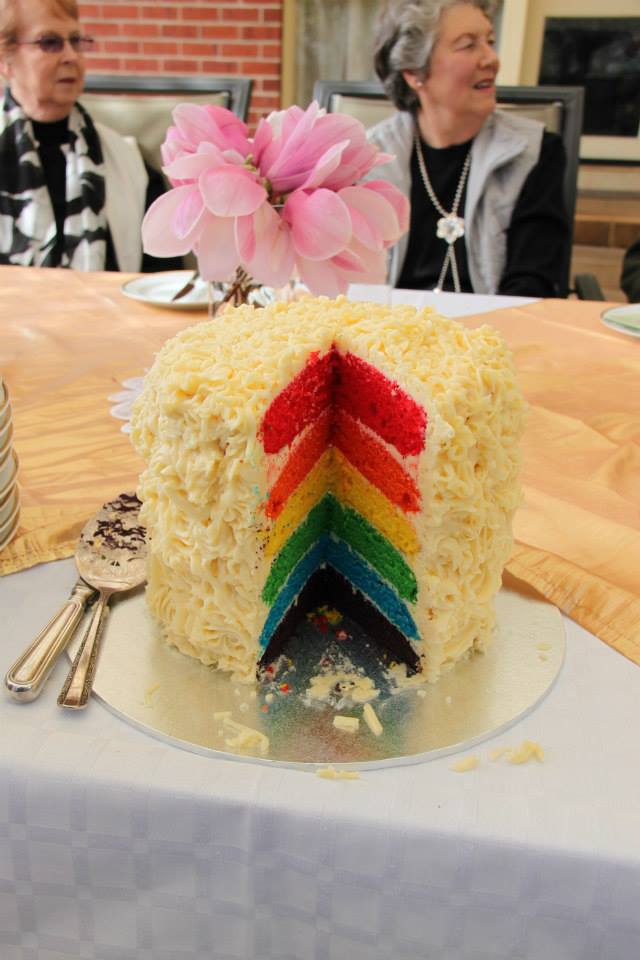
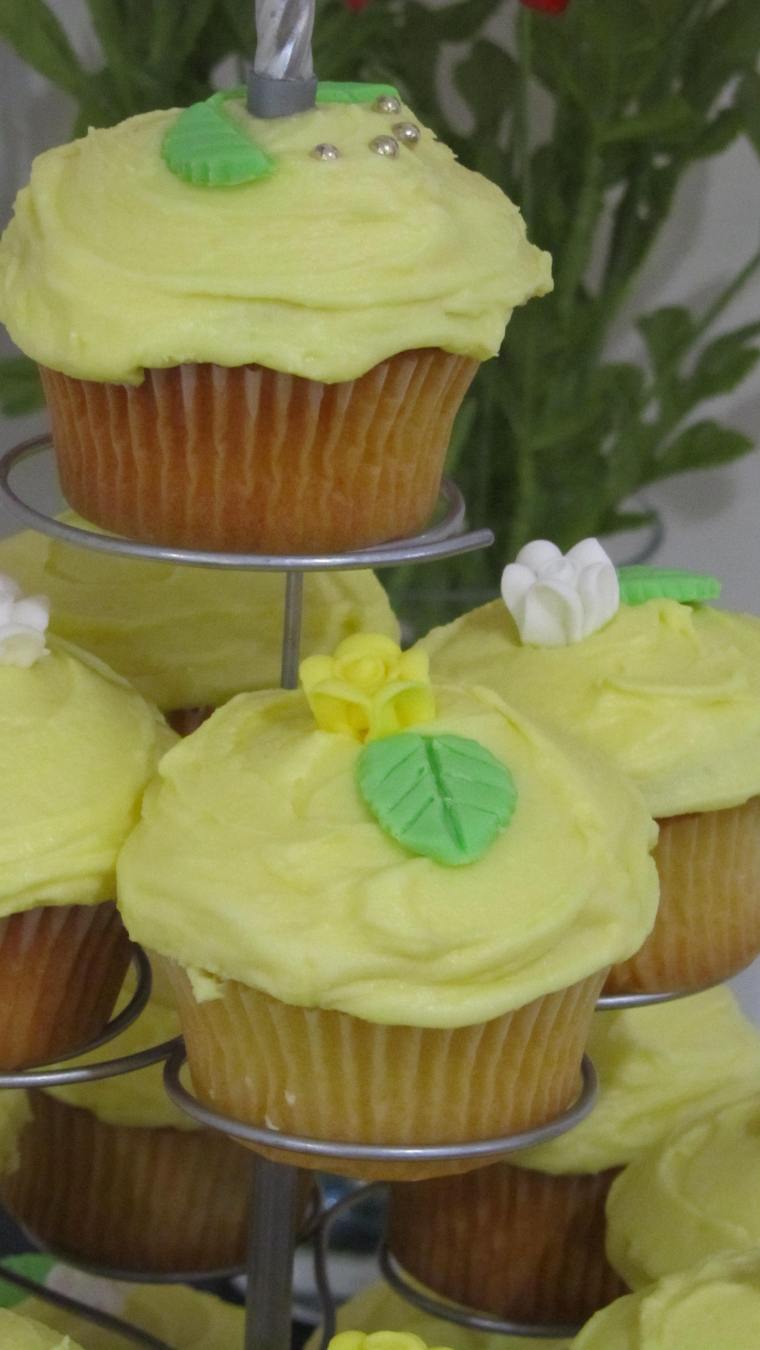
Put the coloured buttercream into a piping bag fitted with a Wilton 2D nozzle (to make roses) or equivalent, and pipe icing in a rose swirl pattern, starting from the bottom of the cake and working your way up.

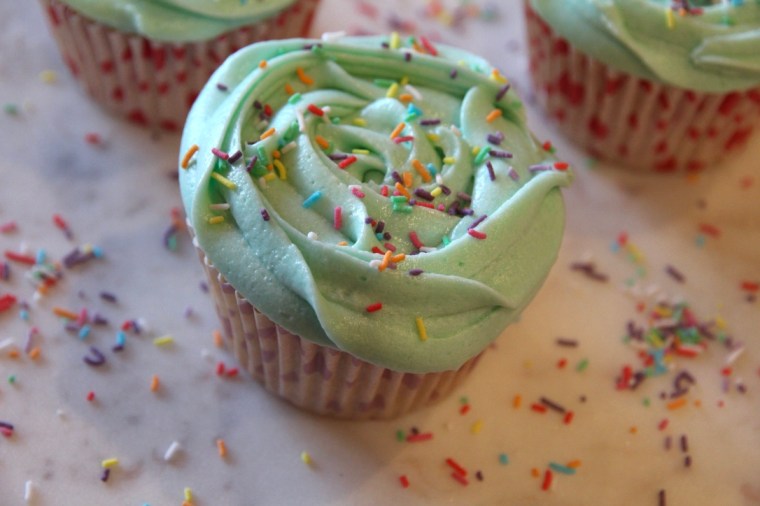
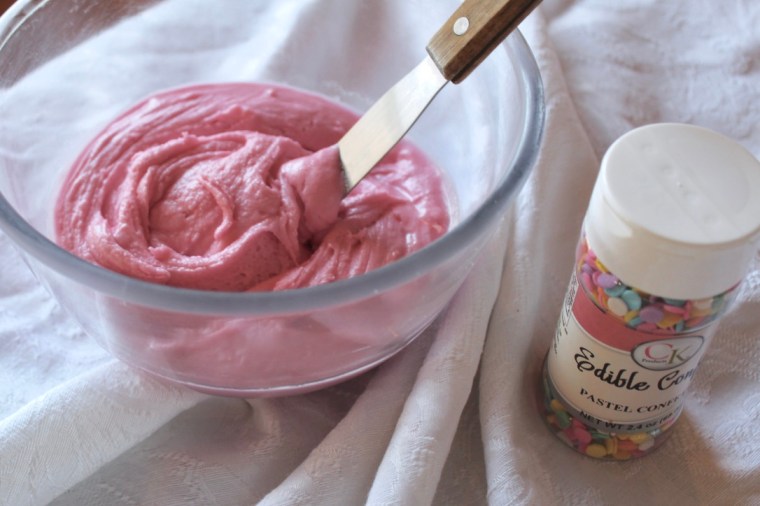
Decorate with icing flowers, sprinkles, silver cachous, glitter… basically whatever you like!

image2-15

Alternatively, if you’d prefer a soft-serve, fondant look. Halve the buttercream recipe to only make the crumb coat & then follow these directions: https://bakerholicsanonymous.wordpress.com/recipes-2/cakes/giant-cupcake/

Recipe adapted from ‘Vanilla Giant Cupcake Recipe’ by The Pink Whisk

Advertisement

Rainbow Layer Cake with Swiss Meringue Buttercream Frosting

As I’m sure you all know by now, rainbow cakes are in. To surprise my family at my 19th Birthday party, I decided to make one and keep it top secret. While it was time-consuming and challenging and, I admit, I had a few diva moments where I wanted nothing more than to throw the darn cake out the window, it was definitely worth it for the squeals of surprise and delight and the warm fuzzy feeling it gave me. I had, ambitiously, pictured it covered with perfect snow white roses. But it wasn’t to be when my rather overpriced Wilton star tip exploded and I was left with a huge mess and a 2-minute noodle effect. Still I persevered, and when topped with some flowers it didn’t look too bad. I have attempted to make this recipe idiot-proof (if I can do it, you can!) and so have used a packet cake base and converted all measurements. Good luck, this cake isn’t for the faint of heart!

Image

Image

Ingredients (serves 12-16)
Rainbow Cakes
2 boxes Betty Crocker SuperMoist vanilla cake mix (cheating, I know!)
Milk (as directed on the cake box x2)
Eggs (as directed on the cake box x2)
Red, yellow, green & blue edicol food dye powders

Swiss Meringue Buttercream
12 egg whites (split over 2 batches – 6 per batch)
480g caster sugar (split over 2 batches – 240g per batch)
600g unsalted butter (split over 2 batches – 300g per batch)
4 teaspoons vanilla extract (split over 2 batches – 2 tspns per batch)

Image

Method
1. Heat oven as directed on the Betty Crocker cake box. Spray three 20cm round cake pans with cooking oil spray.

2. In a large bowl, beat cake mix and other ingredients as directed by the cake box (I have stupidly thrown mine out and can’t remember exactly but I’m pretty sure there were eggs, unsalted butter and milk) *remember to double the quantities as you’re using 2 boxes worth* until well combined.1170685_10151734990259463_1454942815_n

3. Divide batter evenly among 6 bowls.

4. Using food dye and a small quantity of water, make a red, orange (using red & yellow), yellow, green, blue and purple (using red and blue) paste. Add one colour to each bowl and mix until all the dye is incorporated. It might take a few goes to ensure your colours are really vibrant, but it is definitely worth making sure they are for the finished product.

5. Refrigerate the green, blue and purple batters until ready to bake. Pour remaining 3 colours into the 3 prepared cake pans.

6. Bake for 18-20mins or until a skewer inserted into the middle of the cake comes out clean and the cake has started to pull away from the edges of the pan. Cool 10 minutes. Remove from pans and gently place onto cooling racks to cool completely.

7. Wash and dry cake pans. Lightly spray with cooking oil and then pour in the remaining 3 batters and repeat the baking process.

Image

8. To make the first batch of buttercream, add egg whites and sugar to a large metal bowl and place over a pot of simmering water, whisking constantly but gently until the mixture reaches 70 degrees C or until the sugar has completely dissolved and the egg whites are hot.

9. With whisk attachment of mixer, begin to whip the eggwhites until the meringue is thick, glossy and the bottom of the bowl feels neutral to the touch (NOT WARM).

10. Switch to paddle attachment and, with mixer on low speed, add butter cubes, one at a time until incorporated and mix until it has reached a silky smooth texture (if it curdles, keep mixing and it will eventually come back together).

11. Add vanilla, continuing to beat on a low speed until well combined.

12. Trim rounded tops off cakes to level (if necessary). Place the purple layer on the plate you wish to serve the finished cake on. Spread with buttercream to within a quarter of an inch of the edge. Place blue cake on top and repeat. Then add green, yellow, orange and, finally, red.

Image

13. Spread a light coat of buttercream on the top and sides of the cake to seal in crumbs. Then place the entire cake into a freezer while you make the second batch of buttercream.

Image

14. Repeat steps 8-11.

15. Remove cake from freezer, prepare a piping bag with a Wilton star tip (I used 2D) and fill piping bag about 2/3 full with frosting.

16. To make buttercream roses, starting at the bottom of your cake, hold your piping bag perpendicular to the surface you are icing, starting the centre of your desired rose and with a small amount of pressure, pipe in clockwise spiral around your centre, about 1 1/2 rotations or until your rose is of the desired size.

17. Repeat for the whole bottom row and then start a new layer, with the centre of your roses between the two roses below. Continue until the cake is fully frosted. Alternatively, just spread the buttercream thickly over the cake and decorate as desired. Enjoy!

Image

Image

Swiss Meringue Buttercream recipe adapted from Dessert Design Life.

Vanilla Buttercream Frosting

This is probably my most requested frosting/icing/addictive substance that goes on cakes. It works beautifully on cupcakes and large cakes and is a favourite with both children and adults!

thumb_img_2908_1024

Ingredients
Note: This makes HEAPS and I often halve or only use 3/4 of the recipe, however if you want really thick icing or will make a second batch soon after, the full recipe is the way to go (it lasts for about a week)
200g butter, softened
½ cup milk
1 tblspn vanilla extract
8 cups icing sugar
A few drops of food colouring/flavouring as desired

Yaxh0kg6T2+SJzFIs38sfA_thumb_d31

Method
Cream the butter for 1-2 mins in a large bowl using an electric mixer. Add the milk, vanilla and half of the icing sugar and beat for at least 3 mins (until the mixture is light and fluffy). Add the remaining icing sugar and beat for a further 3 mins or until of a spreadable consistency. Add extra milk if too dry or extra icing sugar if too wet. Add  colouring/flavouring and beat in until combined and the desired colour/flavour has been achieved.

Using a knife or piping bag, apply buttercream to cupcakes or cake and decorate as desired.

Cds2oTvKTQChj+iFM86QIw_thumb_d2e

Adapted from the Crabapple Cupcake Bakery Cookbook

image1-16July-Aug 2011 094