Honeycomb

This is an old family recipe for delicious honeycomb – perfect enjoyed by itself, dipped in chocolate to make home-made ‘crunchies’, or as decorations on cakes.

Note: best consumed on the day it is made and stored immediately in an airtight container so it doesn’t go sticky.

thumb_IMG_2210_1024

Ingredients
6 tablespoons white sugar
2 tablespoons honey
½ tablespoon water
1 teaspoon bicarb soda

Method

Place a sheet of non-stick baking paper on a tray.

Place sugar, honey and water in a medium saucepan over high heat.

Bring to the boil. Boil for 3 minutes or until deep golden in colour.

Take off the heat and lightly sprinkle over bicarb soda, stirring any lumps if required (but otherwise leaving it to froth and bubble).

Pour mixture onto prepared tray (don’t spread it too much or you will lose aeration), and allow it to set at room temperature.

thumb_IMG_2193_1024

Once set, break it into desired size pieces. Enjoy!

Recipe adapted from my Great Grandmother, Doreen James.

Advertisement

Mini Quiches

These delicious quiches are perfect for picnics, high-teas or parties. Here I’ve provided the recipe for cheese & bacon mini quiches, which are probably the biggest crowd pleaser, but you can add anything you’d like to your quiches – I love spinach and semi-dried tomato as a vegetarian option.

thumb_IMG_1901_1024

Ingredients (makes 36)
2 sheets puff pastry
5 rashers shortcut bacon, with fat removed
185g shredded cheese
3 eggs
½ cup thickened cream

thumb_IMG_1910_1024

Method
Defrost pastry sheets at room temperature for approximately 15 minutes.

Preheat oven to 190°C fan-forced. Spray three 12-hole round-bottomed patty-pan/yorkshire pudding pans (see picture below) with cooking oil. Otherwise, muffin pans will work fine but you may need to adjust the size of your pastry rounds.

31QMKn0-O0L._SX300_
Image Credit: Amazon.com

Dice bacon into 1cm squares. Cook until crispy (I tend to be lazy and use the microwave, but by all means cook in a frypan).

Once pastry has defrosted, cut out rounds with a 6cm cutter and press into prepared pans.

Divide bacon pieces evenly among quiche bases. Top with approximately 1 teaspoon of cheese per quiche.

Whisk together eggs and cream in a small bowl. Transfer into a small jug for easy pouring. Pour approximately half a tablespoon of egg mixture into each quiche base.

Bake for 12-15 minutes or until puffed and golden.

Let the quiches cool for 2 minutes in pans, then transfer to wire cooling racks.

Quiches can be served warm or at room temperature. Enjoy!

thumb_IMG_1903_1024

NB: Quiches keep for 1-2 days in an airtight container in the fridge, but are best eaten on the day they’re made so the pastry is crisp.

Recipe from my Mum, Anne Bills.

Powder Puffs with Strawberries & Cream

This is probably my most requested recipe and I feel terrible for having kept it in the Bills/Payne/James/Hockney family vault for so long! My Mum (and her mother and grandmother before her) makes powder puffs for special occasions and they are always incredibly popular. They’re dead easy to make and the “sponge biscuits” keep in an airtight container for ages**. The only trick is to fill them with cream far enough in advance so they soften up – then they’re like eating sweet, fluffy clouds. I love them filled with strawberries and cream, lightly dusted with icing sugar, but you could fill them with just about anything.

thumb_IMG_1895_1024

Ingredients (makes approximately 45 sandwiched powder puffs)
3 eggs
¾ cup sugar
½ cup plain flour
½ cup cornflour
1 teaspoon cream of tartar
½ teaspoon bicarb soda

To fill
Whipped, sweetened cream flavoured with a drop or two of vanilla extract
Strawberries, thinly sliced

thumb_IMG_1896_1024

Method
Preheat the oven to 200°C (or 180°C fan-forced). Line 3 large baking trays with baking paper (you will fill approximately 6 trays due to spreading, but I just rotate and re-use the trays).

Beat eggs and sugar in a large bowl with electric mixers until light and fluffy. Add in sifted flours, cream of tartar and bicarb soda and mix until just combined.

Drop ½ teaspoons’ worth of the mixture onto the prepared trays, leaving plenty of room to spread (I usually fit 12-15 on my large trays). Bake for 6 minutes* and then leave to cool slightly, before removing from the tray with a metal spatula and letting them cool completely on a wire cake rack. Repeat this process with the remaining mixture.

2-3 hours before serving, match each sponge biscuit with another of approximately equal size. Spread each ‘biscuit’ generously with thickened, sweetened cream and add sliced strawberries to one half before sandwiching them together.

Dust with a little icing sugar just before serving. Enjoy!

Notes:
*They will harden like a biscuit (they’re supposed to, don’t worry), but will soften when you add the cream later.
** Store in an airtight container with grease-proof paper between each layer so they don’t stickthumb_IMG_1897_1024.jpg

Adapted from a very old family recipe.

Chocolate Mint Sundae Cupcakes

Chocolate and mint are a match made in heaven and these cupcakes combine them in one deliciously compact package. The cupcakes are a dark chocolate mudcake which, to me, are the perfect blend of light and rich. They are then topped with a generous layer of fluffy mint buttercream (which tastes exactly like peppermint ice-cream I might add), melted dark chocolate and a crumbled Flake bar – what’s not to love?! These are also a gorgeous shade of green – perfect for St Patrick’s Day!

thumb_IMG_1481_1024

Ingredients (makes 12)
90g softened butter
1 cup brown sugar, firmly packed
2 eggs
⅔ cup self-raising flour
2 tablespoons cocoa powder
⅓ cup almond meal
⅔ cup water
60g dark chocolate melts, melted

Peppermint Buttercream Frosting
125g butter, softened
1 ½ cups icing sugar
2 tablespoons milk
Peppermint essence
Green food colouring

To decorate
1 large Flake bar, crumbled
30g dark chocolate melts, melted

thumb_IMG_1480_1024

Method
Preheat the oven to 170°C (150°C fan-forced). Line a 12-hole muffin tin with patty pans.

Beat butter, sugar & eggs in a large bowl with electric mixer until light and fluffy. Add in sifted flour and cocoa, almond meal, water and melted chocolate.

Fill each patty pan approximately ⅔ of the way full. Bake for around 25 minutes or until a skewer inserted comes out clean. Stand cakes in tin for 5 minutes before transferring them to a wire rack to cool.

Once cakes are fully cool, you can make the frosting. Beat butter in a medium bowl with electric mixer until light and fluffy. Beat in icing sugar and milk and a drop each of peppermint essence and green food colouring  (or until desired colour and flavour reached).

Ice cupcakes with a generous layer of frosting. To decorate, dollop each cupcake with dark chocolate and spread it so that it looks as though it is dripping slightly down the cakes. Top with crumbled Flake.

Enjoy!

thumb_IMG_1477_1024

Adapted from The Australian Women’s Weekly ‘Cupcakes by Colour’ cookbook

Salted Caramel Blondies

These delicious blondies taste like a cross between choc chip cookies and cake. Be careful not to over cook them as they’re definitely best when fudgy.

GlGdzQI2RmuJf%EzUYw+DQ_thumb_1b88

Z7qs2o8yQdeQ+yZpNoD%Yw_thumb_1b8b

Ingredients (Makes about 25 blondies)
180g unsalted butter, melted
1 ½ cups lightly packed brown sugar
2 eggs
2 teaspoons vanilla extract
1 ½ cups plain flour
Sea salt flakes
½  cup white chocolate melts
½ cup white chocolate chips
½ cup milk chocolate chips (optional)

Method
Preheat the oven to 190°C (or 170 fan-forced). Line a 20cm square baking tin with baking paper.

Mix the melted butter and brown sugar together in a large bowl. Beat in the eggs, one at a time, and then the vanilla extract.

Gently stir in the flour and a pinch of sea salt. Carefully fold in the chocolate, making sure it is evenly dispersed.

Spoon the mixture into the prepared baking tin and smooth the top with a spatula. Sprinkle a couple of pinches of salt over the top and then bake for 20-30 minutes, or until the outside is cooked and the middle has a slight wobble.

Remove from the oven, sprinkle once more with a pinch or two of salt, and allow to cool for 30 minutes in the tin. Gently remove the blondie from the tin by the baking paper and leave to cool for a further 5-10 minutes on a cooling rack.

Once cool, cut into squares. Enjoy!

wojLkPEET7SYVKkYi%3Krw_thumb_1b8c

Adapted from Callum Hann’s ‘Salted Dirty Blondies’ in I’d Eat That, 2014.


Rhubarb & Cinnamon Muffins

These are some of my favourite muffins and one of the most delicious ways to use rhubarb. The combination of the tart rhubarb and buttermilk with the crunchy sugar and cinnamon crust is a match made in heaven. Try them warm out of the oven and try and stop at one!

990305F6-4C1E-4651-A3D3-7F6EE5C00CFD_1_105_c

Ingredients (makes 16)
For the rhubarb mixture
1 bunch rhubarb, washed, ends trimmed
2 tablespoons water
2 tablespoons sugar

For the muffins
1 cup rhubarb mixture
1 ¼ cups plain flour
½ cup sugar
2 teaspoons baking powder
¾ cup buttermilk
¾ cup olive oil
1 egg

For the sugar-cinnamon crust
⅓ cup sugar
2 tablespoons ground cinnamon

CD1DA4F0-1CC6-4710-807D-CD8B6740F7CA_1_105_c

Method
Preheat the oven to 180°C fan-forced. Line muffin tins with 16 patty pans.

Chop rhubarb into small, even pieces and cook with water and sugar in a small saucepan over a medium heat until the rhubarb is tender and the sugar has dissolved. Stand for 5 minutes to cool.

Add flour, sugar and baking powder into a large bowl and make a well in the centre. Carefully pour in the buttermilk, olive oil and egg and gently stir to combine. Mix in the cooked rhubarb, being careful not to over-stir (note: the mixture is supposed to be very wet, don’t worry!)

Spoon mixture evenly into muffin cases & top with mixed sugar and cinnamon.

Bake for 25-30 minutes or until a skewer inserted comes out clean. Top with extra stewed rhubarb and cream if desired. Enjoy!

0718D069-BC73-4A0C-8BC3-DEB786181367_1_105_c

Recipe adapted from Grandma

Tiramisu Ice Cream

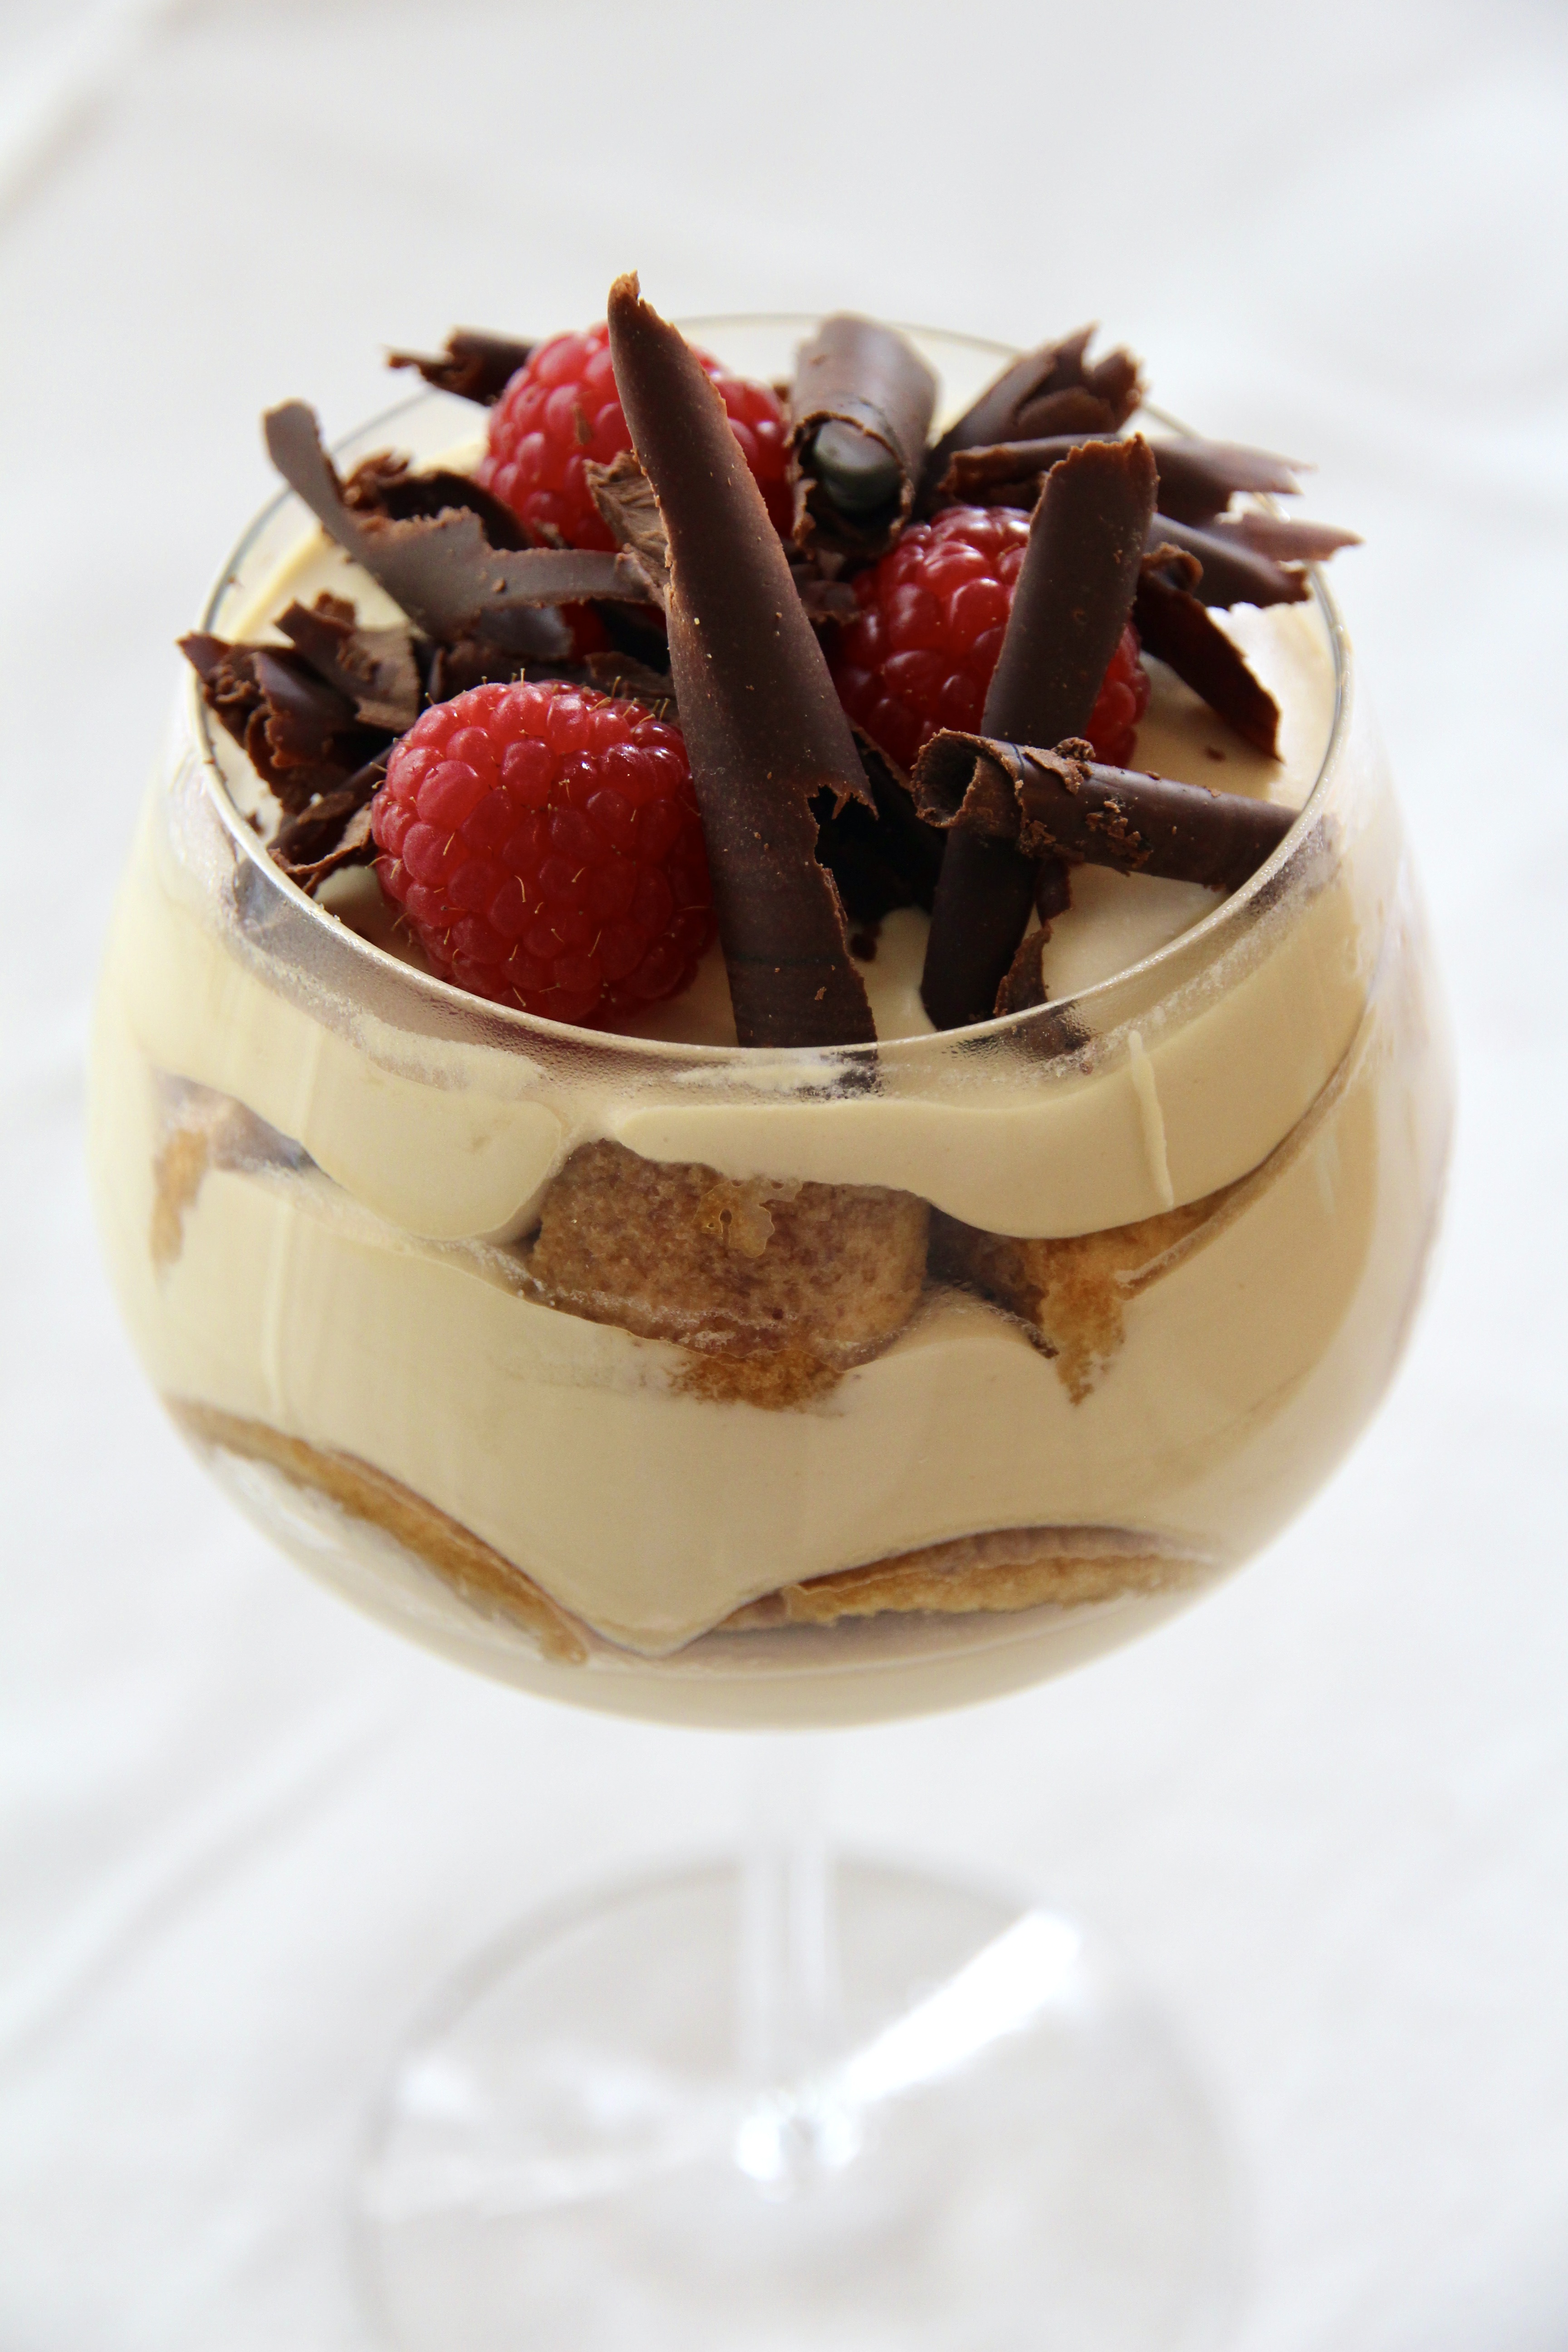
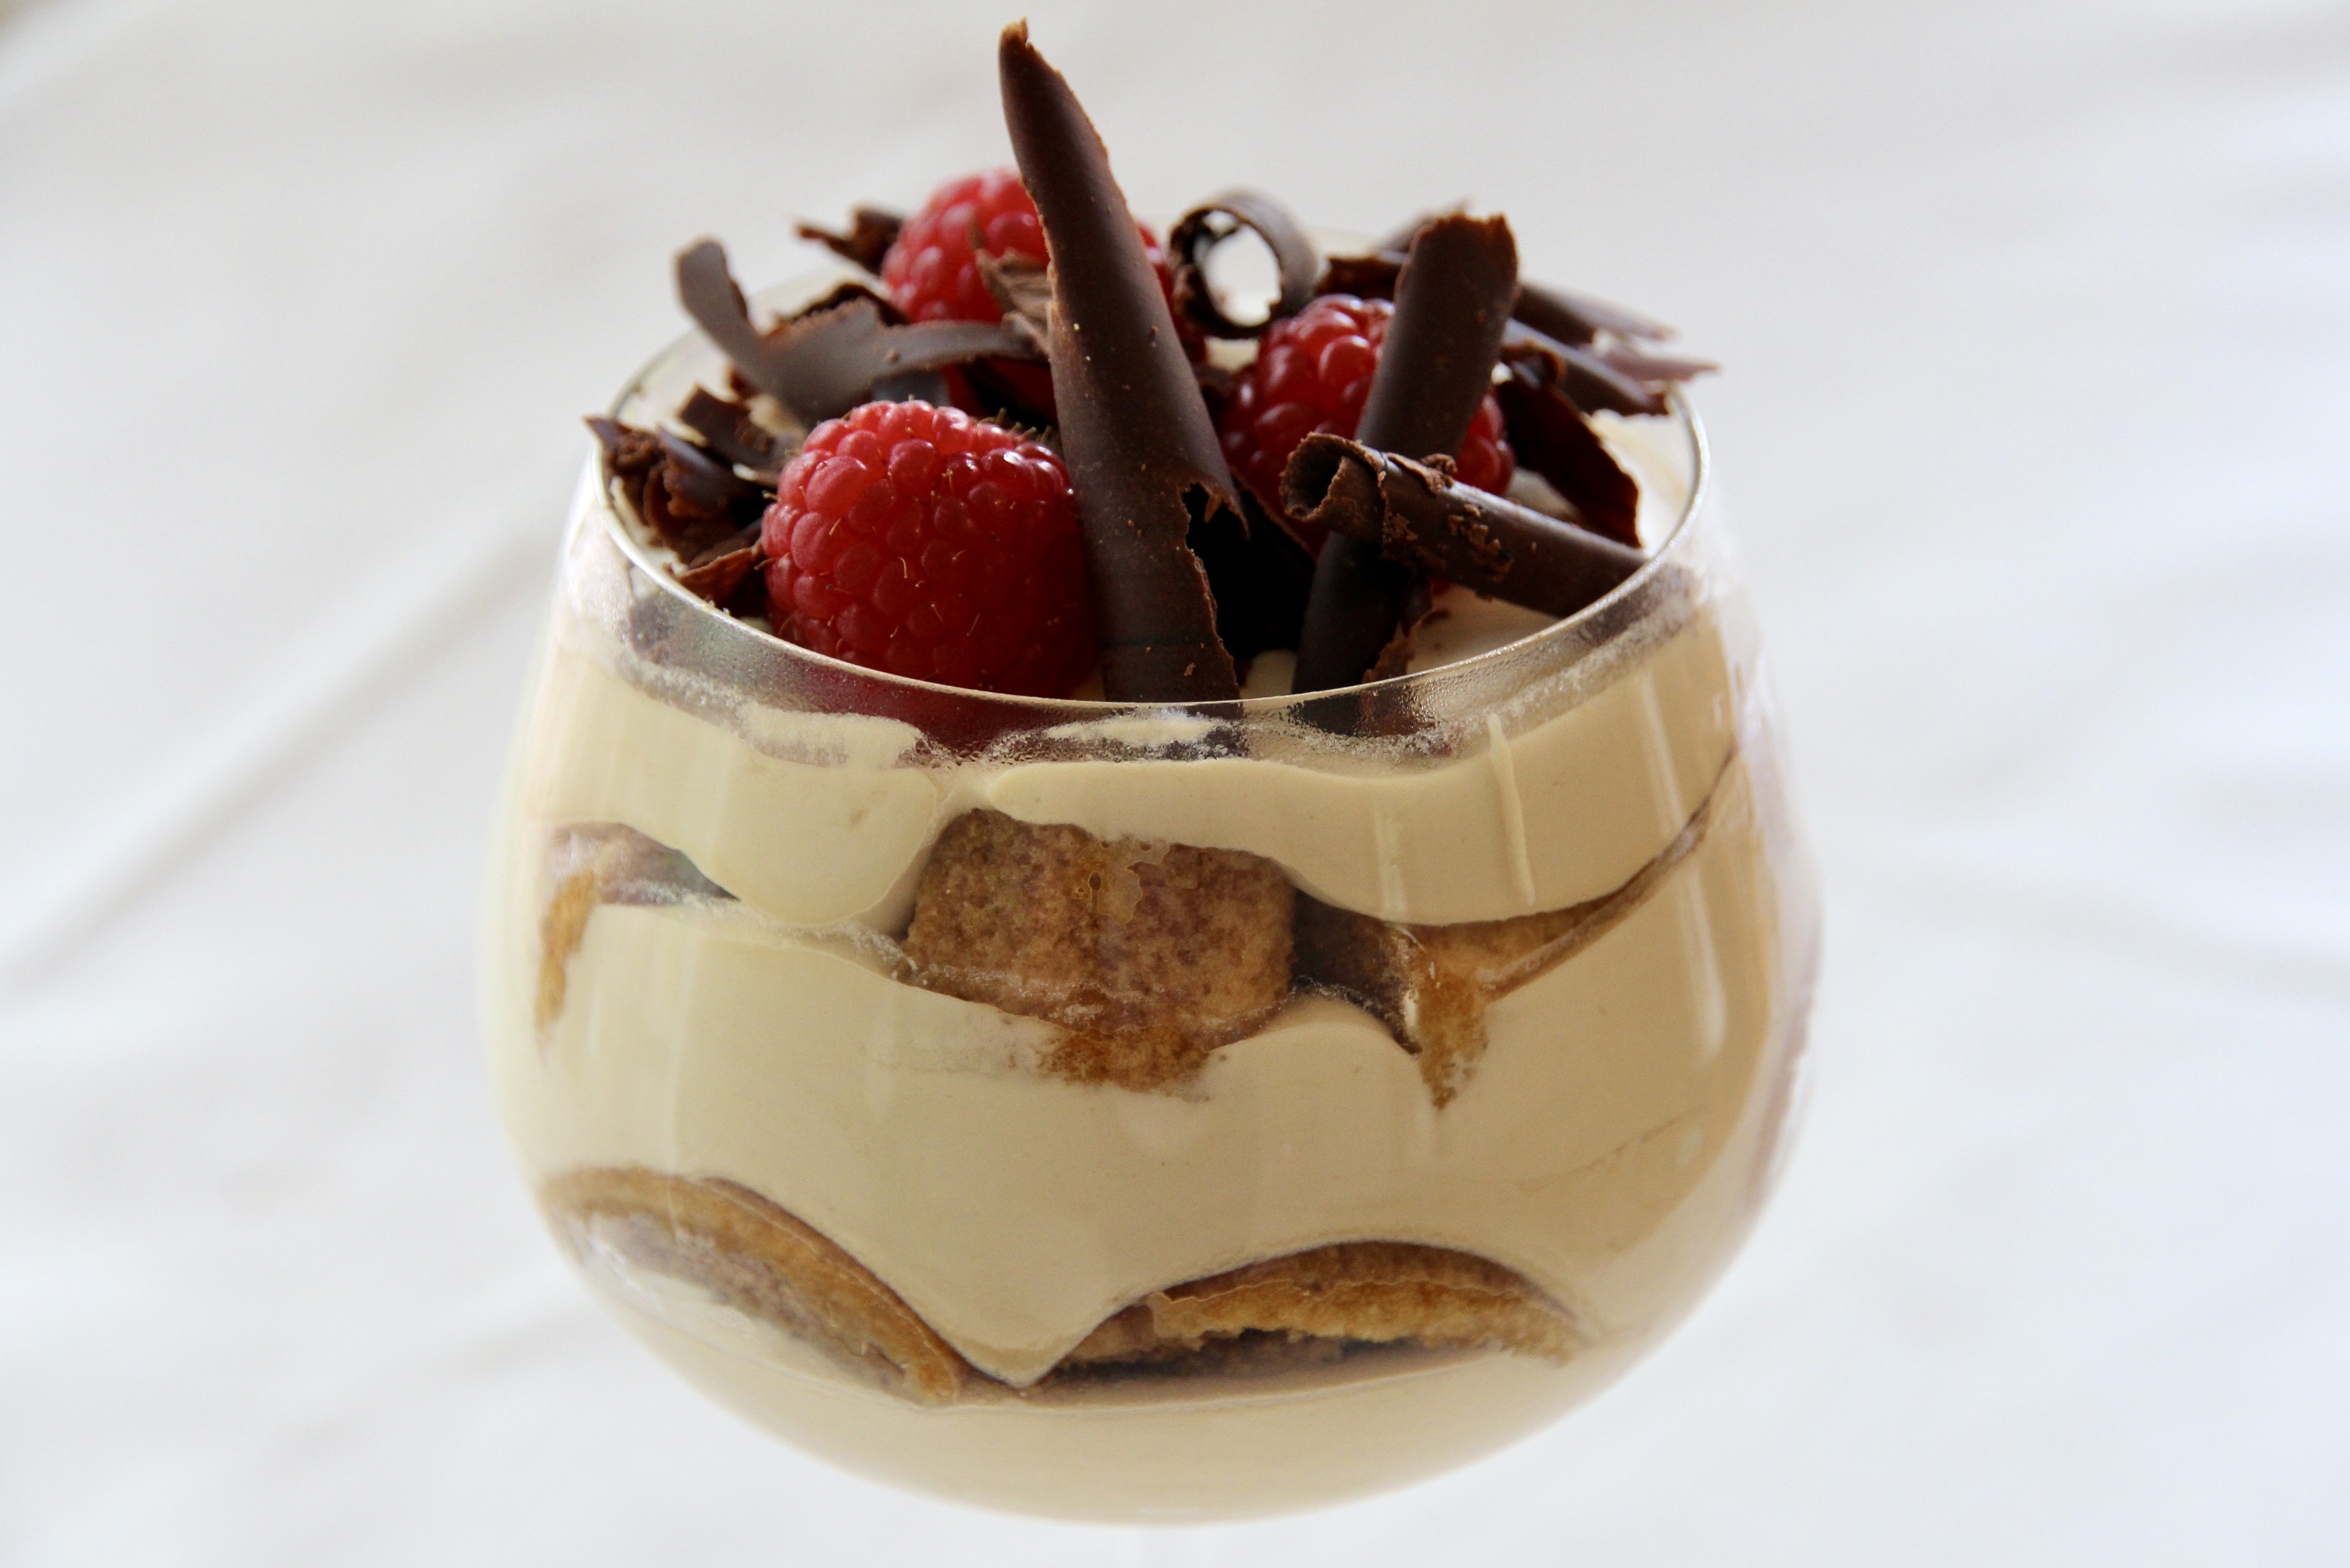
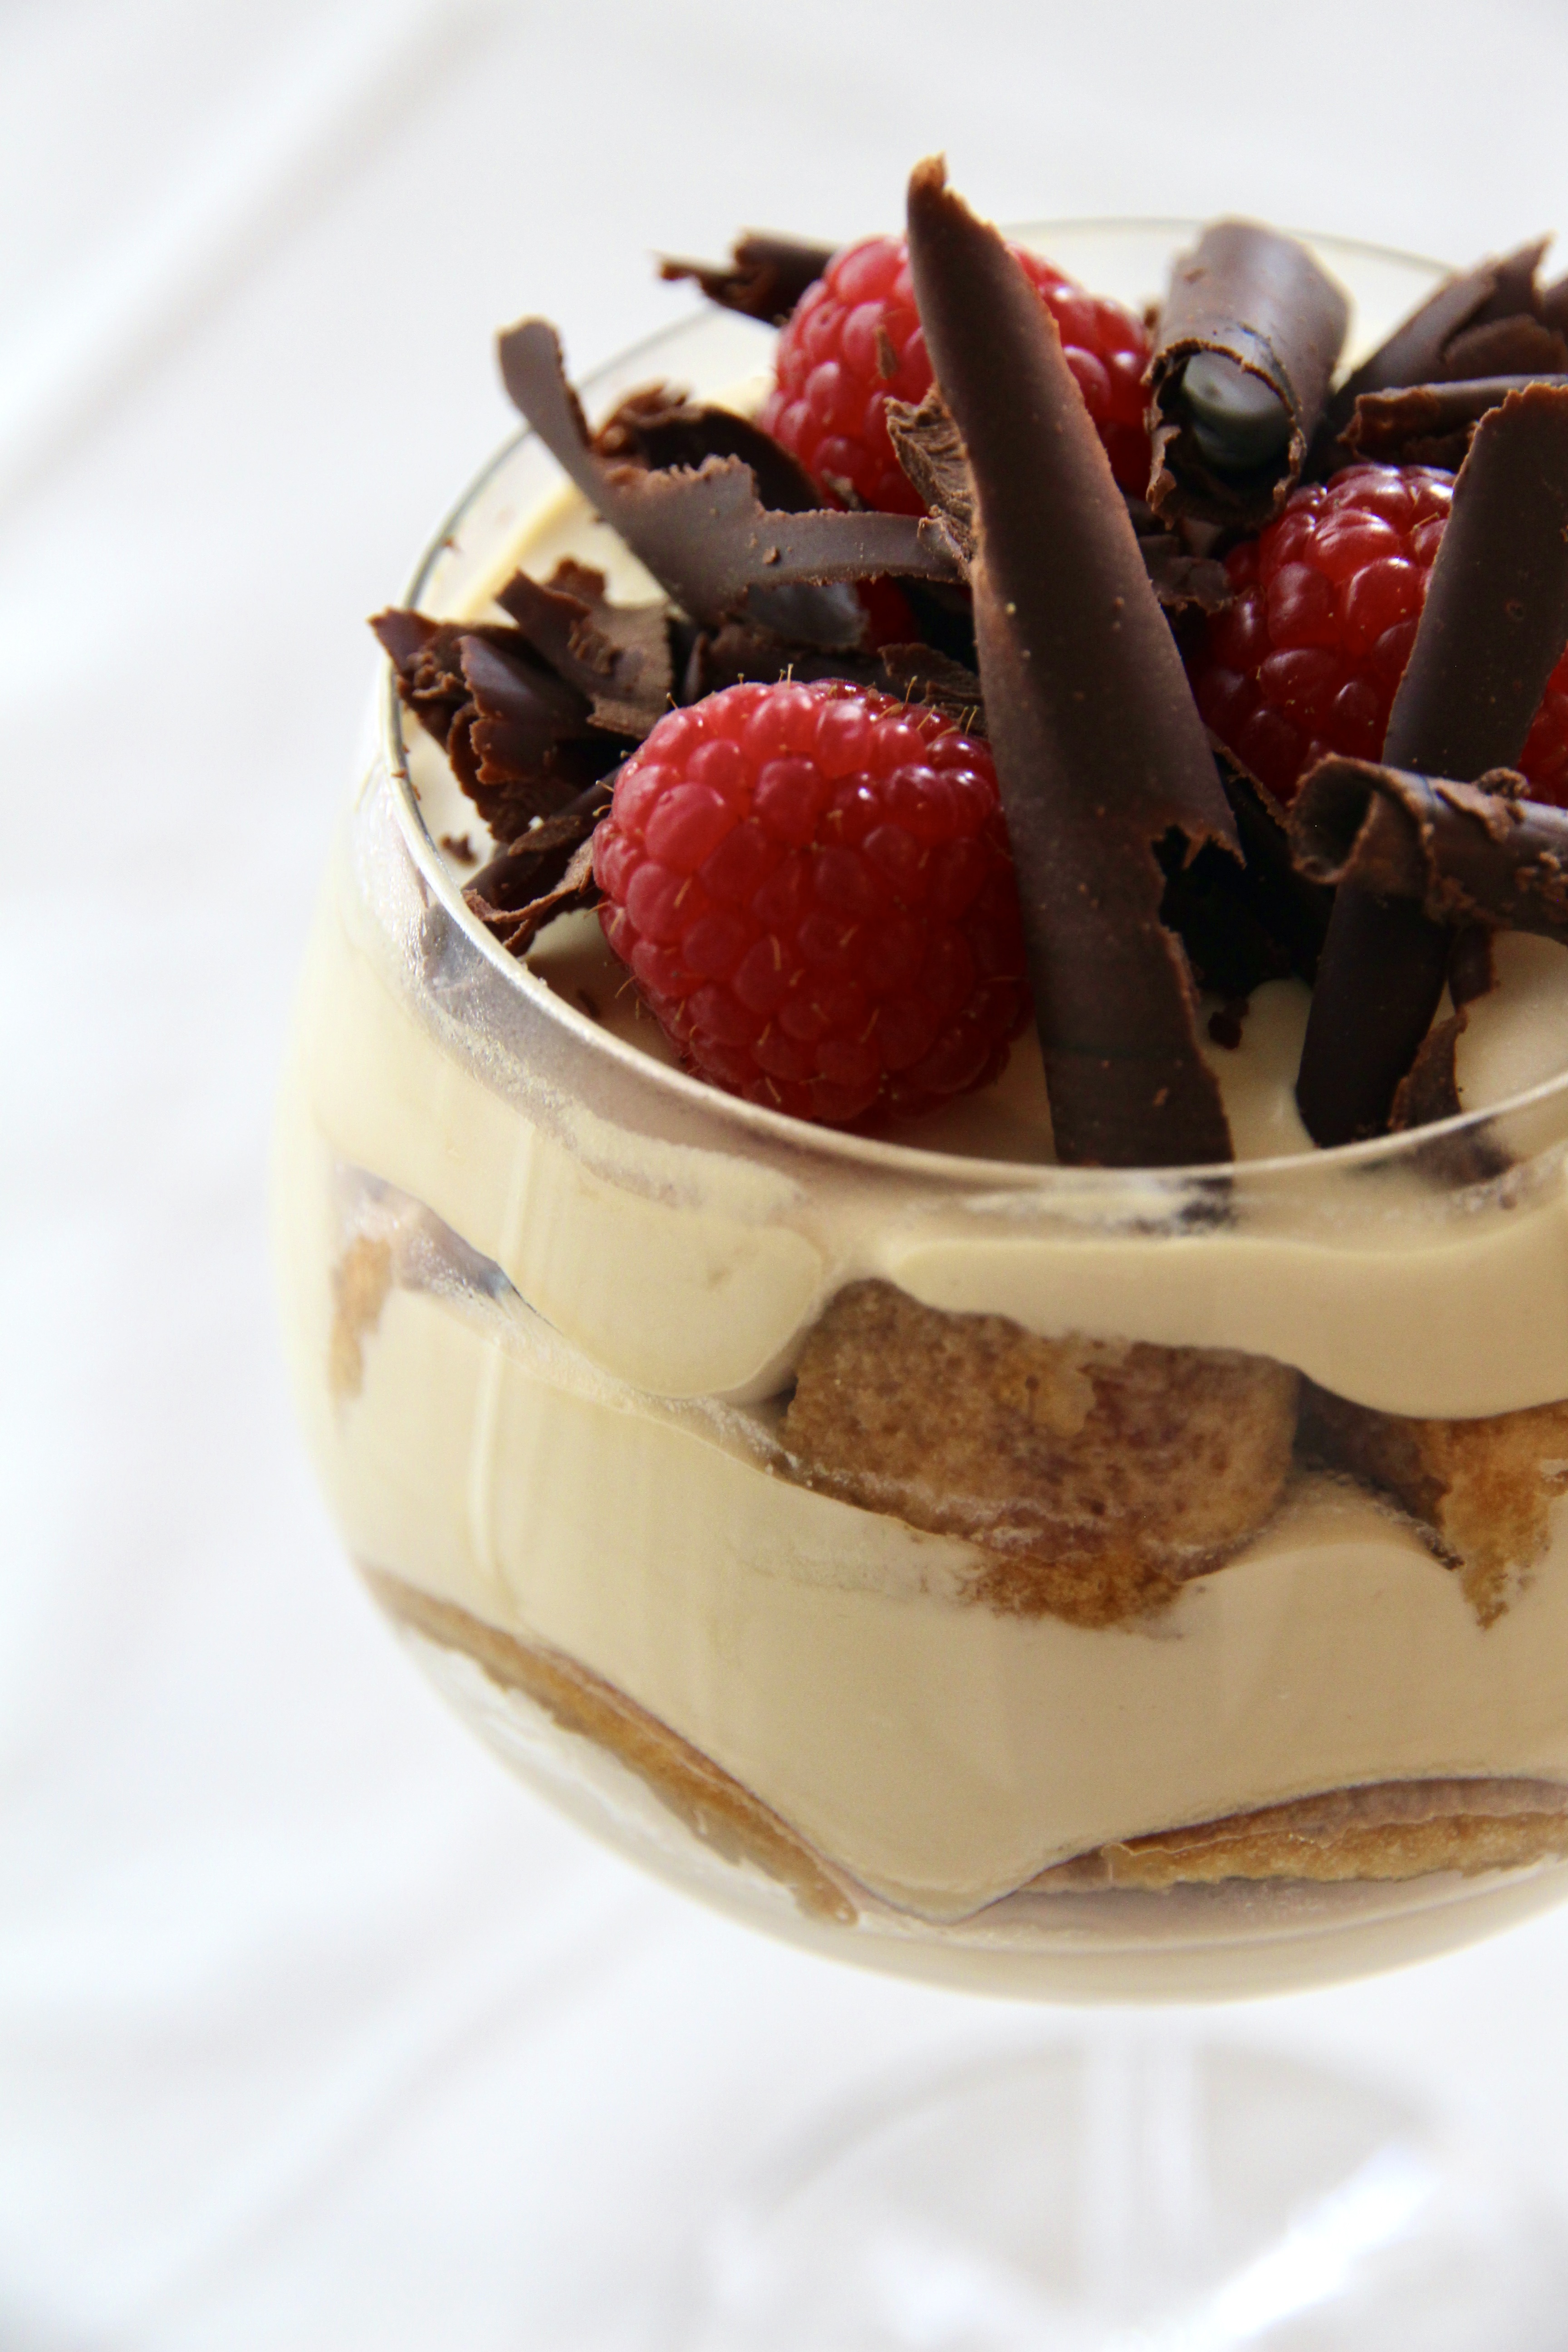
This ice cream is easy, light and utterly delicious. It is quite sweet, more like a Vietnamese iced coffee than a traditional coffee, but works beautifully with the tartness of raspberries. I’ve chosen to serve mine in individual glasses here, but it works well as one large ice cream cut into slabs too – I’ve included the instructions for both.

Start this recipe at least 7 hours ahead of serving.

Ingredients (serves 6)
2 tablespoons instant coffee (I use decaf)
⅓ cup boiling water
2 tablespoons Tia Maria (or equivalent coffee liqueur)
400g can skim condensed milk
550ml cream
¼ cup milk
1 x 300g packet sponge finger biscuits
Raspberries & dark chocolate curls or chocolate covered coffee beans (to decorate)

Method
Combine coffee, water & Tia Maria and set aside until cool.

Combine condensed milk and cream in a large bowl and beat with an electric mixer until thickened. Beat in half of the coffee mixture.

To make 6 individual servings, prepare 6 medium sized glasses. Split the cream mixture equally into 3 bowls. Divide the first bowl’s worth of cream mixture evenly between the glasses.

Combine remaining coffee mixture with milk. Cut 6 sponge finger biscuits into halves and dip into this coffee mixture until evenly coated. Fit two half biscuits in a single layer into each glass. Cut approximately 2-3 additional biscuits into 5 small pieces and dip into the coffee mixture. Use to fill the gaps so you have a fairly full layer of biscuits.

Evenly divide the second bowl of cream mixture between the glasses. Repeat the previous sponge finger process.

Finally, top each glass with an even share of the remaining cream mixture. Freeze until set.

Serve with raspberries and chocolate curls.

To make one large ice cream, line a 20cm square cake pan with aluminium foil. Spoon half of the cream mixture into the tray.

Combine remaining coffee mixture with milk. Dip 12 sponge finger biscuits into this coffee mixture until evenly coated. Place in a single layer on top of the ice-cream mixture in the tray (you may need to cut some sponge fingers to make it fit).

Top the sponge finger biscuits with the remaining cream mixture and freeze until set.

To serve, cut into rectangular slices and serve with raspberries and chocolate covered coffee beans.

Recipe adapted from Good Taste magazine.

Caramel & Pear Upside-down Cake

First off, I would like to apologise profusely for my extended hiatus! No, I didn’t hibernate through winter (quite), instead I was on holidays in the Greek Islands and then my time was filled with Birthdays, work & uni assessment.

photo

However, today I have an absolutely delicious recipe for you; one so good that only moments ago I finished gobbling up a piece and felt I had to share it right away!

EAD3A10D-9E61-4442-8317-8BFCF2DD97B5_1_105_c

Ingredients (serves 8)
175g butter
2/3 cup brown sugar
2 large pears, peeled & sliced thinly
½ cup white sugar
3 eggs
1 teaspoon ground cinnamon
1 teaspoon ground nutmeg
1 teaspoon vanilla essence
¾ cup almond meal
1 cup self-raising flour
1/3 cups milk

725BCEDA-DBB2-456E-A96A-E776E0F993B1_1_105_c

Method
Preheat the oven to 180°C (160°C fan-forced) and grease and line a round 23cm springform cake tin.

Melt 55g of the butter in a small saucepan and then stir in brown sugar over a low heat until combined into a caramel.

Pour the caramel mixture into the base of your prepared tin. Arrange your pears on the caramel. I tried to make neat circles, but this was a challenge as my pear was quite soft!

Using electric beaters, cream the butter and sugar. Once combined, add eggs, almond meal , vanilla and spices and beat until combined. Finally, add flour and milk and beat until just combined.

Gently spread the batter over your pears and bake in the oven for between 50-60 minutes (until a skewer inserted in the centre comes out clean).

Allow the cake to sit in the tin for around 15 minutes before turning out.

Serve with cream or ice-cream and a dusting of icing sugar if desired.

5A971CA0-7ED4-4C61-A00D-947FCC5B879E_1_105_c

Recipe adapted from ‘Caramel pear cake’ on BestRecipes.com.au


Sticky Date Pudding with Butterscotch Sauce

When my sister and I were younger we loved nothing more than “sticky tape pudding” on a cold winter’s night. Not much has changed, but (to our great relief) we now know that the secret ingredient to our favourite pudding is not sticky tape. This dessert is perfect served warm out of the oven, swimming in a pool of butterscotch sauce, with a good helping of vanilla ice-cream.

P.S. This butterscotch sauce is liquid gold. I sometimes make it just to go on ice-cream for the ultimate sundae & it never lasts long in our household!

thumb_IMG_1576_1024

Ingredients (serves 6-8)
Pudding
1 ½ cups chopped dates
1 cup water
1 teaspoon bicarbonate soda
60g butter
¾ cup caster sugar
2 eggs
1 cup self raising flour, sifted

Butterscotch Sauce
125g butter
1 cup brown sugar, firmly packed
¼ cup golden syrup
300ml thickened cream

thumb_IMG_1567_1024

Method
Grease and line a 20cm round cake pan with baking paper. Preheat oven to 180°C (160 fan-forced).

Combine dates and water in a small saucepan, bring to boil, remove from heat & then add bicarb soda and stand for 5 mins.

Cream butter and sugar until light and fluffy. Add eggs, one at a time; combine well. Fold in flour alternately with date mixture into the egg mix and gently stir until combined.

Pour into prepared pan and bake for 50-60 minutes. Cool in pan.

Make sauce by heating butter in small saucepan, adding the sugar and syrup (handy hint: spray your ¼ cup with a bit of cooking oil before adding the golden syrup and it will come out much more easily!) and stirring over the heat (without boiling) until the sugar is dissolved. Simmer, uncovered, for 2 minutes without stirring. Remove from heat & stir in cream.

Pour ¼ cup of sauce over the pudding and return to the oven for a further 5 mins (with foil over the top so it doesn’t darken too much).

Cut into desired size pieces and serve with lots of sauce and vanilla ice-cream.

thumb_IMG_1559_1024

Recipe from Mum (originally adapted from The Australian Women’s Weekly)

Quick & Easy Belgian Waffles

I recently purchased a Cuisinart 4 slice belgian waffle maker (not easy to come by as they’ve been discontinued, but they continue to get the best reviews world-wide) and have been making waffles almost non-stop in a quest to find the perfect recipe. The waffles themselves have to be golden brown, crunchy on the outside and soft and fluffy on the inside, preferably with a mild vanilla flavour. Ideally, they would also be quick to whip up (waffles are often made on a whim in my experience) and freeze well.

My first attempt was halfway there – crispy on the outside and soft on the inside (in fact texturally perfect) but they had a horrible flavour due to an incredible amount of baking powder. My second attempt tasted good but were flat and soft – not at all right. Finally, after much research, I found a recipe on Allrecipes.com that I have adapted so they produce, in my opinion, the ultimate belgian waffles. While not strictly traditional (no yeast) these are super fast to make, use only one bowl, and are better for you than traditional belgian waffles as they are made with vegetable oil rather than butter. They also taste AMAZING! I dare you to stop at one 🙂

thumb_IMG_1527_1024

Ingredients (makes 6-8 waffles depending on thickness)
2 eggs
2 cups plain flour
1 ¾ cups milk
½ cup vegetable oil
2 tablespoons white sugar
4 teaspoons baking powder
3 teaspoons vanilla extract

thumb_IMG_1533_1024

Method
Heat waffle iron (I tend to use level 3½). Beat eggs in a large bowl with handheld beaters until light and bubbly. Beat in flour, milk, oil, sugar, baking powder & vanilla until smooth and incorporated.

Spray preheated waffle iron with non-stick cooking oil. Pour mix onto the waffle iron (I use a ladle and the spread with a silicone spatula). Cook until golden brown (I like to check every 3 minutes or so and tend to leave it in a little longer than my machine thinks – it beeps when it’s “ready”). Dust with icing sugar, cut in half if desired and serve warm with toppings of your choice. Enjoy!

thumb_IMG_1529_1024Adapted from ‘Waffles I’ – allrecipes.com