Mojito Cupcakes

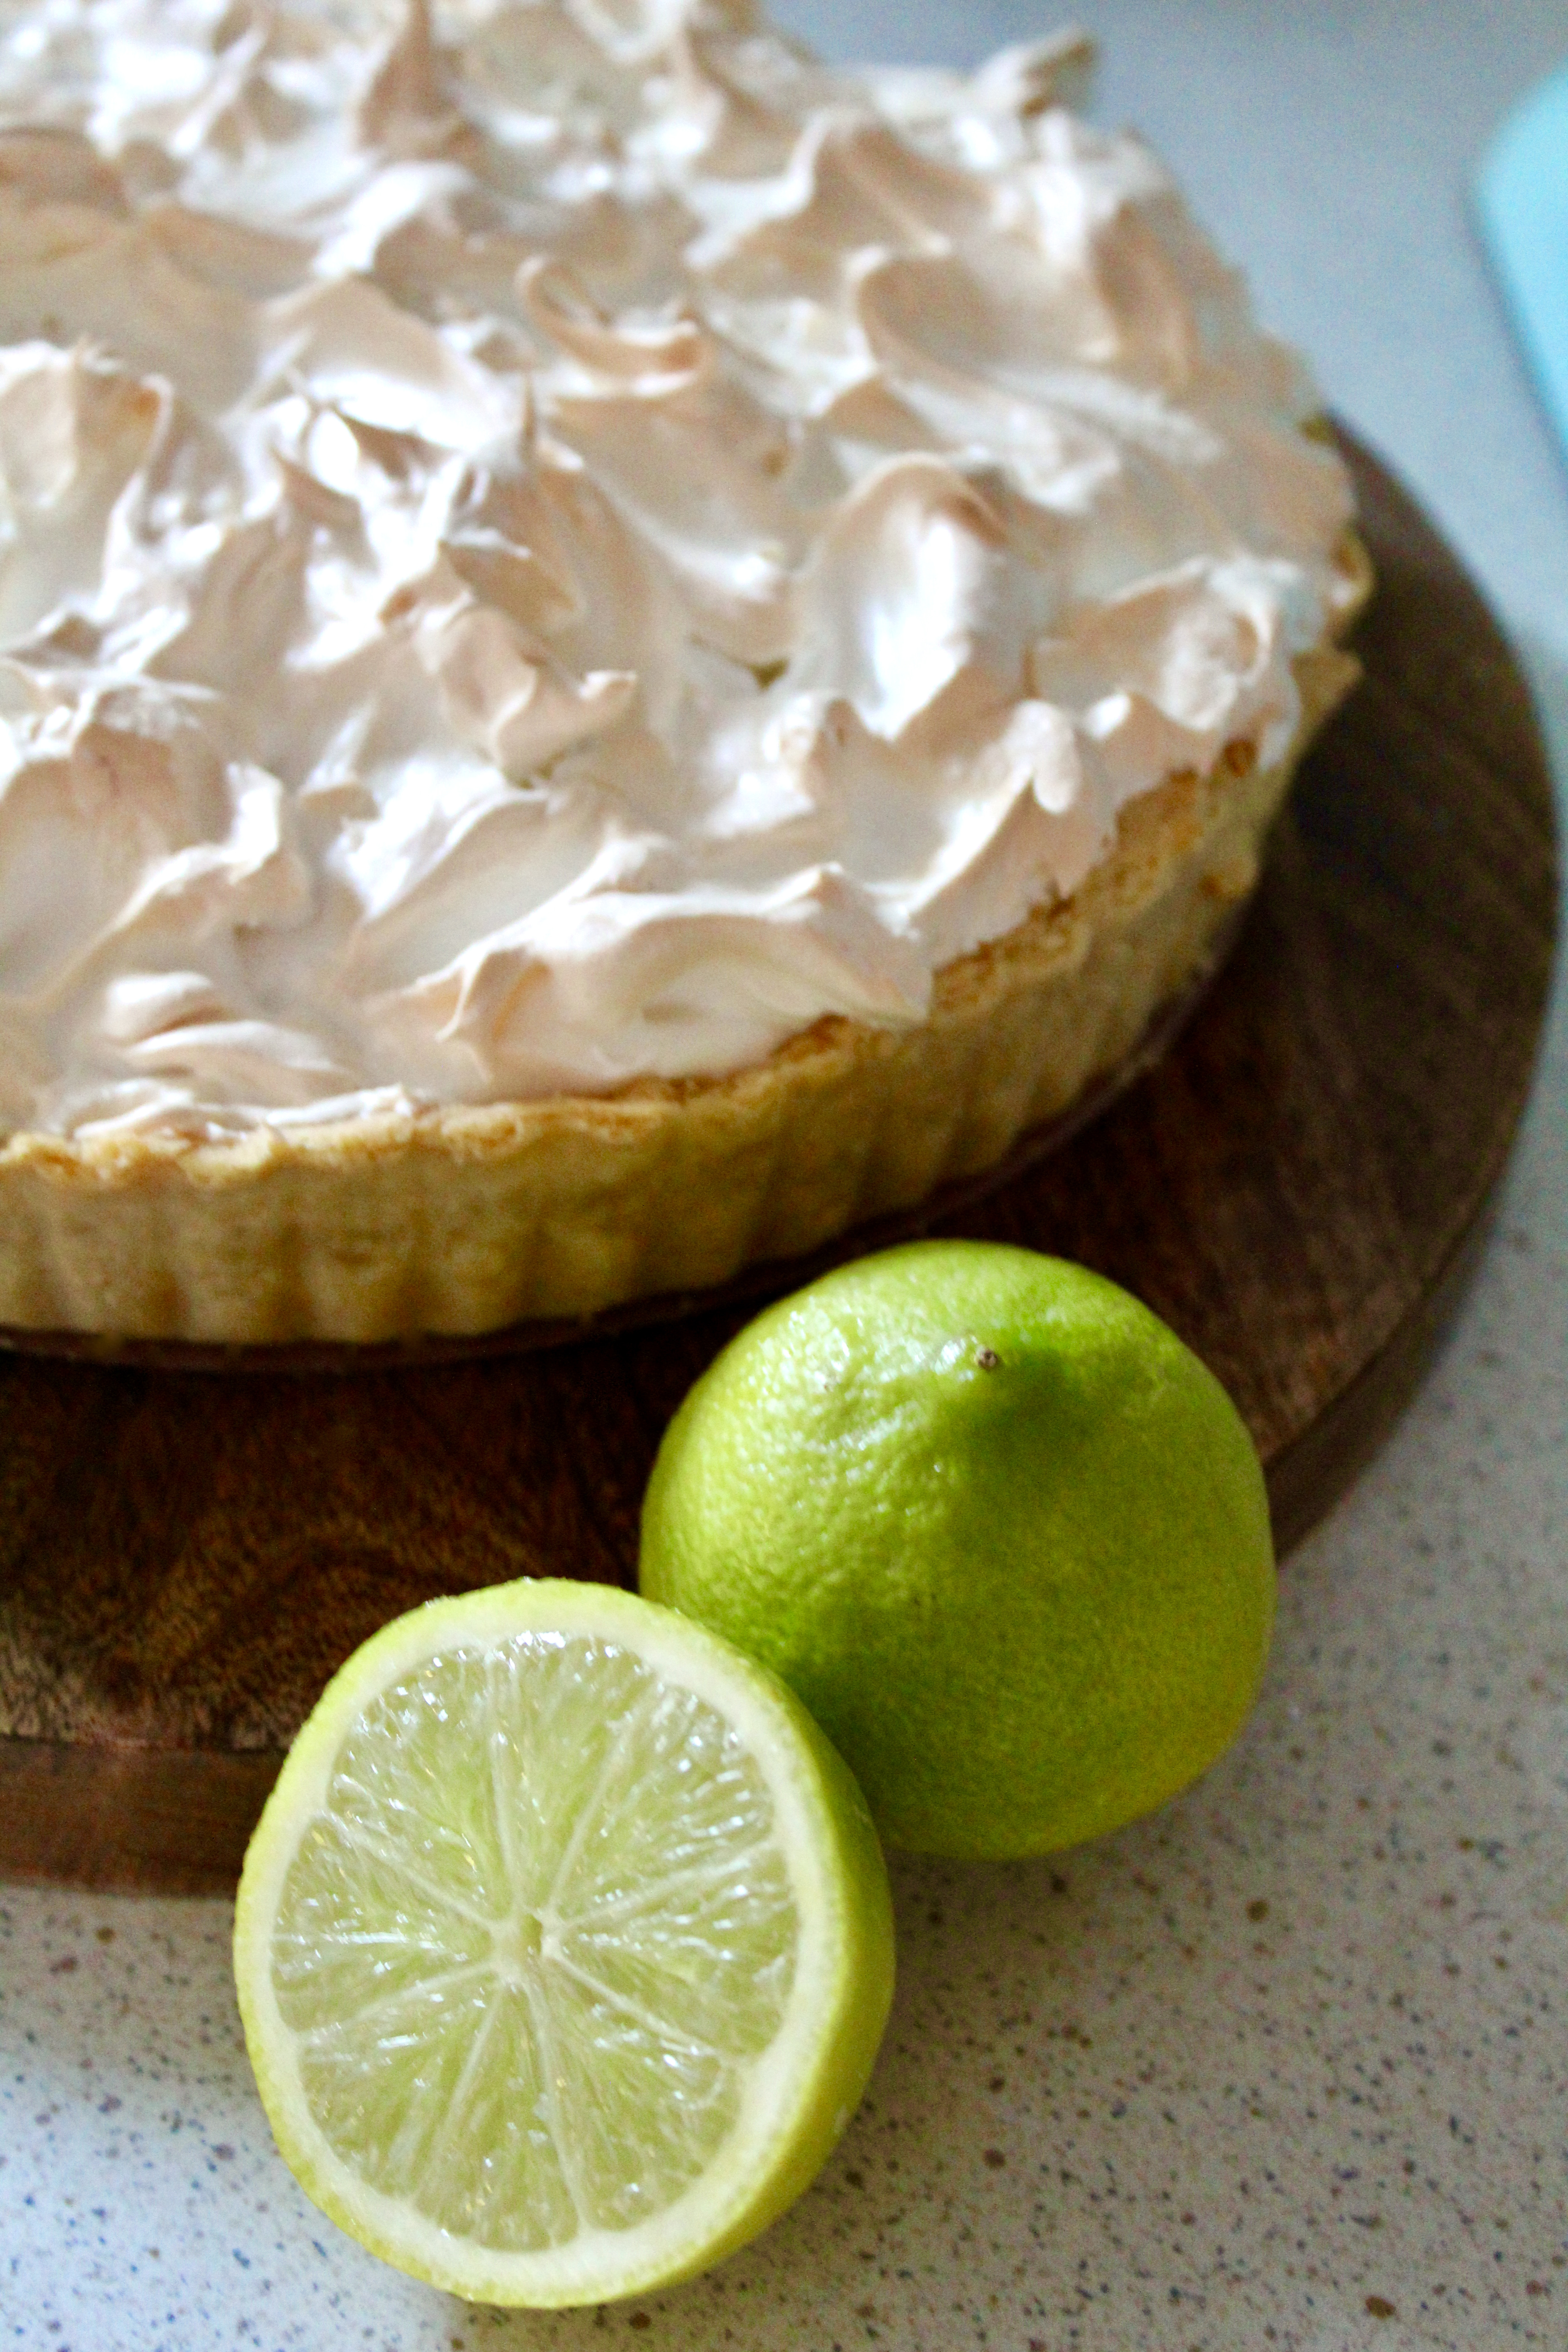
Mojitos are a favourite cocktail in my family, especially when Mum’s lime tree is fruiting (which seems to be almost constantly!) These fresh and zingy cupcakes incorporate all the classic flavours of a mojito – lime, mint and a cheeky hint of rum. I took a batch to a Mexican fiesta night recently and they were a huge hit, as they’re just the right light dessert for when you’ve stuffed in one too many tacos.

Feel free to omit the rum to make them kid-friendly.

Ingredients (makes 12)
Cupcakes
1 cup self-raising flour
⅔ cup caster sugar
125g butter, softened
2 eggs
1 teaspoon vanilla extract
2 tablespoons milk
Rind of 2 limes, finely grated

Mojito Syrup
1 tablespoon caster sugar
2 tablespoons white rum (I use Bacardi)
Juice of 3 limes
A sprig of fresh mint leaves

Icing
90g butter
4 cups icing sugar
Leftover mojito syrup
Juice of half a lime
Rind of 1 lime, finely grated
½ tablespoon milk

Decoration
Lime slices
Mint leaves
Paper straws (cut into thirds)

Preheat oven to 200ºC (180 fan-forced) and line a 12-hole muffin tin with green patty pans.

Put all of the ingredients except for the milk into a food processor and blitz until smooth. Pulse while adding the milk until just combined.

Divide batter evenly among the patty pans (I know it doesn’t look like much batter, but they will rise a lot).

Bake for 15-20 minutes or until a skewer inserted comes out clean. Transfer immediately onto a wire rack to cool completely.

While the cupcakes are cooling, make the mojito syrup by heating all ingredients in a small saucepan over a medium-high heat until it has thickened to a syrupy texture (about 8 minutes). Strain through a fine sieve to remove the mint leaves.

Using a skewer, poke holes in the tops of the cupcakes (about 10 per cake). Carefully dip the top of the cupcakes into the mojito syrup. Leave to soak for a few minutes and repeat.

To make the icing, beat the butter until it is light and fluffy. Add icing sugar, remaining mojito syrup, lime juice, rind and milk and beat until smooth and creamy. Taste the frosting and add more lime juice as required to ensure it is tangy. Add further icing sugar to stiffen the mixture, or milk to loosen it. Transfer into a piping bag with the Wilton 1M star tip.

Pipe icing in a softserve motion on the cupcakes, starting from the outside and working your way into the centre and up.

Slice a lime into 6 thin rounds and then cut them in half again to make thin wedges. Top each cupcake with a lime wedge, straw and mint leaves. Enjoy!

Base cupcake recipe adapted from Nigella Lawson’s How to be a Domestic Goddess

Lime Meringue Pie

To celebrate my five year anniversary of working in the Public Service and winning an exciting new employment policy role, I decided to treat myself and buy a kitchenaid (not sponsored, I’m just a long time admirer and now proud owner!) Of course, it couldn’t be just any kitchenaid, it had to be one of their beautiful new pastel shades. I tossed up between the rose pink and ice blue, but ultimately decided on the gorgeous blue.

In order to christen it properly, I knew I had to make something with meringue to take advantage of not having to hold beaters while the eggwhites are whipping. Mum’s lime tree is absolutely chokkas at the moment, so a lime meringue pie was the obvious choice.

The pie is zesty, sweet and packed with lime flavour. Enjoy!

Ingredients (serves 8)
Pastry
1½ cups plain flour
3 tspns icing sugar
140g cold butter, chopped
1 egg yolk
2 tblspns water

Lime filling
½ cup cornflour
1 cup caster sugar
½ cup lime juice
1¼ cups water
2 tspns finely grated lime rind
3 egg yolks
50g butter
Green food colouring (if desired)

Meringue
3 egg whites
½ cup caster sugar

Method
Put flour, icing sugar, butter, yolk and water into a food processor and process until just come together. Press dough into a ball, knead gently on a floured surface until smooth; cover, refrigerate 30 mins.

Preheat oven to 180°C fan-forced. Grease a 24cm flan tin. After resting, roll dough on floured surface until it is large enough to line the tin. Lift pastry into tin, ease into sides and trim the edge.

Place tin on an oven tray, line pastry with baking paper and fill with pie weights or uncooked rice. Bake for 10mins then remove baking paper and weights and bake, uncovered for a further 10 mins or until pastry case is browned lightly. Leave to cool. Reduce oven temperature to 160°C fan-forced.

To make filling: combine corn flour and sugar in a medium saucepan. Gradually stir in lime juice and water. Stir over heat until mixture boils and thickens (mixture should be very thick, jelly-like). Reduce heat, simmer, stirring for 30 secs. Remove from heat and quickly stir in egg yolks, butter and rind. Stir until smooth. If you wish to make the filling greener, add a few drops of food colouring. Leave until it cools to room temperature.

Once at room temperature, spread filling into pastry case.

To make meringue: beat egg whites in a medium bowl with electric mixer until soft peaks form. Gradually add sugar, beating until dissolved after each addition. Mixture should be smooth and glossy.

Top pie with meringue mixture (I like to make it look rustic with mounds of differing heights) and bake for 5 – 10 mins at 160°C fan-forced until browned lightly. Stand for 5 mins before serving.

Enjoy!

Adapted from ‘The Women’s Weekly’ Lemon Meringue Pie

Café Style Baked Beans

These rustic, café style baked beans are perfect for a hearty breakfast or easy dinner and are a great way of incorporating more beans in your diet. They’re full of rich tomato, garlic, bacon and herb flavours and are so delicious that even a traditional canned baked bean hater, like myself, will enjoy them.

Ingredients (serves 4-6)

1 tablespoon olive oil
1 brown onion, finely chopped
100g bacon, chopped*
1-2 garlic cloves, crushed
1 teaspoon fresh thyme leaves
½ teaspoon dried oregano
400g tin chopped tomatoes
2 x 400g tins cannellini beans, rinsed
Sea salt and fresh ground black pepper
Thick-cut bread (I like pane di casa), to serve

Method

Preheat the oven to 160°C (140°C fan-forced).

Heat the olive oil in a large saucepan over medium heat. Add the onion and cook, stirring occasionally, for 5 minutes or until the onion is soft. Add the bacon and cook for a further 5 minutes or until crisp. Add the garlic, thyme, and oregano and cook for a further minute.

Add the tomatoes and half a cup of water and bring to the boil. Reduce the heat and simmer for 10 minutes. Stir in the rinsed beans, season with salt and pepper and transfer into a large casserole dish with a lid. Bake in preheated oven for 30 minutes.

While the beans are baking, toast the bread.

To serve, top two pieces of toast with the beans. Add further salt and pepper to taste. Enjoy!

Adapted from Bill Granger’s Everyday

*Omit to make it vegetarian

Passionfruit Pie

The combination of buttery pastry, tangy passionfruit and creamy white chocolate in this pie is absolutely delicious! This is a fairly time-consuming recipe so definitely one I reserve for special occasions. I would recommend using a mixture of fresh and frozen passionfruit pulp to keep it economical unless you have an abundance of fresh passionfruit (in which case, feel free to send some my way!)

Ingredients (serves 12)
White chocolate ganache
125g white chocolate, chopped
½ cup thickened cream

Pastry
1¾ cups plain flour
¼ cup icing sugar mixture
125g cold unsalted butter, cubed
1 egg, lightly beaten

Passionfruit syrup
Pulp of 4 passionfruit
¼ cup caster sugar

Passionfruit crème pâtissière
Pulp of 8 passionfruit
400ml thickened cream
1 teaspoon vanilla paste
1 wide strip lemon zest
4 egg yolks
125g caster sugar
⅓ cup cornflour
50g butter, cubed

Method

To make the ganache, microwave the white chocolate in short bursts until melted. Add the cream and refrigerate for 2 hours until thickened.

For the pastry, place the flour and icing sugar into a food processor and add the butter. Process in short bursts until the mixture has a fine crumb consistency. Add the egg and process until the mixture just starts to come together. Turn out onto a clean bench and gather the dough together. Press into a thick disc, wrap in clingfilm and refrigerate for 15 minutes.

When the dough has chilled, roll it out on a sheet of non-stick baking paper to fit a 26cm loose-based non-stick flan tin. Carefully line the tin with the pastry, easing it into the corners. Trim any overhanging pastry, prick small holes with a fork and refrigerate for 30 minutes. Meanwhile, preheat the oven to 180°C (160°C fan-forced).

Cover the pastry with a sheet of non-stick baking paper and fill it with pastry weights. Blind bake the pastry for 15 minutes, remove the weights and paper, and bake for a further 10-15 minutes or until light golden brown. Remove from the oven and cool completely.

To make the passionfruit syrup, place the passionfruit pulp and sugar in a small saucepan with half a cup of water. Stir over low heat to dissolve the sugar, then bring to the boil, skimming the froth off the top as you go. Boil for about 2 minutes, until thick and syrupy, then remove from the heat.

For the crème pâtissière, place the passionfruit pulp into a strainer over a bowl and leave it to strain. Heat the cream in a saucepan with the vanill and lemon zest until it is just about to boil. Whisk the egg yolks and sugar in a bowl until light and creamy. Strain the cream and pour over the egg yolk mixture, whisking constantly. Add the cornflour and stir over very low heat for approx. 5 minutes. As the mixture starts to thicken, whisk more quickly until it is very thick and smooth. Cover with clingfilm and refrigerate for 20-30 minutes or until the mixture is just warmer than room temperature. Beat in the butter and the strained passionfruit juice.  

Fill the pastry with the passionfruit crème pâtissière mixture, refrigerate for 5-10 minutes and then spread the white chocolate ganache over the top. Drizzle with the passionfruit syrup and refrigerate for about 4 hours.

Enjoy!

Recipe adapted from Julie Goodwin’s ‘Passionfruit puddle pie’ in My Family Table.

Pimm’s Jellies

This is a beautifully refreshing summer dessert. I’ve always been a fan of Pimm’s – it reminds of balmy nights, family BBQs and tennis – and this captures all of those memories in a silky jelly. Note: it should go without saying, but this dessert is adults only!

Ingredients (makes 6)
cup caster sugar
6 platinum-strength gelatin leaves
1 cup Pimm’s No. 1 Cup
2 cups lemonade
Handful of mint leaves
1 orange
3 strawberries
1 cucumber

Method

Soak the gelatin in cold water for 5 minutes.

Place sugar and 1 cup of water in a medium saucepan over low heat, stirring until the sugar is totally dissolved.

Squeeze the excess water from the gelatin leaves and add to the sugar liquid, stirring until dissolved. Remove from heat.

Add the Pimm’s and lemonade to the saucepan, stirring until combined.

Divide evenly between 6 serving glasses, cover with clingfilm and refrigerate for at least 4 hours or until set.

Serve with mint leaves, orange slices, chopped strawberries and cucumber ribbons. Enjoy!

Adapted from delicious. ‘Simply the Best’ (2011)

Perfect Baked Cheesecake

This cheescake is a labour of love but, in my opinion, is absolutely worth the effort as it yields a perfectly silky, tangy cheesecake with a delicious cinnamon crumb. Start the recipe the day ahead as it needs to set in the fridge overnight.

Ingredients (serves 12)
60g wholemeal plain flour
40g brown sugar
pinch sea salt
½ teaspoon ground cinnamon
50g butter, melted

140g caster sugar
Pinch sea salt
500g full-fat cream cheese, cubed
2 eggs
300ml full-fat sour cream
1 teaspoon vanilla extract
Juice of 1 medium-large lemon

250ml full-fat sour cream (extra)
10g caster sugar (extra)
½ teaspoon vanilla extract (extra)

Decorate with berries, poached stone fruit or passionfruit pulp, if desired

Method
Preheat the oven to 150°C (fan-forced). Line a large baking tray with baking paper.

To make the crumb base, combine the flour, brown sugar, salt, cinnamon and melted butter in a wide mixing bowl and mix together with your hands to a sticky crumble. Scatter the mix onto the prepared tray and bake for 25 minutes until evenly brown.

While the base is baking, spray a 20cm round cake tin with cooking oil spray and line the base and side with baking paper (I like the paper to extend well above the sides of the tin to make cake removal easier).

Put the sugar, salt and cream cheese into a large bowl and slowly cream the mix with an electric beater on low, scraping down the side of the bowl often with a flexible plastic spatula. Stay on low speed and add the eggs in two batches, scraping well between each addition, then add the sour cream and vanilla and mix until combined. Remove the bowl from the mixer and give the mix a final hand whisk to ensure there are no lumps. Add the lemon juice to taste and set aside.

Once the crumb is baked and cooled, blitz in a food processor to a fine crumb. Reduce the oven to 120°C.

Fill the base of the prepared cake tin with the crumb, packing it down lightly with the back of a dessert spoon to ensure an even spread. Pour the cheesecake mixture into the crumb-lined cake tin.

Make a water bath by placing a piece of paper towel in the base of a high-sided roasting tin. Sit the cheesecake in the roasting tin (the paper towel will stop it from sliding around) and pour in enough hot water to come one-third up the side of the cheesecake tin. Carefully lift the tin into the oven and bake for about 60 minutes, or until the edges are set but it still has a slight wobble in the centre.

To make the topping, mix together the sour cream, sugar and vanilla with a plastic spatula until runny and pourable. Starting from the outside, pour the topping over the cheesecake, smoothing it gently towards the centre with a spatula. Return to the oven and bake for a further 15 minutes. Remove from the oven and allow the cheesecake to cool in the water bath until it reaches room temperature. Gently cover the cheesecake with clingfilm and refrigerate overnight.

The next day, cover a flat plate or board with clingfilm. Gently remove the paper from the side of the tin (this should loosen the cheesecake) and place the prepared plate/board on top of the cheesecake. Flip the cheesecake over quickly and place the plate on the work surface. Tap the base of the tin and lift a side of the tin – with a wiggle the cheesecake should release. Peel off the baking paper and invert again onto a serving plate so it is top-side up.

Serve chilled either by itself or topped with fruit (I like berries, poached stone fruit or passionfruit pulp). Enjoy!

Recipe adapted from ‘The cheesecake (that you will love the most)‘ in Beatrix Bakes

See?! Even pups can’t resist this cheesecake!!

Black Forest Meringues

Cherry season is always too fleeting for my liking, but while it’s here, I try to make the most of it. These black forest meringues showcase the cherries in a light and delicious summer dessert.

Ingredients (makes 6)
50g dark chocolate
2 egg whites, room temperature
Pinch of cream of tartar
½ cup caster sugar
Cherry Sauce
12 cherries, pitted and quartered
1 dessertspoon white sugar
1 dessertspoon water
1 teaspoon cornflour
Whipped Cream
250ml thickened cream
1 dessertspoon icing sugar
2 teaspoons vanilla extract
Dark Chocolate Sauce
200g dark chocolate melts
200ml thickened cream
To serve
24 cherries, pitted and halved
6 whole cherries

Preheat oven to 120°C. Line 2 large baking trays with non-stick baking paper.

Melt dark chocolate in the microwave or on the stove.

In a large bowl, use an electric mixer or electric hand beaters to whisk the egg whites until soft peaks form. Add the cream of tartar and then the sugar, a spoonful at a time, whisking until dissolved before adding the next spoonful (test this by rubbing a little of the mixture between your thumb and forefinger).

Use a dessert spoon to spoon the mixture onto the prepared trays. Shape into 6 even meringues with a slight well in the centre. Spoon melted chocolate onto each meringue and use a skewer to swirl it through the meringue mixture.

Place the meringues into the oven and reduce the temperature to 90°C. Leave the oven on for 1 hour or until the meringues are crisp and sound hollow when tapped on the base. Turn the oven off and allow the meringues to cool gradually in the oven (approximately 2 hours).

While the meringues are in the oven, make the cherry sauce by blitzing the cherries and water in a stick blender until smooth. Add to a small saucepan with the sugar and cornflour and stir constantly until thickened. Refrigerate until ready to serve.

Just before you are ready to serve, make the whipped cream and chocolate sauce. To make the whipped cream, blitz the cream, sugar and vanilla with a stick blender until thickened. To make the chocolate sauce, combine the chocolate and cream in a small saucepan over a low heat until melted and combined.

To serve, smear the cherry sauce on the plate and place a meringue on top. Top with whipped cream, halved cherries and then drizzle with chocolate sauce. Add a whole cherry on top and enjoy!

Meringue recipe adapted from Taste.com.au ‘Basic Meringues’ and Donna Hay’s ‘No Fail Meringue Mixture’.

Inspiration from Matt Preston’s ‘Individual chewy Black Forest meringues’ in delicious.

Pastel Iced Sugar Cookies

Inspired by Peggy Porschen and her stunning parlour that I visited while in London in 2017, these beautiful cookies are as much fun to make as they are to eat.

Ingredients (makes approx. 50 small cookies)
250g butter
1 cup sugar
2 teaspoons vanilla extract
1 egg
3 cups plain flour
3 teaspoons mixed spice
1 ½ teaspoons baking powder
Star, Christmas tree and/or snowflake cookie cutters

1 330g packet royal icing mixture (I use Queen’s brand)
Pastel food colouring (I used blue, green, pink and purple)
Silver cachous

Method
Cream butter, sugar & vanilla using electric beaters until well combined.

Add the egg and beat until light and fluffy.

Using a wooden spoon or silicone spatula, mix sifted dry ingredients into wet ingredients until a dough forms. Divide into 2 roughly equal pieces, cover with glad wrap (or plastic wrap) and refrigerate for an hour.

Preheat oven to 180°C (160 fan-forced). Roll out dough onto a lightly floured surface using a rolling pin until you reach your desired thickness (I like mine around 6-7mm) and cut out shapes using cookie cutters.

Place onto a baking tray (they don’t have to be spread out much as they don’t really expand) and bake for 5-8 minutes, or until golden.

Once the cookies have cooled, make the royal icing according to the packet instructions. Divide the icing evenly into 5 bowls (or however many colours you want) and add a small amount of food colouring to all but one.

Spread a thin layer of the coloured icing onto your cookies with a butter knife and leave to harden. Spoon the white royal icing into a piping bag (I didn’t use a nozzle and just cut a tiny hole in the bag) and pipe on decorations. Decorate with silver cachous or however you wish. Enjoy!

Recipe adapted from ‘The Best Valentine Sugar Cookies’ on Alice & Lois.com

Christmas Light Cookies

These cookies are so easy to make, but look amazing. They’re absolutely perfect as end of year gifts, served on Christmas day or left out for Santa.

Ingredients (makes approx. 50 large round cookies)
250g butter
1 cup sugar
2 teaspoons vanilla extract
1 egg
3 cups plain flour
3 teaspoons mixed spice
1 ½ teaspoons baking powder

3 cups icing sugar
Boiling water
Mini M&Ms (cut in half)
Black edible marker

Method

Cream butter, sugar & vanilla using electric beaters until well combined. Add the egg and beat until light and fluffy.

Using a wooden spoon or silicone spatula, mix sifted dry ingredients into wet ingredients until a dough forms. Knead gently for 1-2 minutes on a lightly floured bench and then divide into 2 roughly equal pieces, cover with clingfilm and refrigerate for at least 30 minutes.

Preheat oven to 180°C (160 fan-forced). Roll out dough onto a lightly floured surface using a rolling pin until you reach your desired thickness (I like mine around 5-6mm) and cut out circles using a large round cookie cutter. Repeat until you have used all the dough.

Place onto a baking tray (they don’t have to be spread out much as they don’t really expand) and bake for approximately 12-15 minutes, or until lightly golden.

When the cookies are cooled, make your icing by adding boiling water gradually to the icing sugar until you have the desired consistency (thin enough to spread easily, but not so thin that it runs off the cookies).

Once the icing has dried, gently draw the string of the Christmas lights with the black marker. Add the halved M&Ms as the ‘lights’ alternating whether they hang from above or below the marker line. Enjoy!

Recipe adapted from ‘The Best Valentine Sugar Cookies’ on Alice & Lois.com
Decorations inspired by various versions on Pinterest

Melting Snowman Cookies

These lightly spiced Christmas cookies are almost too cute to eat (almost…. sorry Frosty!)

Ingredients (makes approx. 30 large round cookies)
250g butter
1 cup sugar
2 teaspoons vanilla extract
1 egg
3 cups plain flour
3 teaspoons mixed spice
1 ½ teaspoons baking powder

3 cups icing sugar
Boiling water
30 white marshmallows
2 packets of mini M&Ms
Edible textas (black and orange)

Method

Cream butter, sugar & vanilla using electric beaters until well combined. Add the egg and beat until light and fluffy.

Using a wooden spoon or silicone spatula, mix sifted dry ingredients into wet ingredients until a dough forms. Knead gently for 1-2 minutes on a lightly floured bench and then divide into 2 roughly equal pieces, cover with clingfilm and refrigerate for at least 30 minutes.

Preheat oven to 180°C (160 fan-forced). Roll out dough onto a lightly floured surface using a rolling pin until you reach your desired thickness (I like mine around 5-6mm) and cut out circles using a large round cookie cutter. Repeat until you have used all the dough.

Place onto a baking tray (they don’t have to be spread out much as they don’t really expand) and bake for approximately 12-15 minutes, or until lightly golden.

When the cookies are cooled, make your icing by adding boiling water gradually to the icing sugar until you have the desired consistency (thin enough to spread easily, but not so thin that it runs off the cookies).

To decorate, spread icing onto the cookie so it looks like a puddle, attach the white marshmallow to the ‘back’ and 2 M&M buttons. When the icing has dried completely, gently draw on the arms and facial details (my snowmen are surprised, but you can add whatever expressions you like). Enjoy!

Recipe adapted from ‘The Best Valentine Sugar Cookies’ on Alice & Lois.com
Decorations inspired by various versions on Pinterest