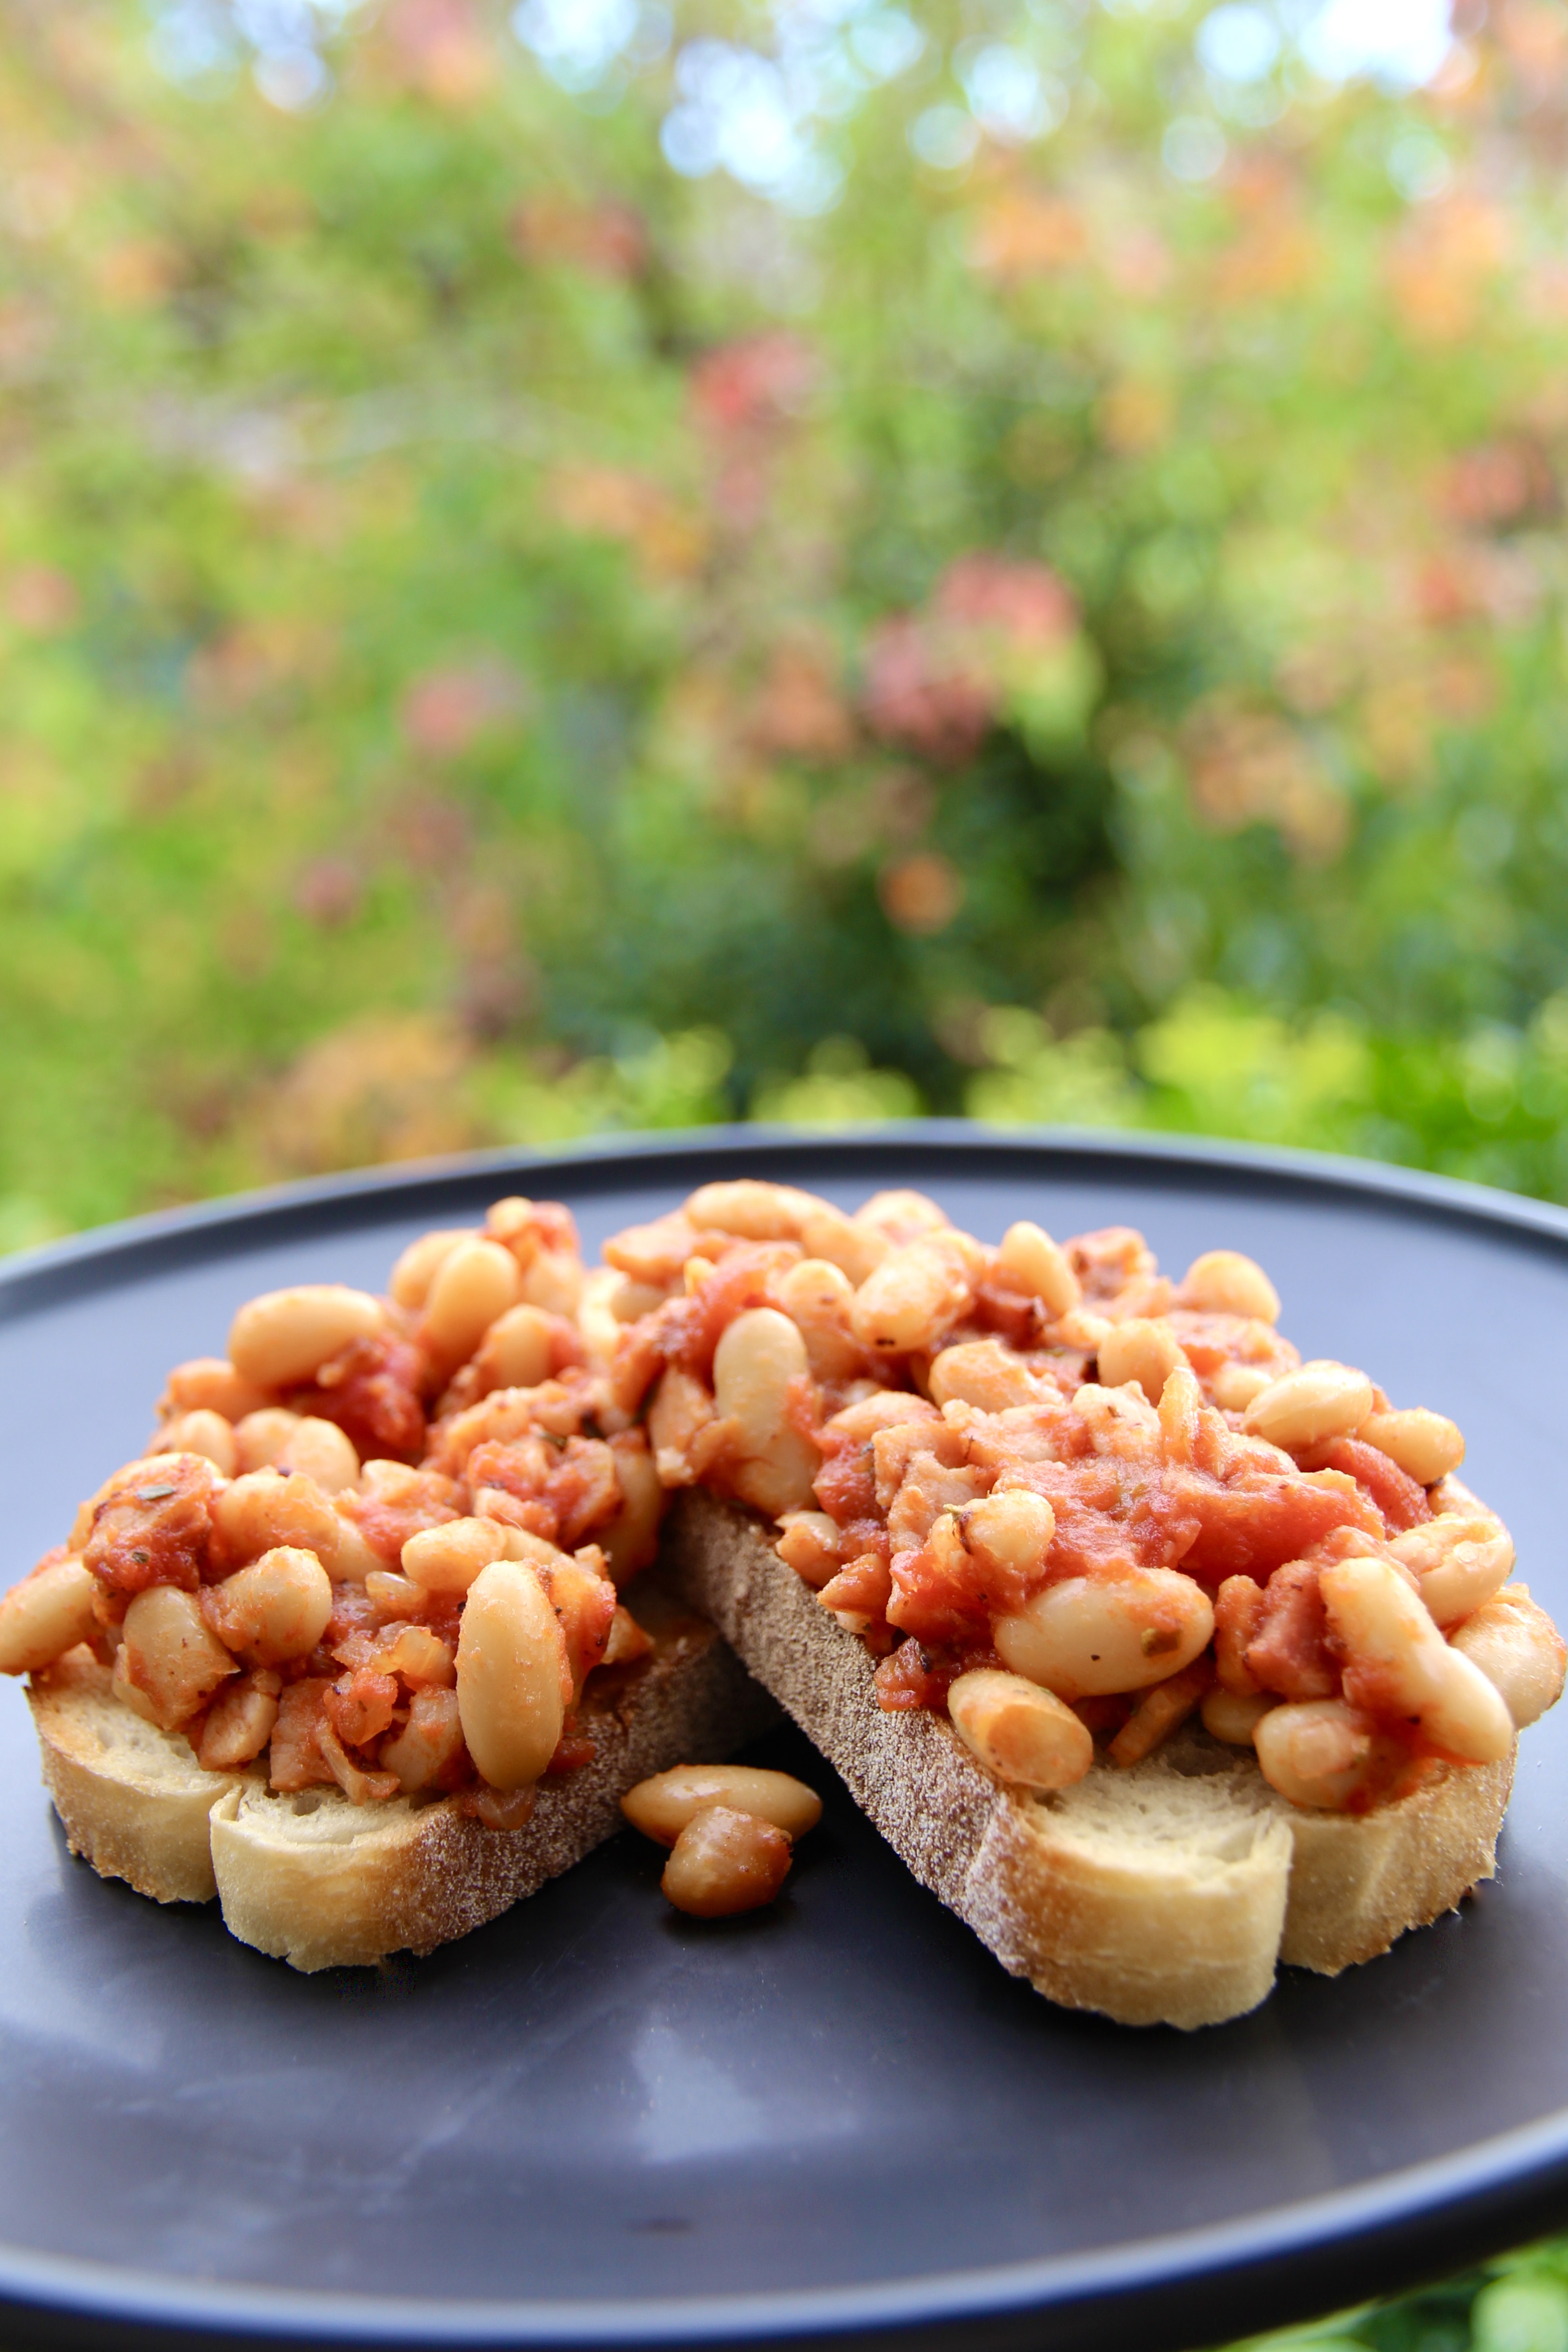
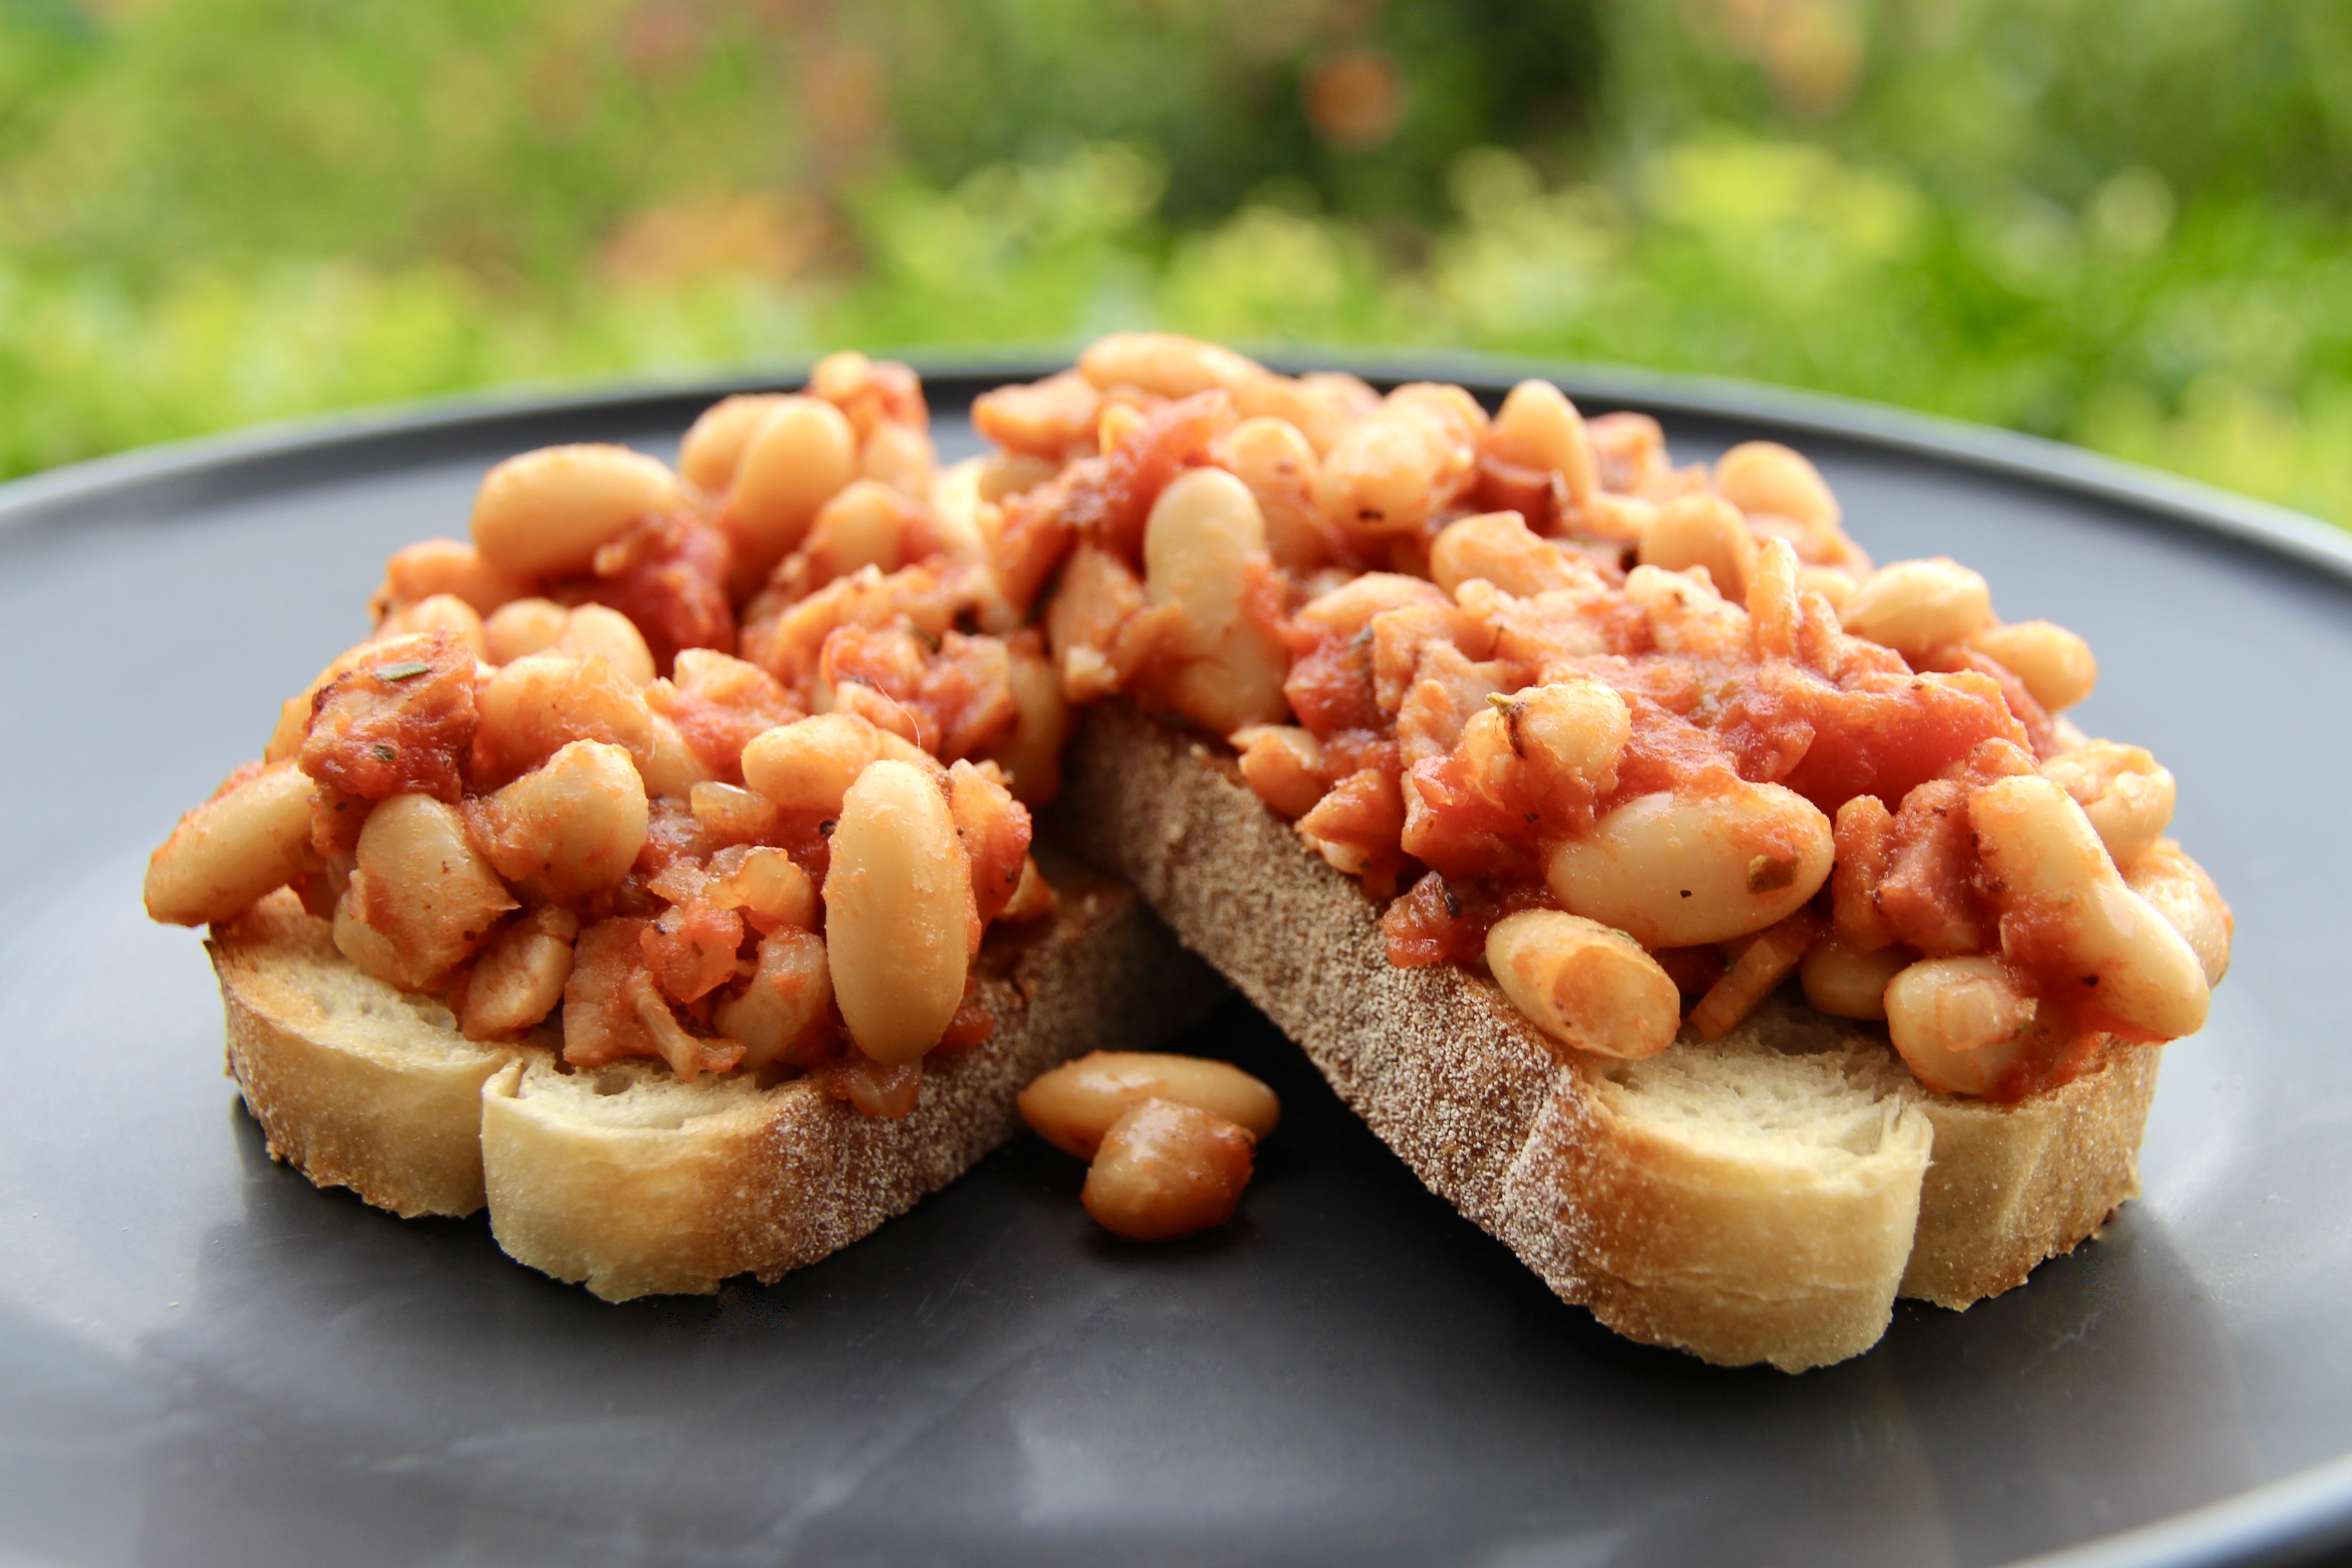
These rustic, café style baked beans are perfect for a hearty breakfast or easy dinner and are a great way of incorporating more beans in your diet. They’re full of rich tomato, garlic, bacon and herb flavours and are so delicious that even a traditional canned baked bean hater, like myself, will enjoy them.
Ingredients (serves 4-6)
1 tablespoon olive oil 1 brown onion, finely chopped 100g bacon, chopped* 1-2 garlic cloves, crushed 1 teaspoon fresh thyme leaves ½ teaspoon dried oregano 400g tin chopped tomatoes 2 x 400g tins cannellini beans, rinsed Sea salt and fresh ground black pepper Thick-cut bread (I like pane di casa), to serve
Method
Preheat the oven to 160°C (140°C fan-forced).
Heat the olive oil in a large saucepan over medium heat. Add the onion and cook, stirring occasionally, for 5 minutes or until the onion is soft. Add the bacon and cook for a further 5 minutes or until crisp. Add the garlic, thyme, and oregano and cook for a further minute.
Add the tomatoes and half a cup of water and bring to the boil. Reduce the heat and simmer for 10 minutes. Stir in the rinsed beans, season with salt and pepper and transfer into a large casserole dish with a lid. Bake in preheated oven for 30 minutes.
While the beans are baking, toast the bread.
To serve, top two pieces of toast with the beans. Add further salt and pepper to taste. Enjoy!
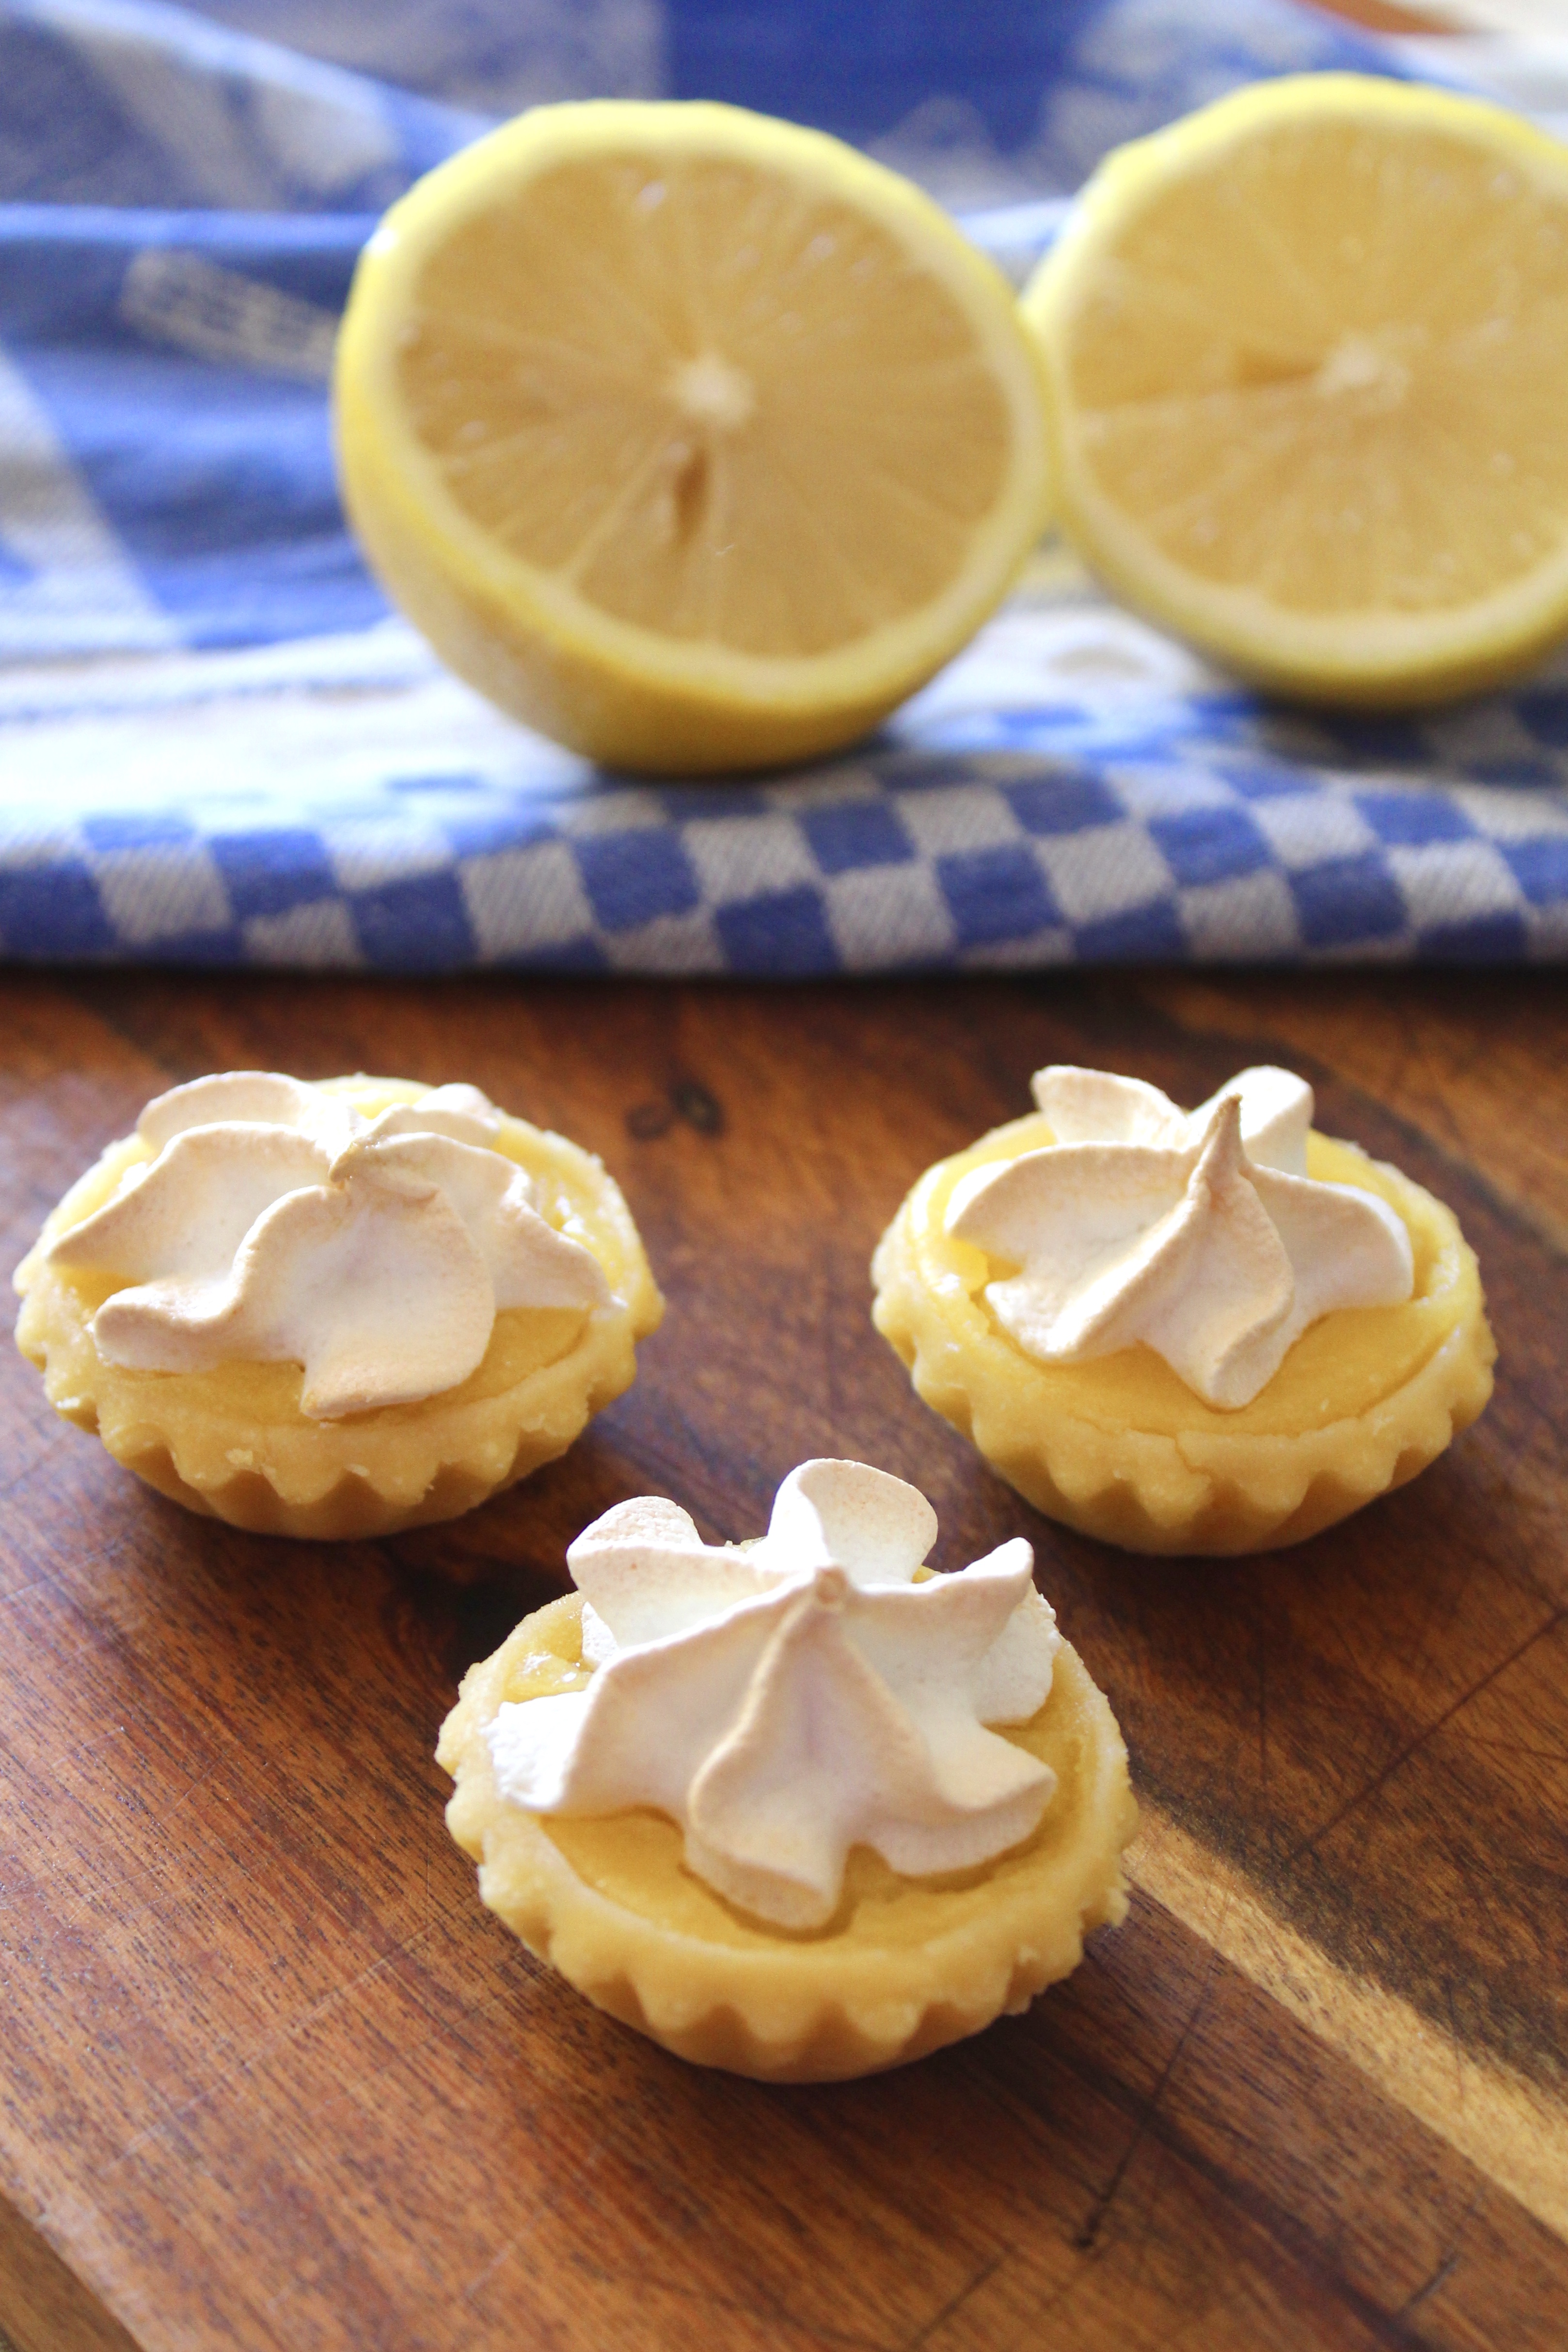
These adorable mini lemon meringue pies make entertaining simple. I use bought miniature pastry cases, filled them with the simplest ever homemade lemon curd and topped them with a dollop of meringue – delicious! The best part is, the recipe makes more lemon curd than is required for the pies so you will have plenty to use in cakes, on scones, to give as a gift, or to eat with a spoon (no shame!)
Note: for best results, make the lemon curd the day ahead
Ingredients (makes 32 mini pies) For the lemon curd 1 cup white sugar
3 eggs
1 cup fresh lemon juice (approx. 4-5 lemons)
zest of 2 lemons
½ cup butter, melted
30 x 5cm tart shells (I use the Baylies Epicurean Delights brand)
2 egg whites
½ cup caster sugar
To make the curd,whisk together the sugar and eggs in a large microwave safe bowl until thoroughly combined. Whisk in lemon juice, zest and melted butter.
Cook in the microwave on full power for 50 second intervals, whisking after each interval. You will know your lemon curd is ready when it coats the back of a metal spoon (approximately 3-5 50 second intervals).
Pour into a sterile jar or container and allow to cool to room temperature before covering it with a lid and storing it in the refrigerator.
To assemble the pies, preheat oven 200°C (180°C fan-forced).
Place egg whites in a large bowl and beat with an electric mixer until soft peaks form. Gradually add the sugar, beating until it dissolved between additions. Spoon meringue into a piping bag with a large star tip nozzle.
Place pastry cases onto a baking tray and carefully fill each with lemon curd. Pipe stars of meringue onto each pie.
Bake in the oven for 8-10 minutes or until the meringue is lightly browned.
Lemon curd recipe adapted from My Baking Addiction and meringue recipe from 9 Honey Kitchen.
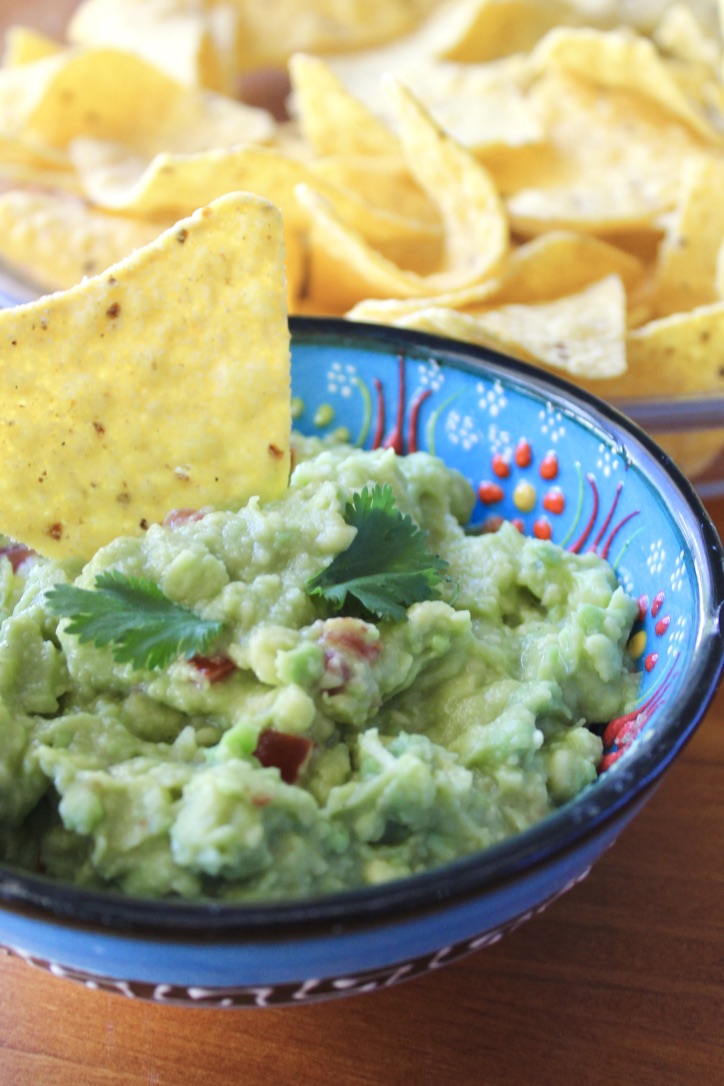
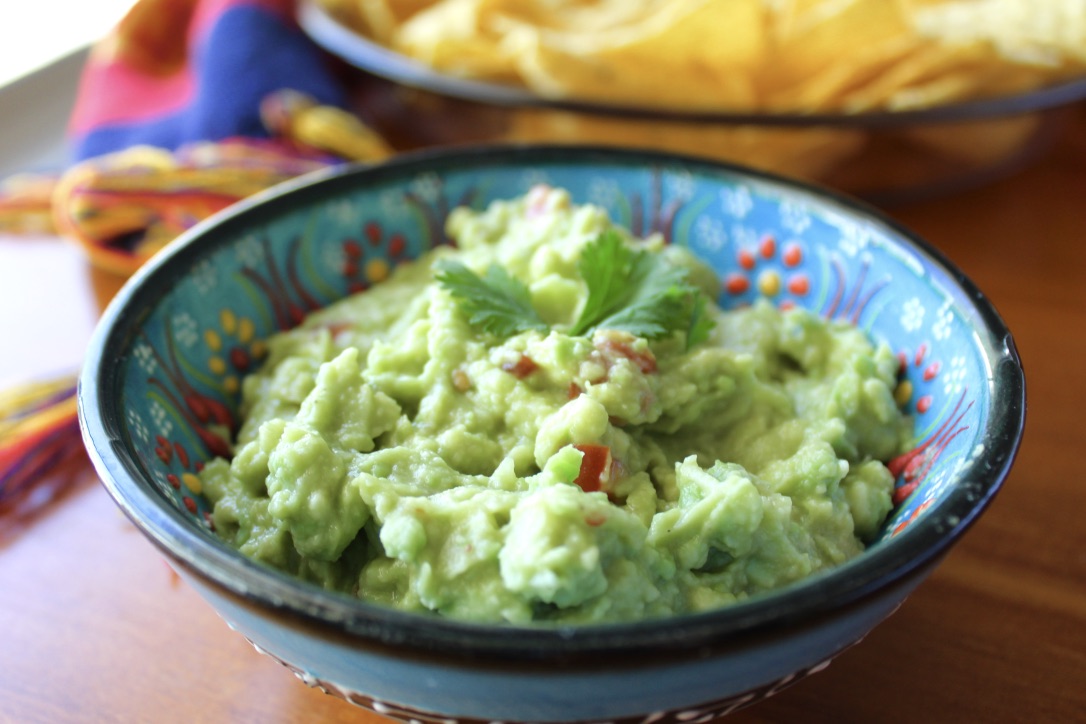
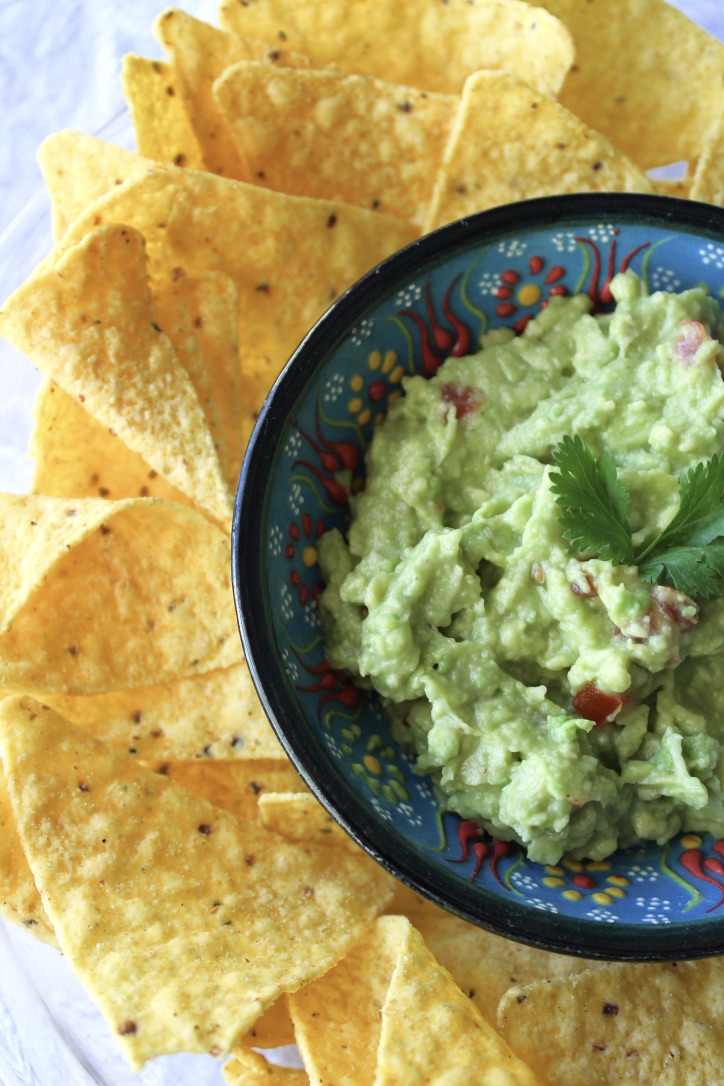
It feels a bit cheeky to call this a recipe as it’s so easy and basically impossible to mess up, but it’s been my most requested ‘recipe’ among my friends and it’s about time I shared it. Adjust it to suit your palate (no two guacamoles I make are exactly the same), but here is the basis of the guacamole that features prominently at most Bills gatherings. We usually serve it with salted corn chips, but it also works well with flavoured Doritos, crackers, veggie sticks, or my sister’s weird but delicious favourite, salt and vinegar chips. Of course it is also a perfect addition to tacos, burritos and nachos.
Warning: once you make it for your friends, you will never be allowed to bring anything else to a party… ever!
Ingredients (makes enough for 1 packet of corn chips) 2 ripe avocados
1 medium sized clove of garlic, finely diced
2 teaspoons tomato, finely chopped
3 teaspoons lime juice
2 teaspoons sweet chilli sauce
1 teaspoon Tabasco sauce (optional)
Salt
Pepper
Coriander leaves, to serve
Corn chips, to serve
Ft. Adelaide Crows scarf in the background because it’s AFL Grand Final Day!!
Cut up the avocados into small cubes and scoop into a medium sized bowl. Mash gently with a fork until mostly squashed but with some lumps (I prefer the term ‘texture’) remaining.
Dice the garlic (making the pieces as small as possible) and tomato and add to the avocado. Gently stir through with the fork.
Add in the lime juice, sweet chilli sauce and tabasco sauce (if desired). Stir until combined. Season with salt and pepper. Taste it and add more of any of the ingredients until it’s balanced and to your liking.
Transfer into a small serving bowl, top with a couple of coriander leaves and enjoy!
Recipe adapted from Emma, my neighbour from Canberra.
And because it’s always stuck in my head, enjoy the horrendously catchy ‘Guacamole Song’ here!!
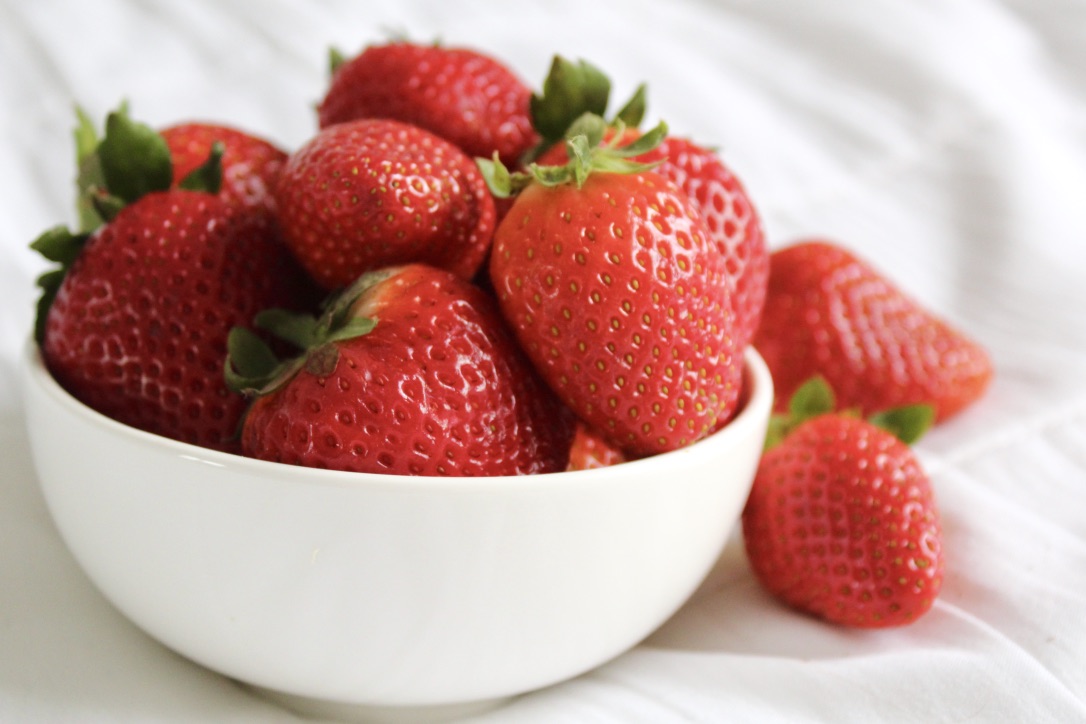
Considering it’s winter, we have been incredibly lucky to have an abundance of delicious, flavoursome strawberries and these cakes take full advantage of them.
These cupcakes are probably the quickest and easiest to make in the history of the world; you simply blitz the ingredients in a food processor, divide into patty pans and bake!
The cakes are very light with a soft, sponge-like texture, which makes them perfect for butterfly cakes. If butterfly cakes aren’t for you, they’re also delicious with a frosting of your choice (try my vanilla buttercream or marshmallow frosting).
Ingredients (makes 12) 1 cup (125g) self-raising flour
⅔ cup (125g) caster sugar
125g butter, softened
2 large eggs
1 teaspoon vanilla extract
2 tablespoons milk
Sweetened thickened cream (or whipped cream)
Good quality strawberry jam
Fresh strawberries, halved (optional)
Icing sugar
Method Preheat oven to 200ºC and line a 12-hole muffin tin with patty pans.
Put all of the ingredients except for the milk into a food processor and blitz until smooth. Pulse while adding the milk until just combined.
Divide batter evenly among the patty pans (I know it doesn’t look like much batter, but they will rise a lot).
Bake for 15-20 minutes or until a skewer inserted comes out clean. Transfer immediately onto a wire rack to cool completely.
If you will be serving the cakes immediately, make your thickened cream and cut up your strawberries while the cakes cool.
Using a sharp knife at a 45 degree angle, cut out a circle from the top of each cake and cut it in half to make the butterfly wings. Fill the holes with a teaspoon or so of strawberry jam and then top with cream, butterfly wings and another line of jam. If you like, you can serve them like this in the traditional butterfly cake style (below).
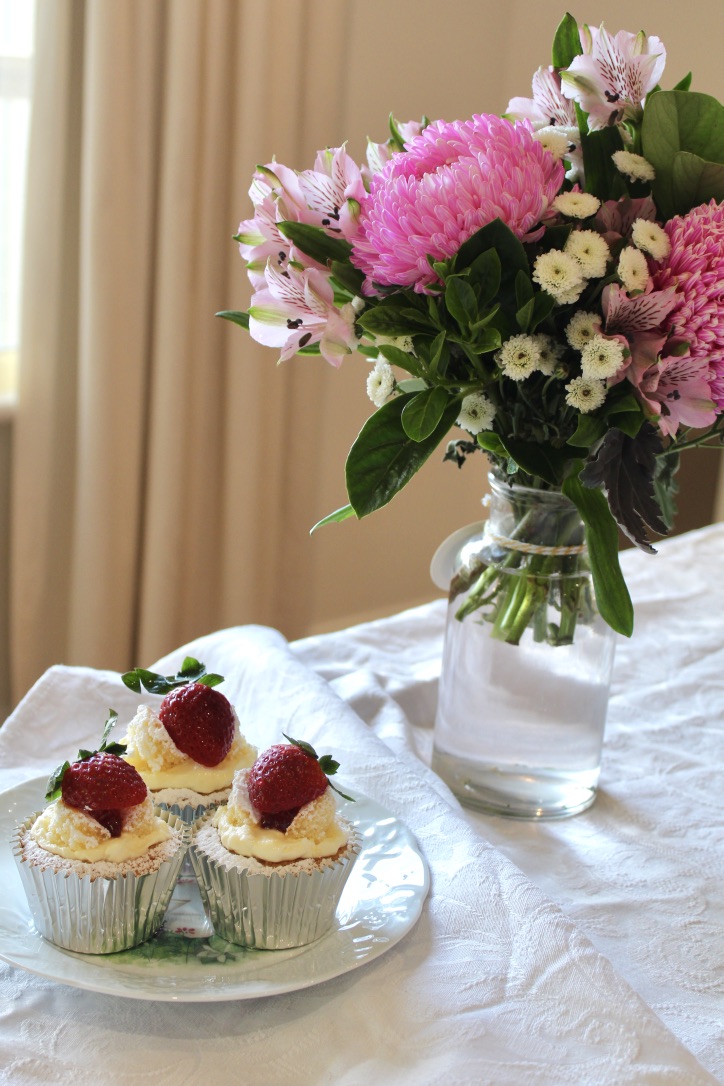
For me though, I love fresh strawberries so I top each cake with a strawberry half and then sprinkle with icing sugar. Enjoy!
NB: filled cakes are best eaten with 6 hours
Recipe adapted from Nigella Lawson’s ‘Cupcakes’ in How to Be a Domestic Goddess.
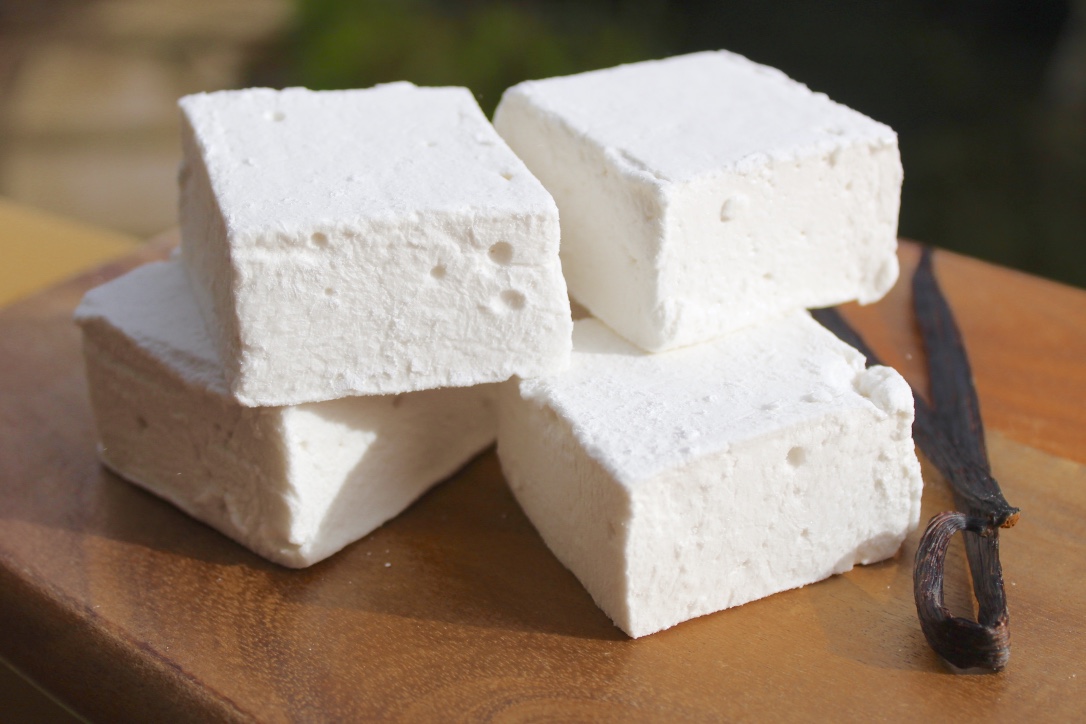
As the weather cools down, I am craving hot chocolates and crisp nights around the campfire, both of which are infinitely improved by the addition of marshmallows. Homemade marshmallows are on an entirely different level to store bought. Their texture is impossibly soft, light and dreamy with none of the powderyness that even the best quality store bought varieties have. These are perfect for eating as is, roasting over a fire, popping into a steaming mug of hot chocolate, or combining with chocolate and graham crackers (or equivalent) to make s’mores. Do yourself a favour and make some, stat! These marshmallows are so good, I am already thinking of how I can use the base recipe to make different flavours and variations (how good would Baileys marshies be?!)
Ingredients (makes ~30)
½ cup warm water
2 tablespoons flavourless, powdered gelatine
1 tablespoon vanilla essence
1 ½ cups caster sugar
⅔ cups liquid glucose
½ cup water, extra
1 cup icing sugar, sifted
Spray a 20cm x 30cm slice tin with cooking oil and line the bottom with baking paper. Place the warm water in the bowl of an electric mixer, add gelatine and vanilla and stir to combine. Set aside.
Place the caster sugar, glucose and extra water in a medium saucepan over a medium heat and cook, stirring, until the sugar is dissolved. Increase heat to high and bring to the boil. Allow to boil, without stirring, for 6–7 minutes until the temperature reaches 115°C on a sugar thermometer. With the electric mixer on high, add the hot syrup to the vanilla gelatine mixture in a thin steady stream, and beat for 5-10 minutes or until white, thick and glossy.
Pour the mixture into the prepared tin. Using a spatula sprayed with cooking oil, smooth the top of the marshmallow.
Refrigerate for 1–2 hours or until set. Gently tip the marshmallow, top-side-down onto a clean, flat surface dusted with icing sugar. Peel off the baking paper and sift icing sugar over the top. Dust a large knife with icing sugar and cut marshmallows into squares. Enjoy!
Can be stored in the fridge for ~1 week
Adapted from Donna Hay’s ‘Caramel Swirl Marshmallows’
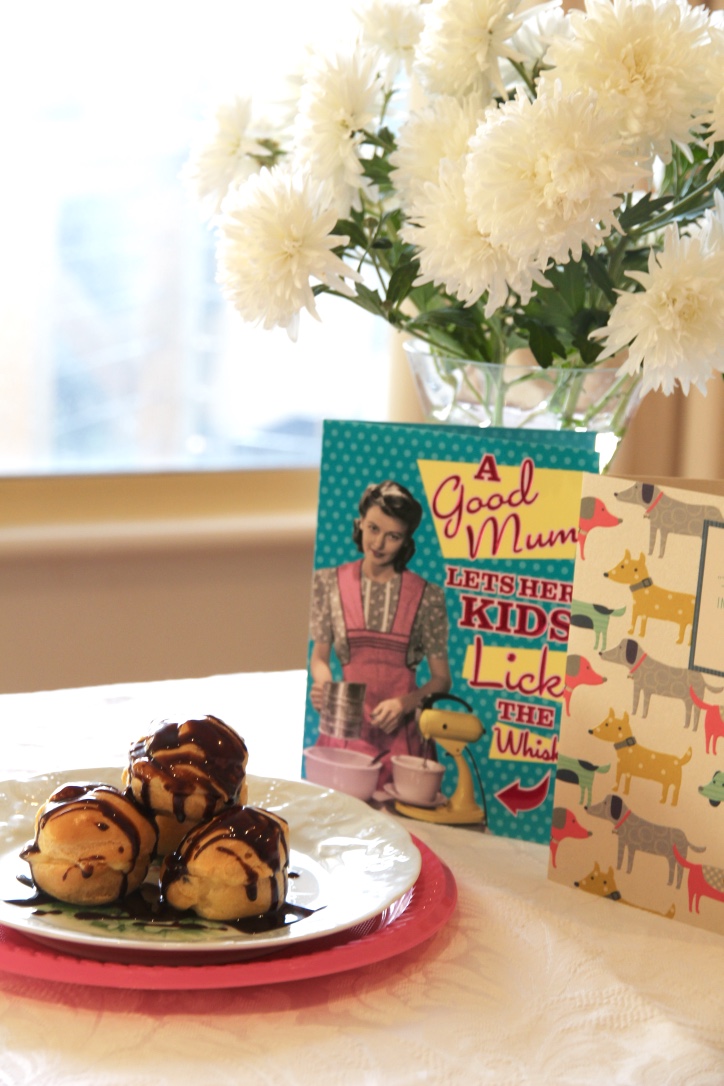
Happy Mother’s Day to all mothers out there! Today I celebrated with one side of my family for a delicious brunch and then had dinner with the other side of the family, and I served these profiteroles for dessert.
Choux pastry has a nasty reputation as being very difficult to make, but Mum has been making this recipe for over 20 years and it has never failed for her. I was surprised by how easy it was to make and using this simple base recipe you can make profiteroles, eclairs or Paris-Brest. If you’re pressed for time you could easily swap the crème pâtissière for sweetened whipped cream, or for a different flavour, you could add a liquor such as Bailey’s Irish cream or Grand Marnier to the filling (although to me, nothing beats a homemade vanilla crème pat). The chocolate sauce could also be changed to berry, lemon, or caramel, or you could dip the profiteroles in toffee à la croquembouche. Basically, the options are endless!
Choux Pastry (makes ~35 profiteroles or 20 eclairs) 1 cup water
60g butter
120g plain flour, sifted
4 eggs
1 extra egg yolk mixed with 1 tablespoon cold water
Chocolate Sauce
300g dark chocolate melts
400ml pouring cream
Line 2 large baking trays with baking paper and add a 1cm nozzle to a piping bag. Preheat oven to 205°C.
In a medium saucepan, bring water and butter to the boil. Lower the heat and add the flour all at once, stirring vigorously with a wooden spoon until the mixture forms a smooth, sticky mass. Remove from the heat and allow to cool for 3 minutes.
Stirring with a wooden spoon, add eggs one at a time, ensuring your mixture is smooth and fully combined.
Fill a piping bag with the mixture and pipe mounds of pastry about 2cm in diameter, 2cm apart. Sprinkle lightly with water (the humidity helps the pastry rise) and then bake in the preheated oven for 20 minutes. Turn down the temperature to 150°C and cook for a further 20 minutes. Turn off the oven and leave to dry in the oven for approximately an hour.
The odd misshapen profiterole is inevitable!
To make the crème pâtissière, mix together the eggs, yolks, sugar and flours. Bring the milk to the boil. Carefully pour it into the egg mixture, whisking well together. Add in the vanilla bean.
Return the mixture to the saucepan and cook over a low heat, stirring constantly with a wooden spoon. After a time, the mixture will thicken quickly – make sure you keep stirring so the mixture on the bottom of the pan doesn’t burn. Beat in the butter a little at a time.
Pour into a bowl, top with cling film and allow to cool.
Once profiteroles and crème pâtissière are fully cool, cut almost in half and fill with crème pâtissière.
Just before serving, make the chocolate sauce by combining the chocolate and cream in a medium saucepan and stirring on a low heat until melted and smooth. Add more cream or chocolate as required until desired consistency is reached.
Serve profiteroles drizzled with chocolate sauce and berries. Enjoy!
Phew, 10 servings with 4 profiteroles each is quite exhausting!
Choux pastry recipe adapted from Gabriel Gaté’s ‘Sweet Treats’ (1995).
Crème pâtissière recipe adapted from Vogue’s ‘Grand Finales’ (1988).
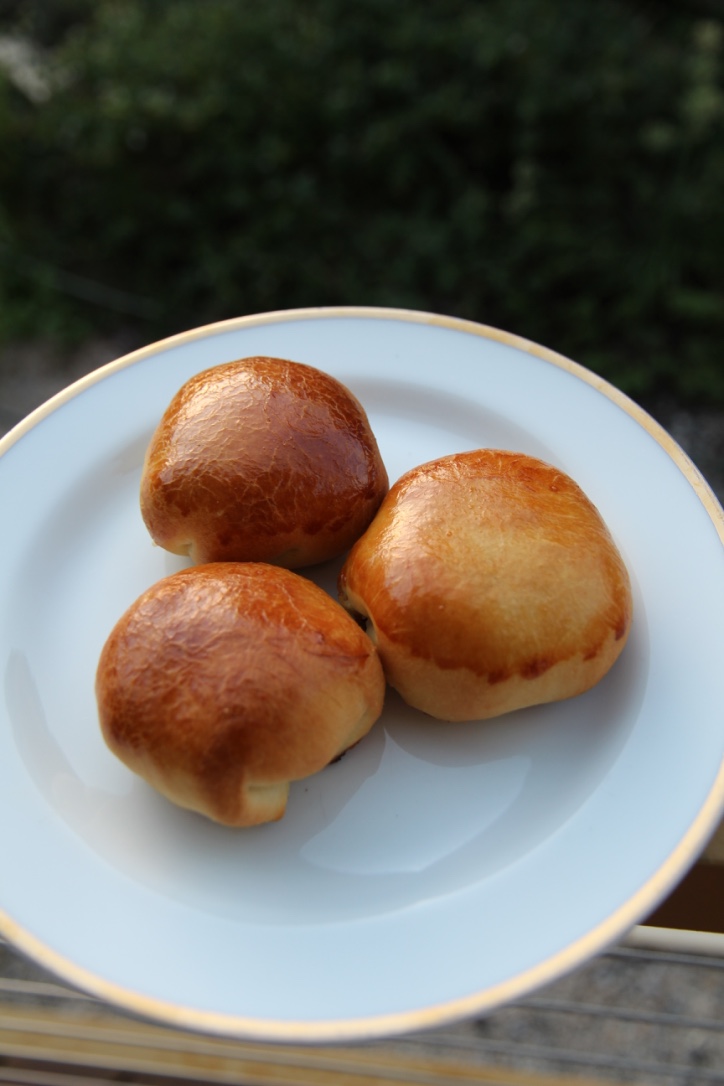
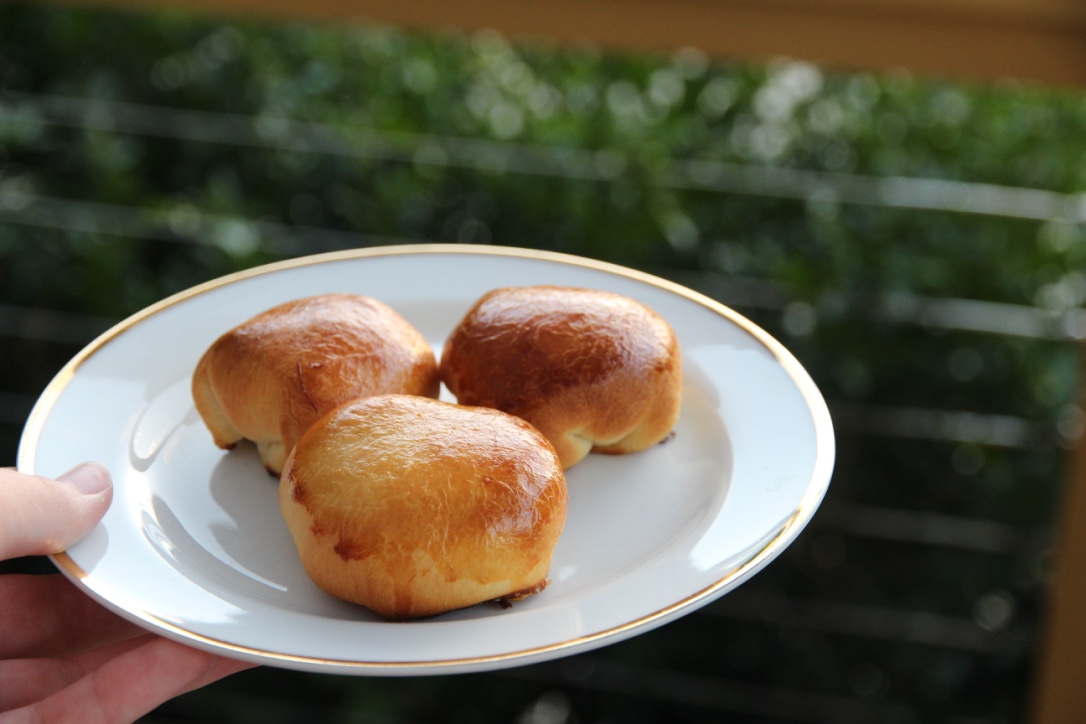
Piroshki (also known as pirozhki or pyrizhky), literally translating to ‘small pie’, are individual-sized buns with either a sweet or savoury filling. There are many variants of piroshki across Eastern Europe, but this recipe most closely resembles the Russian version. These piroshki are baked rather than fried and stuffed with the dreamy combination of bacon, caramelised onion and thyme. We usually serve these as hors d’oeuvres but they are great for lunches and picnics as they are easily transportable and don’t make a mess.
While they do take time and effort to make, they more than make up for it in terms of flavour and I find the baking process is very rewarding. There’s something so satisfying about making things from scratch and I’m always left feeling very self-righteous (plus who doesn’t love kneading dough? So fun and therapeutic). Next time you have a free afternoon, try making a batch – your tastebuds will definitely thank you for it!
Ingredients (makes 35-40) 60g fresh yeast
2 tablespoons sugar
315ml lukewarm milk
375g plain flour
Salt & pepper
125g melted butter
3 large brown onions, chopped
55g butter, extra
250g bacon
2 tablespoons fresh thyme leaves
1 egg, beaten
Method Combine the yeast and sugar; stir in the milk.
In a large bowl, mix flour and 2 teaspoons salt and make a well in the centre. Pour the yeast mixture and the melted butter into the centre. Beat well for 3 minutes until a smooth batter is formed. Cover with Gladwrap and leave in a warm place for 1 hour or until doubled in size.
Gently cook onions in extra butter until golden. Chop bacon finely and add to the onions along with a teaspoon of pepper and the thyme leaves.
Knead the risen dough lightly and then divide into 35 to 40 portions. Wrap a teaspoon of the bacon filling into each portion of the dough. Allow the buns to prove in a warm place on greased trays for 15 minutes.
Preheat oven to 230°C.
Brush each bun with egg and bake in the prepared oven for 10-15 minutes or until golden brown. Enjoy!
Recipe adapted from Hors D’Oeuvres (1988)by June Budgen.
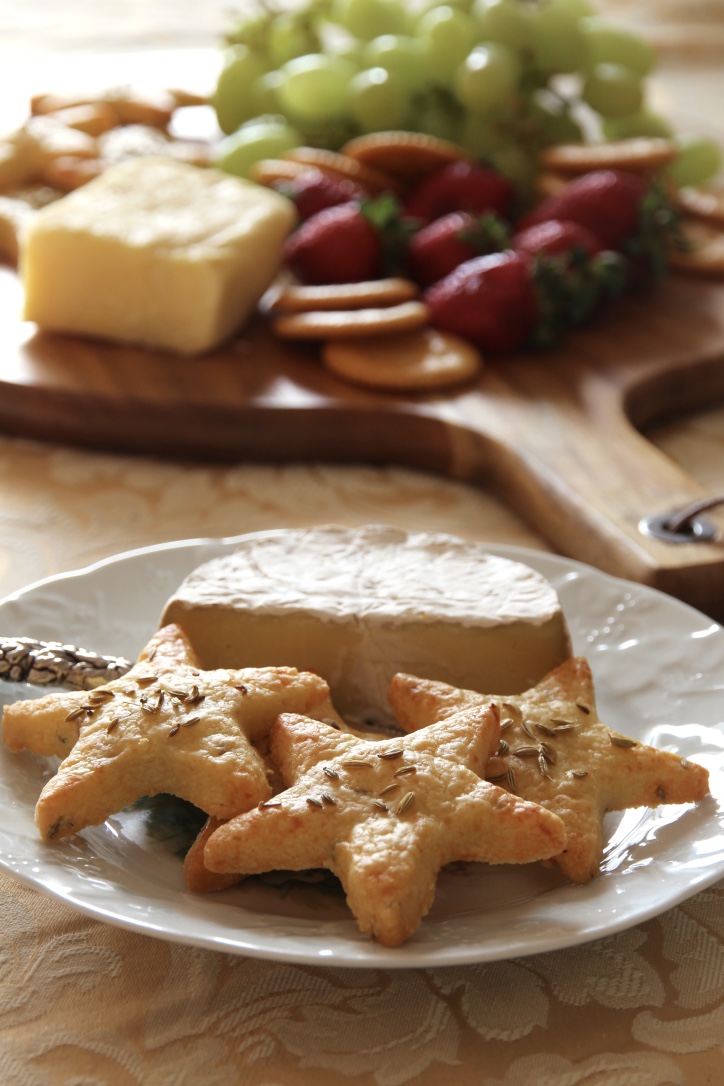
These crumbly, flavoursome biscuits are perfect for entertaining. Try them on a cheese platter or serve by themselves with a good red wine. Delicious!
Ingredients (makes ~35 medium stars) 120g parmesan cheese, roughly chopped
1 cup plain flour
1 tablespoon cornflour
150g cold butter, chopped
2⅓ teaspoons fennel seeds, plus extra for decoration
1 tablespoon milk, plus extra for brushing
Blitz the parmesan in a food processor until finely grated. Add flour and cornflour and process until combined. With the motor running, add the butter and blitz until fine crumbs form. Add fennel seeds and milk and blitz until a dough forms.
Turn out onto a lightly floured surface and knead for 20 seconds. Cover dough in Gladwrap and refrigerate for 30 minutes.
Preheat oven to 180°C (~160°C fan-forced). Line 3 baking trays with baking paper.
Roll dough out with a rolling pin until approximately 5mm thick. Cut out medium stars (or other shape of your choosing) and place on prepared trays. Brush each biscuit with a small amount of milk and sprinkle with extra fennel seeds.
Bake for 12-15 minutes or until golden. Enjoy!
Adapted from Donna Hay’s ‘Fennel and Parmesan Biscuits’.
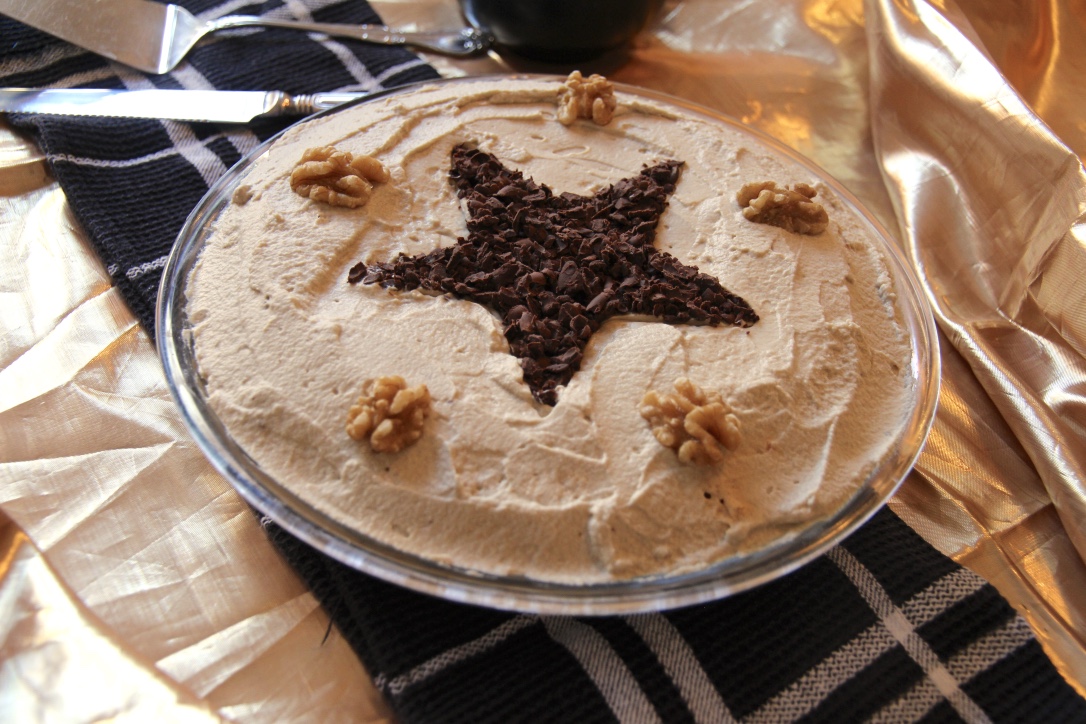
While the ingredients for this torte look a little odd (particularly the Jatz biscuits!) the end result is absolutely delicious – the torte is crisp on the outside and chewy on the inside with a subtle coffee flavour. It’s a firm family favourite that always disappears far too quickly.
Ingredients (serves 6-8) 3 egg whites
1 cup caster sugar
½ teaspoon white vinegar
1 teaspoon vanilla extract
20 Jatz biscuits, crushed
⅔ cup walnuts
1 tablespoon icing sugar
½ teaspoon vanilla extract
1 teaspoon instant coffee (dissolved in a small amount of water)
1 cup cream
Chocolate shavings (to decorate)
Walnuts (to decorate)
Preheat oven to 180°C (160°C fan-forced). Line a 9″ pie plate with baking paper.
Beat egg whites until stiff peaks form. Gradually add caster sugar, vinegar and vanilla and beat until very stiff. Fold in Jatz biscuits and walnuts. Spread in prepared pie plate and smooth the top.
Bake for 35 minutes. Prop open the oven door and allow to cool in the oven for approximately 20 minutes. Then transfer to a wire rack and allow to cool completely. Trim the baking paper so it can no longer be seen.
To make the coffee cream, add icing sugar, vanilla, coffee and cream to a medium bowl and bit until thickened and stiff.
Spread generously over the cooled torte and, if desired, decorate with chocolate shavings and extra walnuts. Keep in the fridge until ready to serve. Enjoy!
This cheat’s apple pie uses pre-made pastry which allows you to spend more time decorating. I used pink lady apples because that’s what we had in the house, but it would work well with granny smith apples instead (but you may want to add in a little more sugar). Happy baking!
Ingredients (serves 8) 5 medium apples peeled, cored and chopped into cubes ½ cup water ¼ cup caster sugar 2 teaspoons lemon rind 3 teaspoons ground cinnamon 3 sheets shortcrust pastry, thawed 1 egg, lightly beaten
Method
Grease a 25cm pie dish. Preheat oven to 180°C.
Peel, core and chop your apples. Place the apples and the water in a large saucepan and bring to the boil. Reduce the heat and simmer, covered, for about 6-7 minutes or until the apples soften. Drain all water. Stir in sugar, lemon rind and cinnamon.
Line pie dish with pastry (you may need to join 2 pieces together) and prick the bottom with a fork. Top with baking paper and pie weights or rice and bake for approximately 20-25 minutes or until lightly golden. Remove the pie weights and allow to cool.
Meanwhile, use the offcuts from the first 2 pieces of pastry to cut out leaves and flowers using cookie cutters.
Using the third piece of pastry, cut 6 thin strips, 2 thick strips and 6 very thin strips (to form 2 braids). Use the excess pastry to cut more leaves and flowers.
Spoon the apple mixture into the cooled pie base. Top with pastry strips and braids in a woven lattice design. Use the pastry leaves and flowers to decorate the edges. Gently brush the pastry with the beaten egg.
Bake for 25-35 minutes or until pastry is golden and crisp. Serve with cream or ice-cream. Enjoy!
Adapted from the Australian Women’s Weekly ‘Apple Pie’.