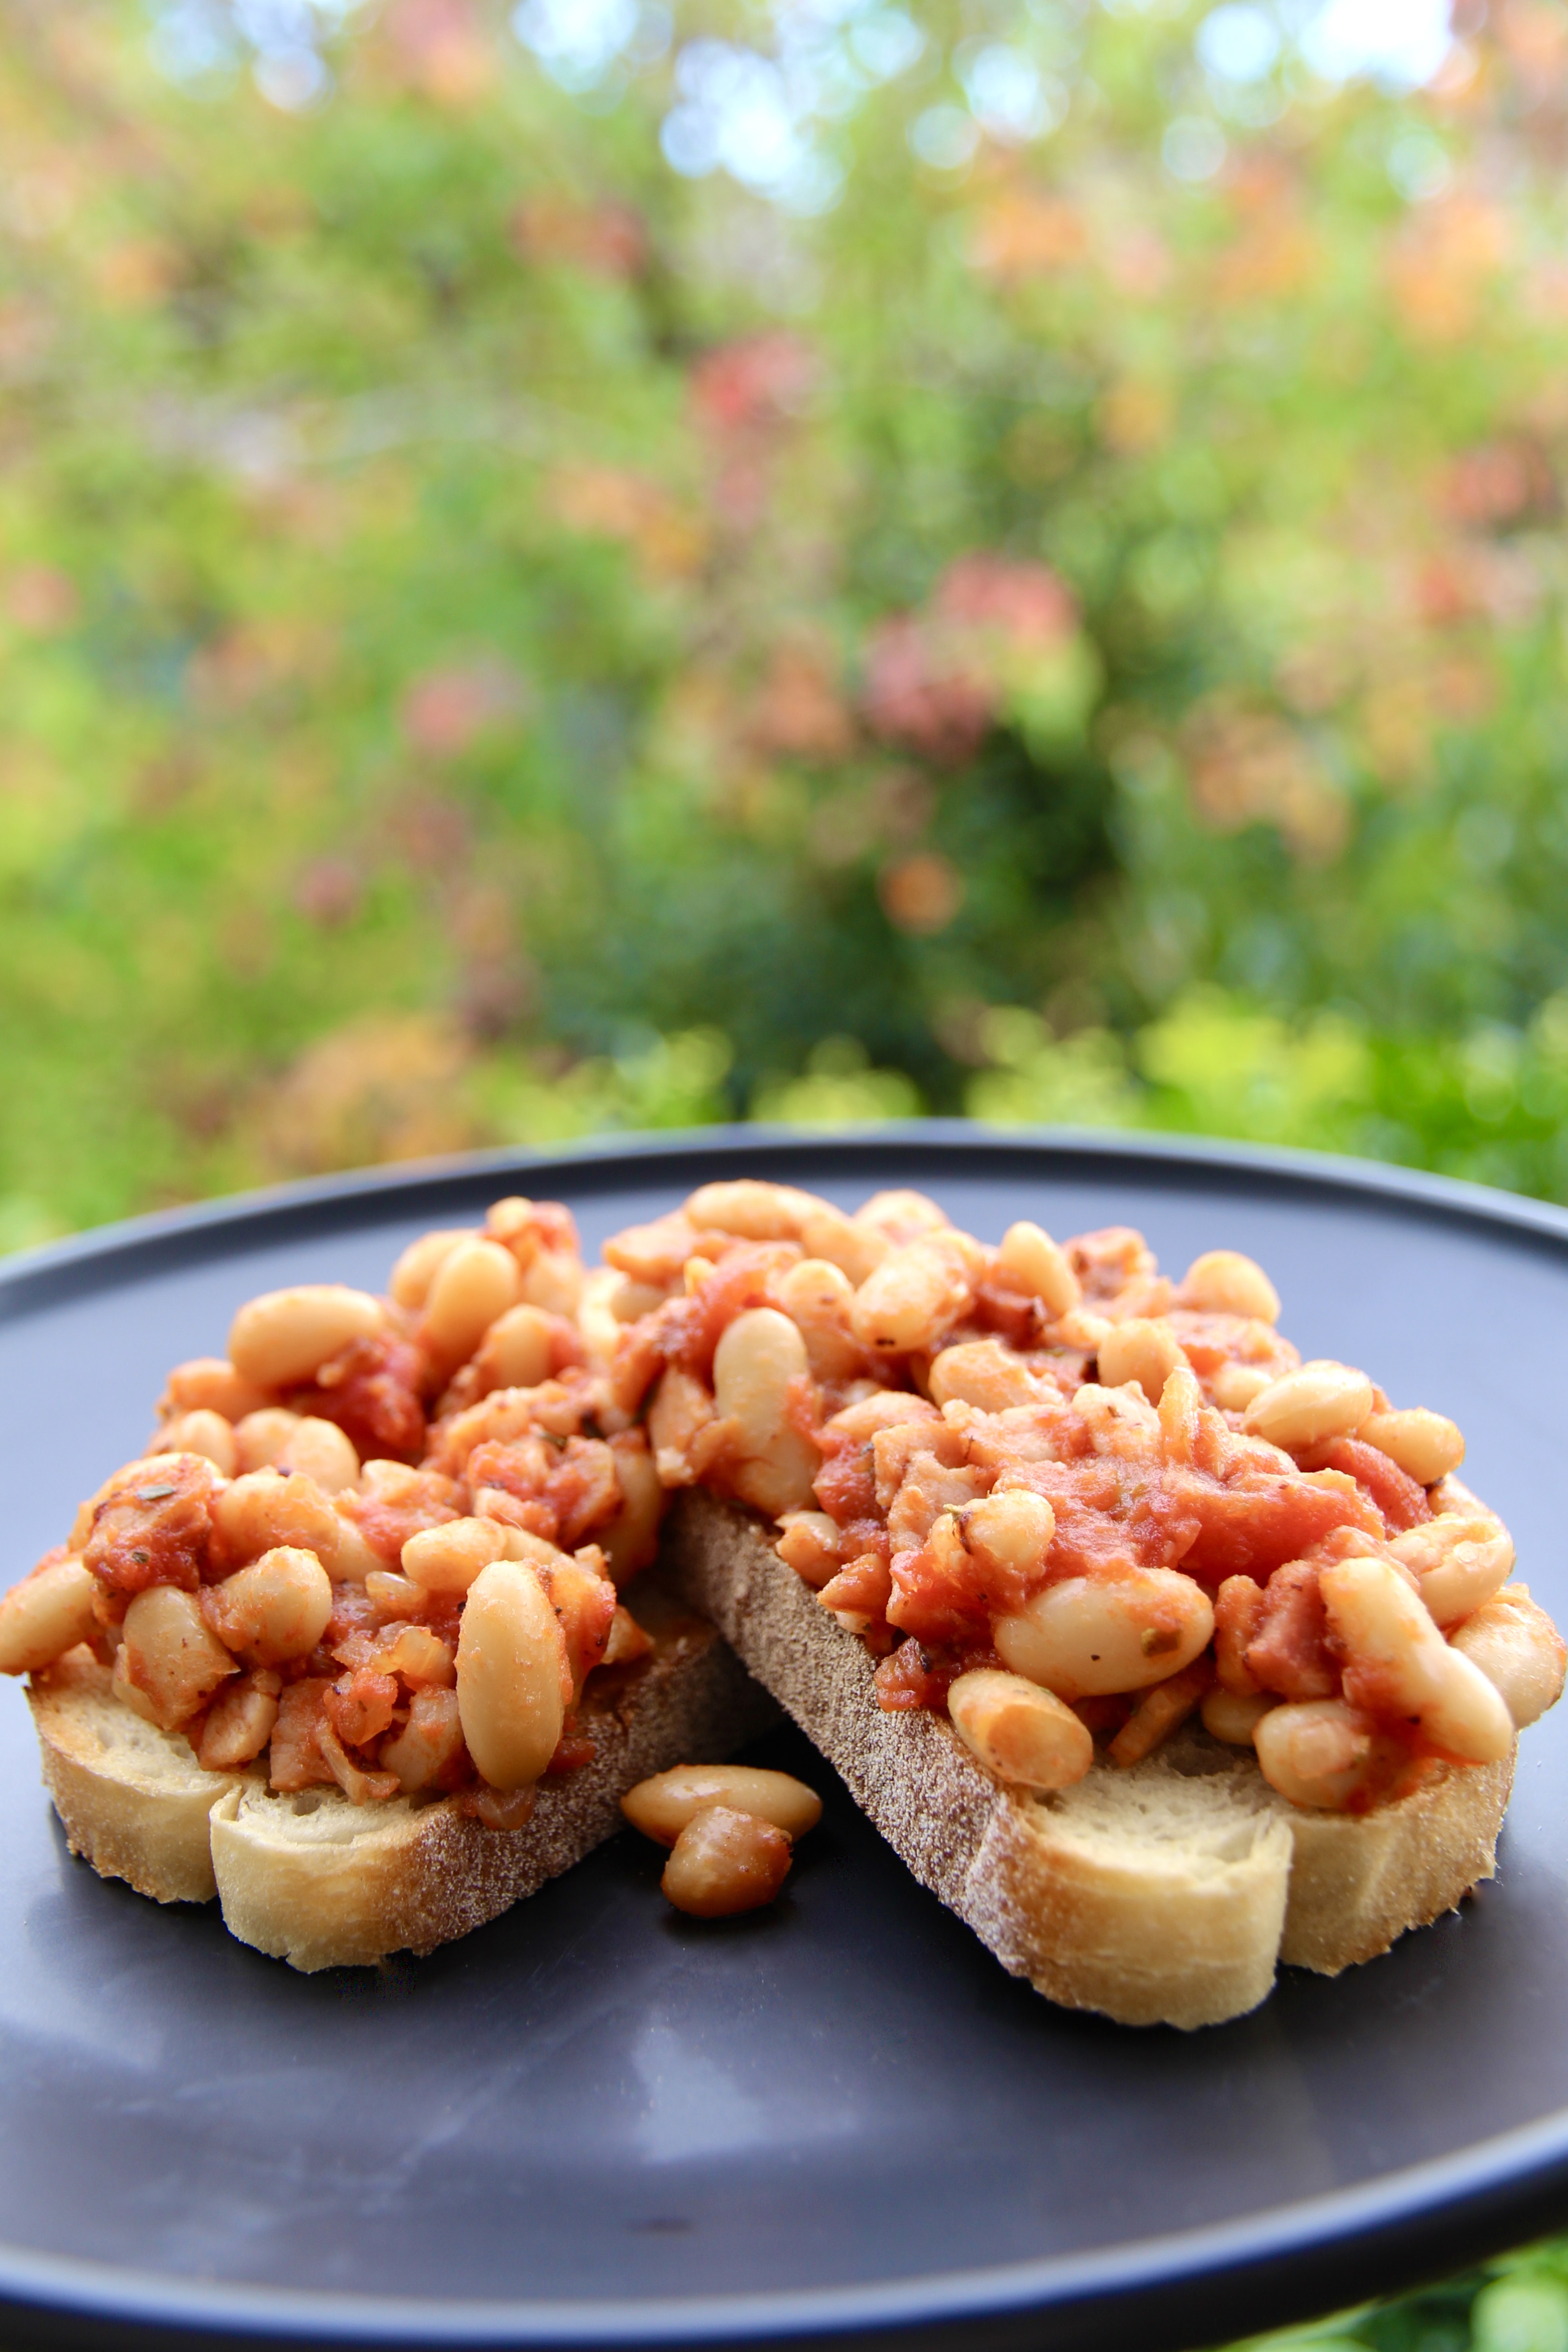
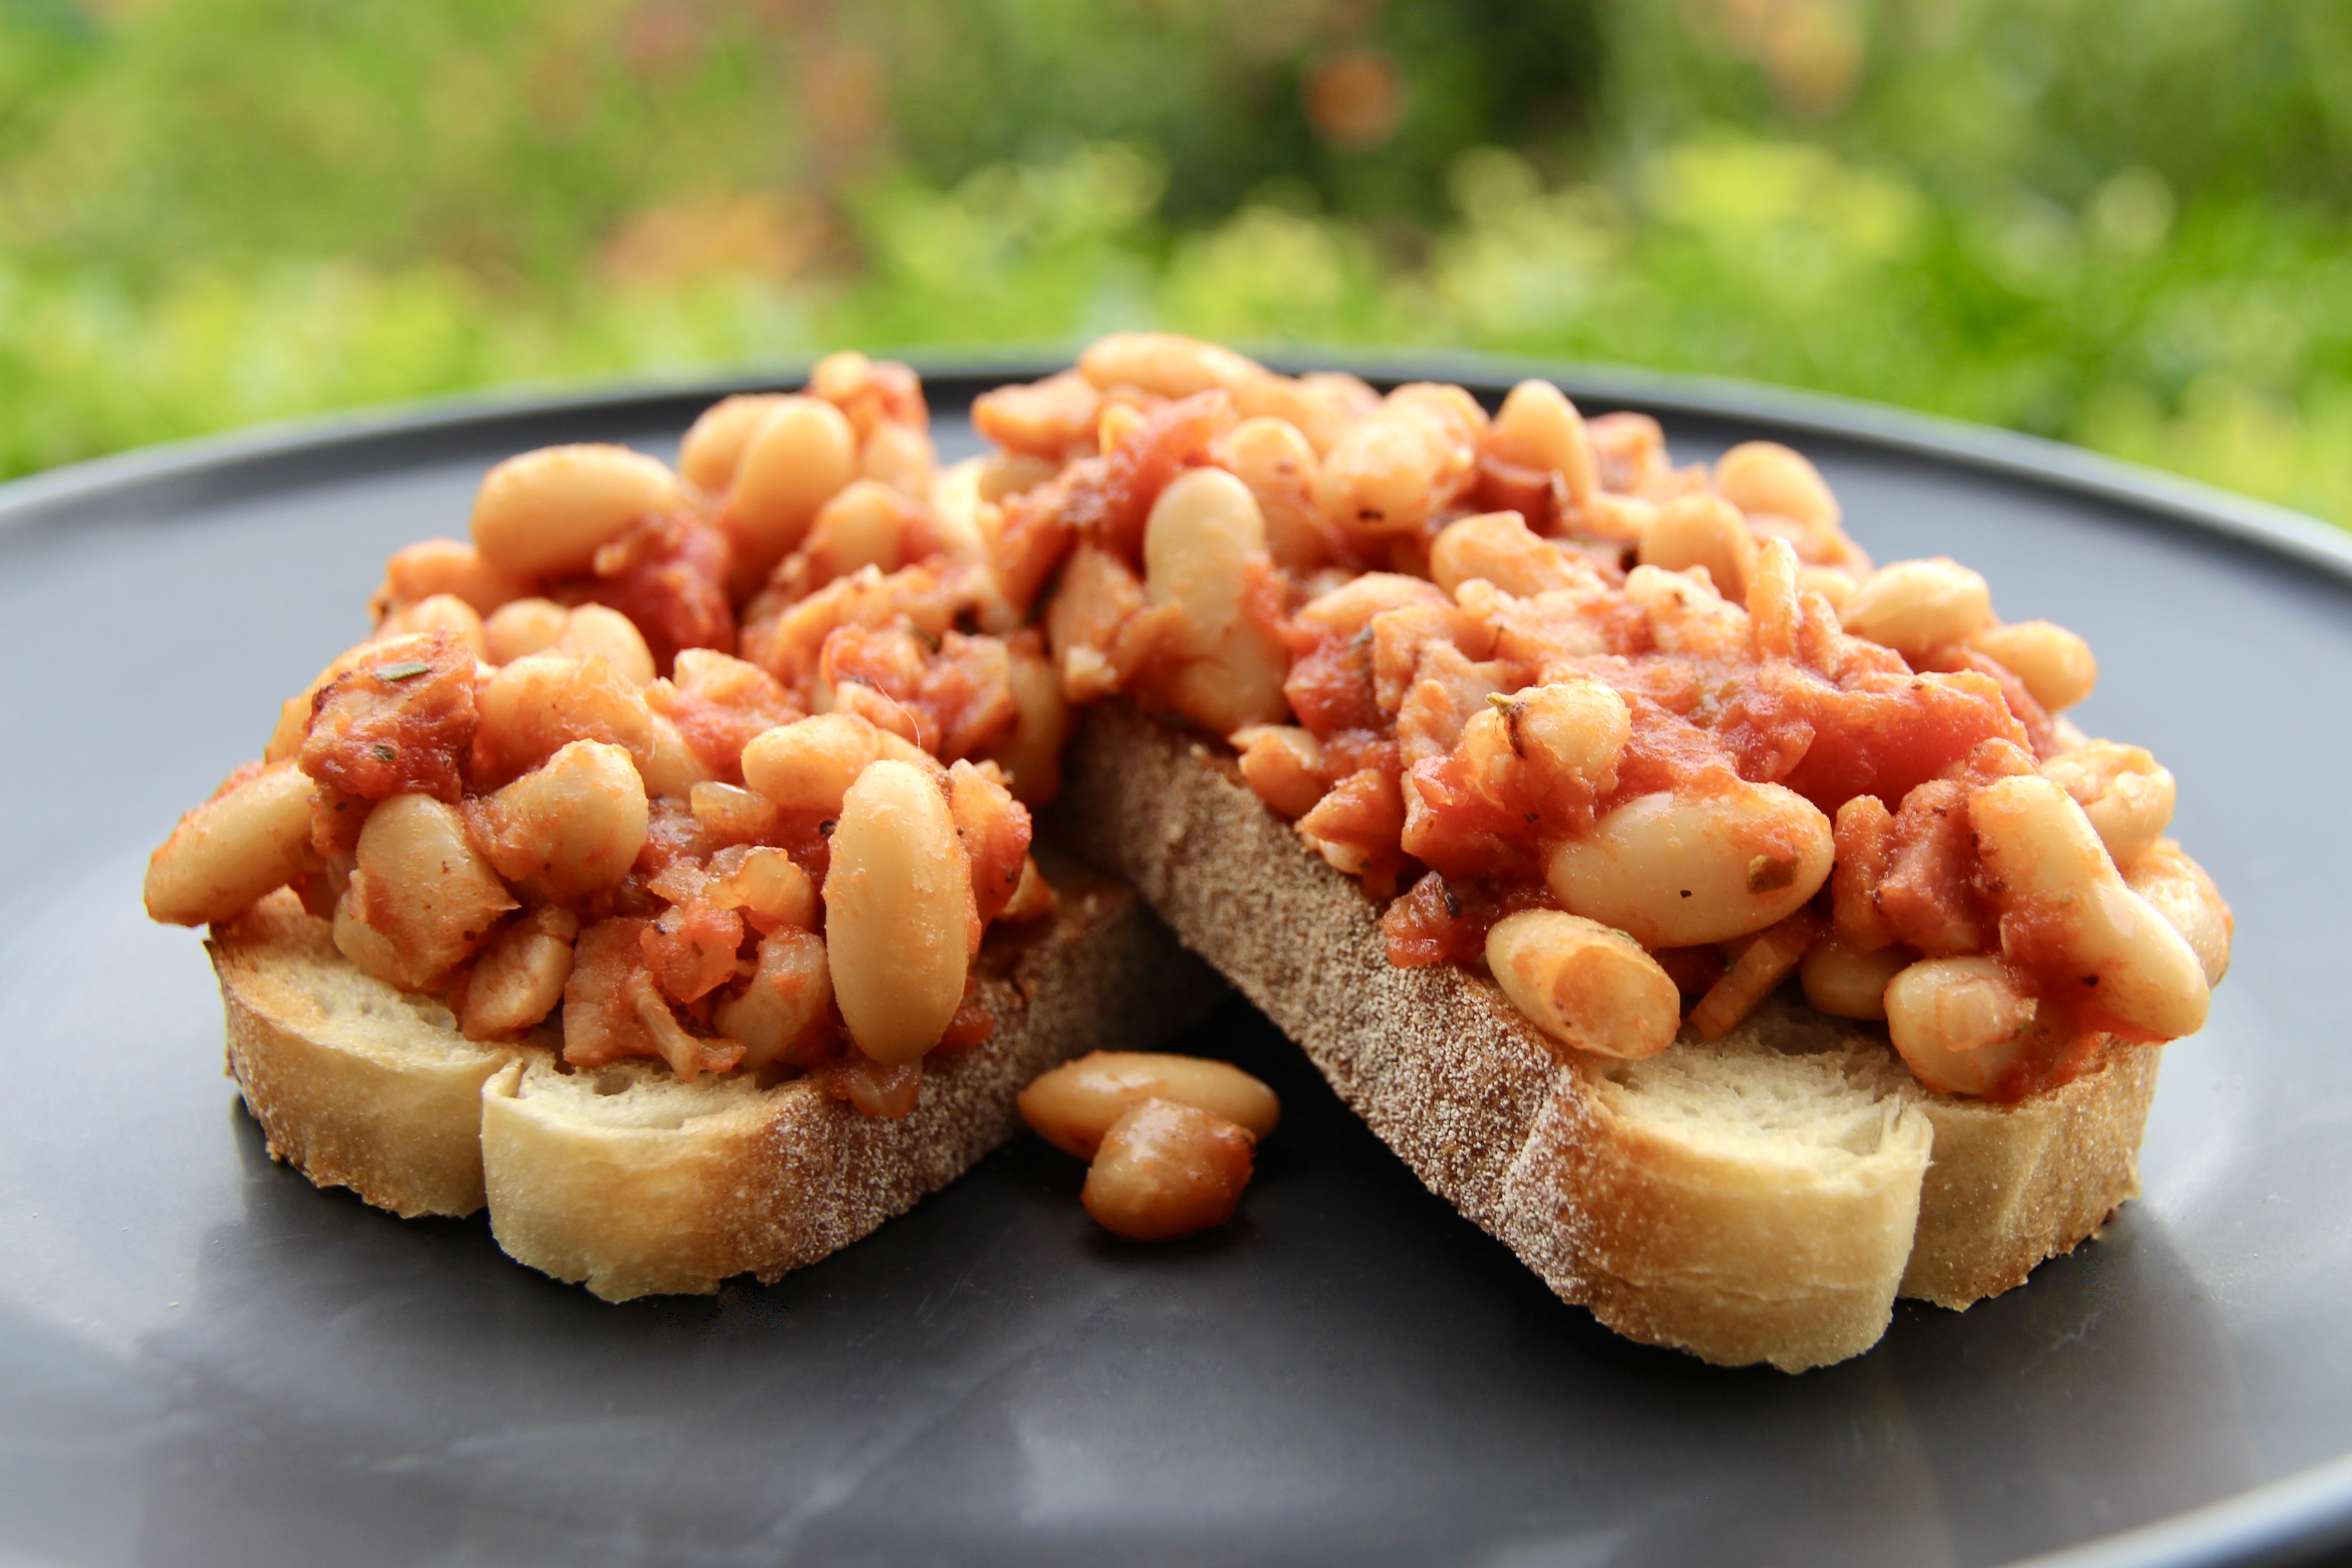
These rustic, café style baked beans are perfect for a hearty breakfast or easy dinner and are a great way of incorporating more beans in your diet. They’re full of rich tomato, garlic, bacon and herb flavours and are so delicious that even a traditional canned baked bean hater, like myself, will enjoy them.
Ingredients (serves 4-6)
1 tablespoon olive oil 1 brown onion, finely chopped 100g bacon, chopped* 1-2 garlic cloves, crushed 1 teaspoon fresh thyme leaves ½ teaspoon dried oregano 400g tin chopped tomatoes 2 x 400g tins cannellini beans, rinsed Sea salt and fresh ground black pepper Thick-cut bread (I like pane di casa), to serve
Method
Preheat the oven to 160°C (140°C fan-forced).
Heat the olive oil in a large saucepan over medium heat. Add the onion and cook, stirring occasionally, for 5 minutes or until the onion is soft. Add the bacon and cook for a further 5 minutes or until crisp. Add the garlic, thyme, and oregano and cook for a further minute.
Add the tomatoes and half a cup of water and bring to the boil. Reduce the heat and simmer for 10 minutes. Stir in the rinsed beans, season with salt and pepper and transfer into a large casserole dish with a lid. Bake in preheated oven for 30 minutes.
While the beans are baking, toast the bread.
To serve, top two pieces of toast with the beans. Add further salt and pepper to taste. Enjoy!
Method Preheat oven to 180°C fan-forced. Line 2 baking trays with baking paper.
Combine fennel, garlic, fennel seeds, pork, egg and breadcrumbs in a bowl. Season with salt and pepper as desired.
Spoon pork mixture onto one side of the pastry and shape into a log. Roll to enclose. Brush some of the whisked egg on the overlapped edge to secure.
Use a sharp knife to cut the roll in halves. Cut slits in the top pastry at approximately 1cm intervals. Place on the tray. Continue with remaining mince and pastry sheets.
Brush the sausage rolls with remaining whisked egg and sprinkle with poppy seeds.
Bake for 25-30 minutes or until puffed, golden and cooked through. Serve warm with tomato sauce or chilli jam.
I LOVE butter chicken. It is always my go-to order at Indian restaurants and a good butter chicken is up there with my favourite foods. Sadly, butter chicken doesn’t always love me. I’m allergic to capsicum and while Canberran restaurant butter chicken was capsicum-free, the Adelaide restaurants I’ve tried all seem to add it in ¯\_(ツ)_/¯. That meant that for 2 miserable years I had no butter chicken that didn’t result in terrible stomach pains.
Fortunately, Pinterest came to the rescue (as it often does), and after a few false starts, I found a recipe that produced butter chicken equal to or better than my favourite restaurant versions. The key ingredient is fenugreek leaves. They may be a little hard to find (I order mine online from herbies spices) but PLEASE do not judge this recipe without it – they are what set it apart from pre-made butter chicken sauces and give it its authentic flavour.
Because it is a little fiddly to make, we often double the recipe and make a huge batch that will make enough for several dinners and lunches. I actually think it tastes even better the next day once the flavours have had more time to integrate. We serve it with fluffy basmati rice and homemade rotis.
Ingredients (serves 4-6) 60g butter + 1 tablespoon for cooking
6 green cardamom pods
1 brown onion, chopped
1 tablespoon chopped garlic
2 x 400g cans diced tomatoes
50g cashews, soaked
1 tablespoon minced ginger
2 teaspoons chilli flakes
1 tablespoon dried fenugreek leaves, crushed
1kg chicken thigh fillets, diced
½ teaspoon tandoori paste
2 teaspoons honey
2 teaspoons garam masala
1 cup cream
Method Sauté cardamom pods in 1 tablespoon of butter in a large pan for 1 minute. Add onion, garlic and tomatoes with a pinch of salt and cook over a medium-low heat for 10 minutes. Add cashews and ginger and continue to cook until tomatoes are pulpy.
Cool the mixture slightly, remove the cardamom pods, then blend with a stick blender until it resembles a loose, smooth puree.
Add 60g butter, chilli flakes, fenugreek leaves and salt and cook for around 15 minutes on medium heat.
Add chicken, tandoori paste, garam masala and honey. After 15 minutes, adjust seasoning as necessary and let simmer for a further 25-30 minutes for the flavours to develop.
This savoury tart is a delicious and easy way to eat your greens. I always associate it with spring picnics (which it is perfect for!) but it is also a great midweek meal or work/school lunch.
Ingredients (Serves 4-6) 200g Greek feta, crumbled
1 leek
20g butter
160g baby spinach leaves
½ cup sour cream
½ cup thickened cream
3 eggs, lightly beaten
2 tablespoons shredded basil leaves
2 sheets frozen puff pastry, thawed
Method Preheat oven to 200ºC. Cut the leek in half and thinly slice the white and pale green part to achieve 1 cup full.
Melt the butter in a saucepan and lightly sauté the leek over a medium heat for 4 minutes. Transfer to a bowl and set aside.
Add spinach to the saucepan, cover and cook until wilted. Take off the heat and then press leaves into a strainer to remove excess moisture.
In a bowl, combine sour cream, cream and eggs. Add the feta, leek, spinach and basil. Stir will and season to taste.
Line a non-stick rectangular quiche pan (35cm x 13cm) with the two pieces of pastry, overlapping slightly, and gently push the pieces together in the middle to seal the pastry case. Trim excess pastry. Lightly prick the pastry base with a fork and place the quiche pan onto an oven tray.
Bake the pastry case for 5-10mins until it has started to colour and puff.
Pour in prepared filling and bake for 30-35mins until firm and golden in the centre.
Remove from baking tray and allow to cool slightly before serving. Enjoy!
It feels a bit cheeky to call this a recipe as it’s so easy and basically impossible to mess up, but it’s been my most requested ‘recipe’ among my friends and it’s about time I shared it. Adjust it to suit your palate (no two guacamoles I make are exactly the same), but here is the basis of the guacamole that features prominently at most Bills gatherings. We usually serve it with salted corn chips, but it also works well with flavoured Doritos, crackers, veggie sticks, or my sister’s weird but delicious favourite, salt and vinegar chips. Of course it is also a perfect addition to tacos, burritos and nachos.
Warning: once you make it for your friends, you will never be allowed to bring anything else to a party… ever!
Ingredients (makes enough for 1 packet of corn chips) 2 ripe avocados
1 medium sized clove of garlic, finely diced
2 teaspoons tomato, finely chopped
3 teaspoons lime juice
2 teaspoons sweet chilli sauce
1 teaspoon Tabasco sauce (optional)
Salt
Pepper
Coriander leaves, to serve
Corn chips, to serve
Ft. Adelaide Crows scarf in the background because it’s AFL Grand Final Day!!
Cut up the avocados into small cubes and scoop into a medium sized bowl. Mash gently with a fork until mostly squashed but with some lumps (I prefer the term ‘texture’) remaining.
Dice the garlic (making the pieces as small as possible) and tomato and add to the avocado. Gently stir through with the fork.
Add in the lime juice, sweet chilli sauce and tabasco sauce (if desired). Stir until combined. Season with salt and pepper. Taste it and add more of any of the ingredients until it’s balanced and to your liking.
Transfer into a small serving bowl, top with a couple of coriander leaves and enjoy!
Recipe adapted from Emma, my neighbour from Canberra.
And because it’s always stuck in my head, enjoy the horrendously catchy ‘Guacamole Song’ here!!
Piroshki (also known as pirozhki or pyrizhky), literally translating to ‘small pie’, are individual-sized buns with either a sweet or savoury filling. There are many variants of piroshki across Eastern Europe, but this recipe most closely resembles the Russian version. These piroshki are baked rather than fried and stuffed with the dreamy combination of bacon, caramelised onion and thyme. We usually serve these as hors d’oeuvres but they are great for lunches and picnics as they are easily transportable and don’t make a mess.
While they do take time and effort to make, they more than make up for it in terms of flavour and I find the baking process is very rewarding. There’s something so satisfying about making things from scratch and I’m always left feeling very self-righteous (plus who doesn’t love kneading dough? So fun and therapeutic). Next time you have a free afternoon, try making a batch – your tastebuds will definitely thank you for it!
Ingredients (makes 35-40) 60g fresh yeast
2 tablespoons sugar
315ml lukewarm milk
375g plain flour
Salt & pepper
125g melted butter
3 large brown onions, chopped
55g butter, extra
250g bacon
2 tablespoons fresh thyme leaves
1 egg, beaten
Method Combine the yeast and sugar; stir in the milk.
In a large bowl, mix flour and 2 teaspoons salt and make a well in the centre. Pour the yeast mixture and the melted butter into the centre. Beat well for 3 minutes until a smooth batter is formed. Cover with Gladwrap and leave in a warm place for 1 hour or until doubled in size.
Gently cook onions in extra butter until golden. Chop bacon finely and add to the onions along with a teaspoon of pepper and the thyme leaves.
Knead the risen dough lightly and then divide into 35 to 40 portions. Wrap a teaspoon of the bacon filling into each portion of the dough. Allow the buns to prove in a warm place on greased trays for 15 minutes.
Preheat oven to 230°C.
Brush each bun with egg and bake in the prepared oven for 10-15 minutes or until golden brown. Enjoy!
Recipe adapted from Hors D’Oeuvres (1988)by June Budgen.
These crumbly, flavoursome biscuits are perfect for entertaining. Try them on a cheese platter or serve by themselves with a good red wine. Delicious!
Ingredients (makes ~35 medium stars) 120g parmesan cheese, roughly chopped
1 cup plain flour
1 tablespoon cornflour
150g cold butter, chopped
2⅓ teaspoons fennel seeds, plus extra for decoration
1 tablespoon milk, plus extra for brushing
Blitz the parmesan in a food processor until finely grated. Add flour and cornflour and process until combined. With the motor running, add the butter and blitz until fine crumbs form. Add fennel seeds and milk and blitz until a dough forms.
Turn out onto a lightly floured surface and knead for 20 seconds. Cover dough in Gladwrap and refrigerate for 30 minutes.
Preheat oven to 180°C (~160°C fan-forced). Line 3 baking trays with baking paper.
Roll dough out with a rolling pin until approximately 5mm thick. Cut out medium stars (or other shape of your choosing) and place on prepared trays. Brush each biscuit with a small amount of milk and sprinkle with extra fennel seeds.
Bake for 12-15 minutes or until golden. Enjoy!
Adapted from Donna Hay’s ‘Fennel and Parmesan Biscuits’.
It is a truth universally acknowledged that the Port Elliot Bakery is the best in South Australia*. Yes, it’s a bold statement considering SA’s dozens of award-winning bakeries, but the Port Elliot Bakery’s consistent 5 star reviews, 4000-strong “Port Elliot Bakery appreciation society” Facebook group, and regular 50m+ queues set it apart from the rest and are a testament to its excellence. The bakery is located on the main street of Port Elliot, a small town on the Fleurieu Peninsular about an hour’s drive south of Adelaide, and is a must-visit when you’re in the area.
Just some of the delicious offerings from the Port Elliot Bakery. (Image: Michael Mangahas)
The unassuming shopfront of the Port Elliot Bakery – although you will never see it this empty! (Image: travelguide.net.au)
The Port Elliot Bakery was established in 1989 by the Gormon-Horrocks family, who still own and operate it today. However the site has hosted a bakery since the 1860s, and its tradition of using fresh produce and baking daily on the premises is maintained, along with the original wood fired oven.
The original Port Elliot bakers, the Bebee family (Image: portelliotbakery.com)
I am fortunate enough to have visited the Port Elliot Bakery regularly for over 20 years, as it is located about 10mins drive away from my family’s holiday house. I can honestly say that I have never left disappointed as the food is always delicious and the service is quick and friendly (no matter how long the line-up is).
The pies, pasties and sausage rolls come in a wide range of delicious flavours and always have perfect crisp, flaky pastry, and the enormous array of beautiful and tempting sweets is sure to impress the harshest of critics.
A selection of their savoury goods. (Image: The Port Elliot Bakery Facebook page)
While everything I’ve tried has been excellent, my go-to is their steak and bacon pie** (so mouthwateringly tender and flavoursome) with a chocolate doughnut and a Farmer’s Union ice-coffee – perfection!
Look at that perfect pastry…
Melt in your mouth steak paired with bacon and a rich flavour-packed gravy… what more could you ask for?!
With a deep golden exterior, soft fluffy interior and a dark chocolate icing, these are the doughnuts of my dreams
Bailey is always more than happy to assist in eating Port Elliot Bakery goods!
One of the reasons I love the bakery so much, is that it’s constantly innovating and updating its menu. The bakery offers a new “pie of the month” each month, and its recent Nutella and Oreo doughnut additions already have cult followings!
The bakery’s new Oreo cookies & cream doughnuts (Image: The Port Elliot Bakery Facebook Page)
The bakery has also developed a range of vegan options including ‘Fruchoc’, ‘Bounty’ and ‘Snickers’ slices, bliss balls, and salads.
“Fruchoc slice” a vegan option. (Image: the Port Elliot Bakery Facebook page)
Next time you’re down in the Fleurieu area, make sure you give the Port Elliot Bakery a visit. My advice is to get in early to avoid disappointment as the bakery is so popular that many items sell-out before 1pm. There is seating outside the bakery, but we like to drive to the Freeman Lookout and eat our bakery goodies with a magnificent ocean view where, between May and October, you might even be lucky enough to see whales.
Freeman Lookout
Port Elliot Bakery
Open: 7am-5:30pm every day but Christmas Day, Proclamation Day, New Year’s Day and Good Friday.
Location: 31 North Terrace, Port Elliot, South Australia Phone: (08) 8554 2475 Price: from $2.50 Rating: 5/5 cupcakes
* I’m sure if Jane Austen had tried their baked goods she would agree!
**tragically, as of January 2023, they are no longer offering the steak and bacon pie so I have had to adapt and opt for the steak, cheese and bacon pie #notquitethesame #bringbacksteakandbacon
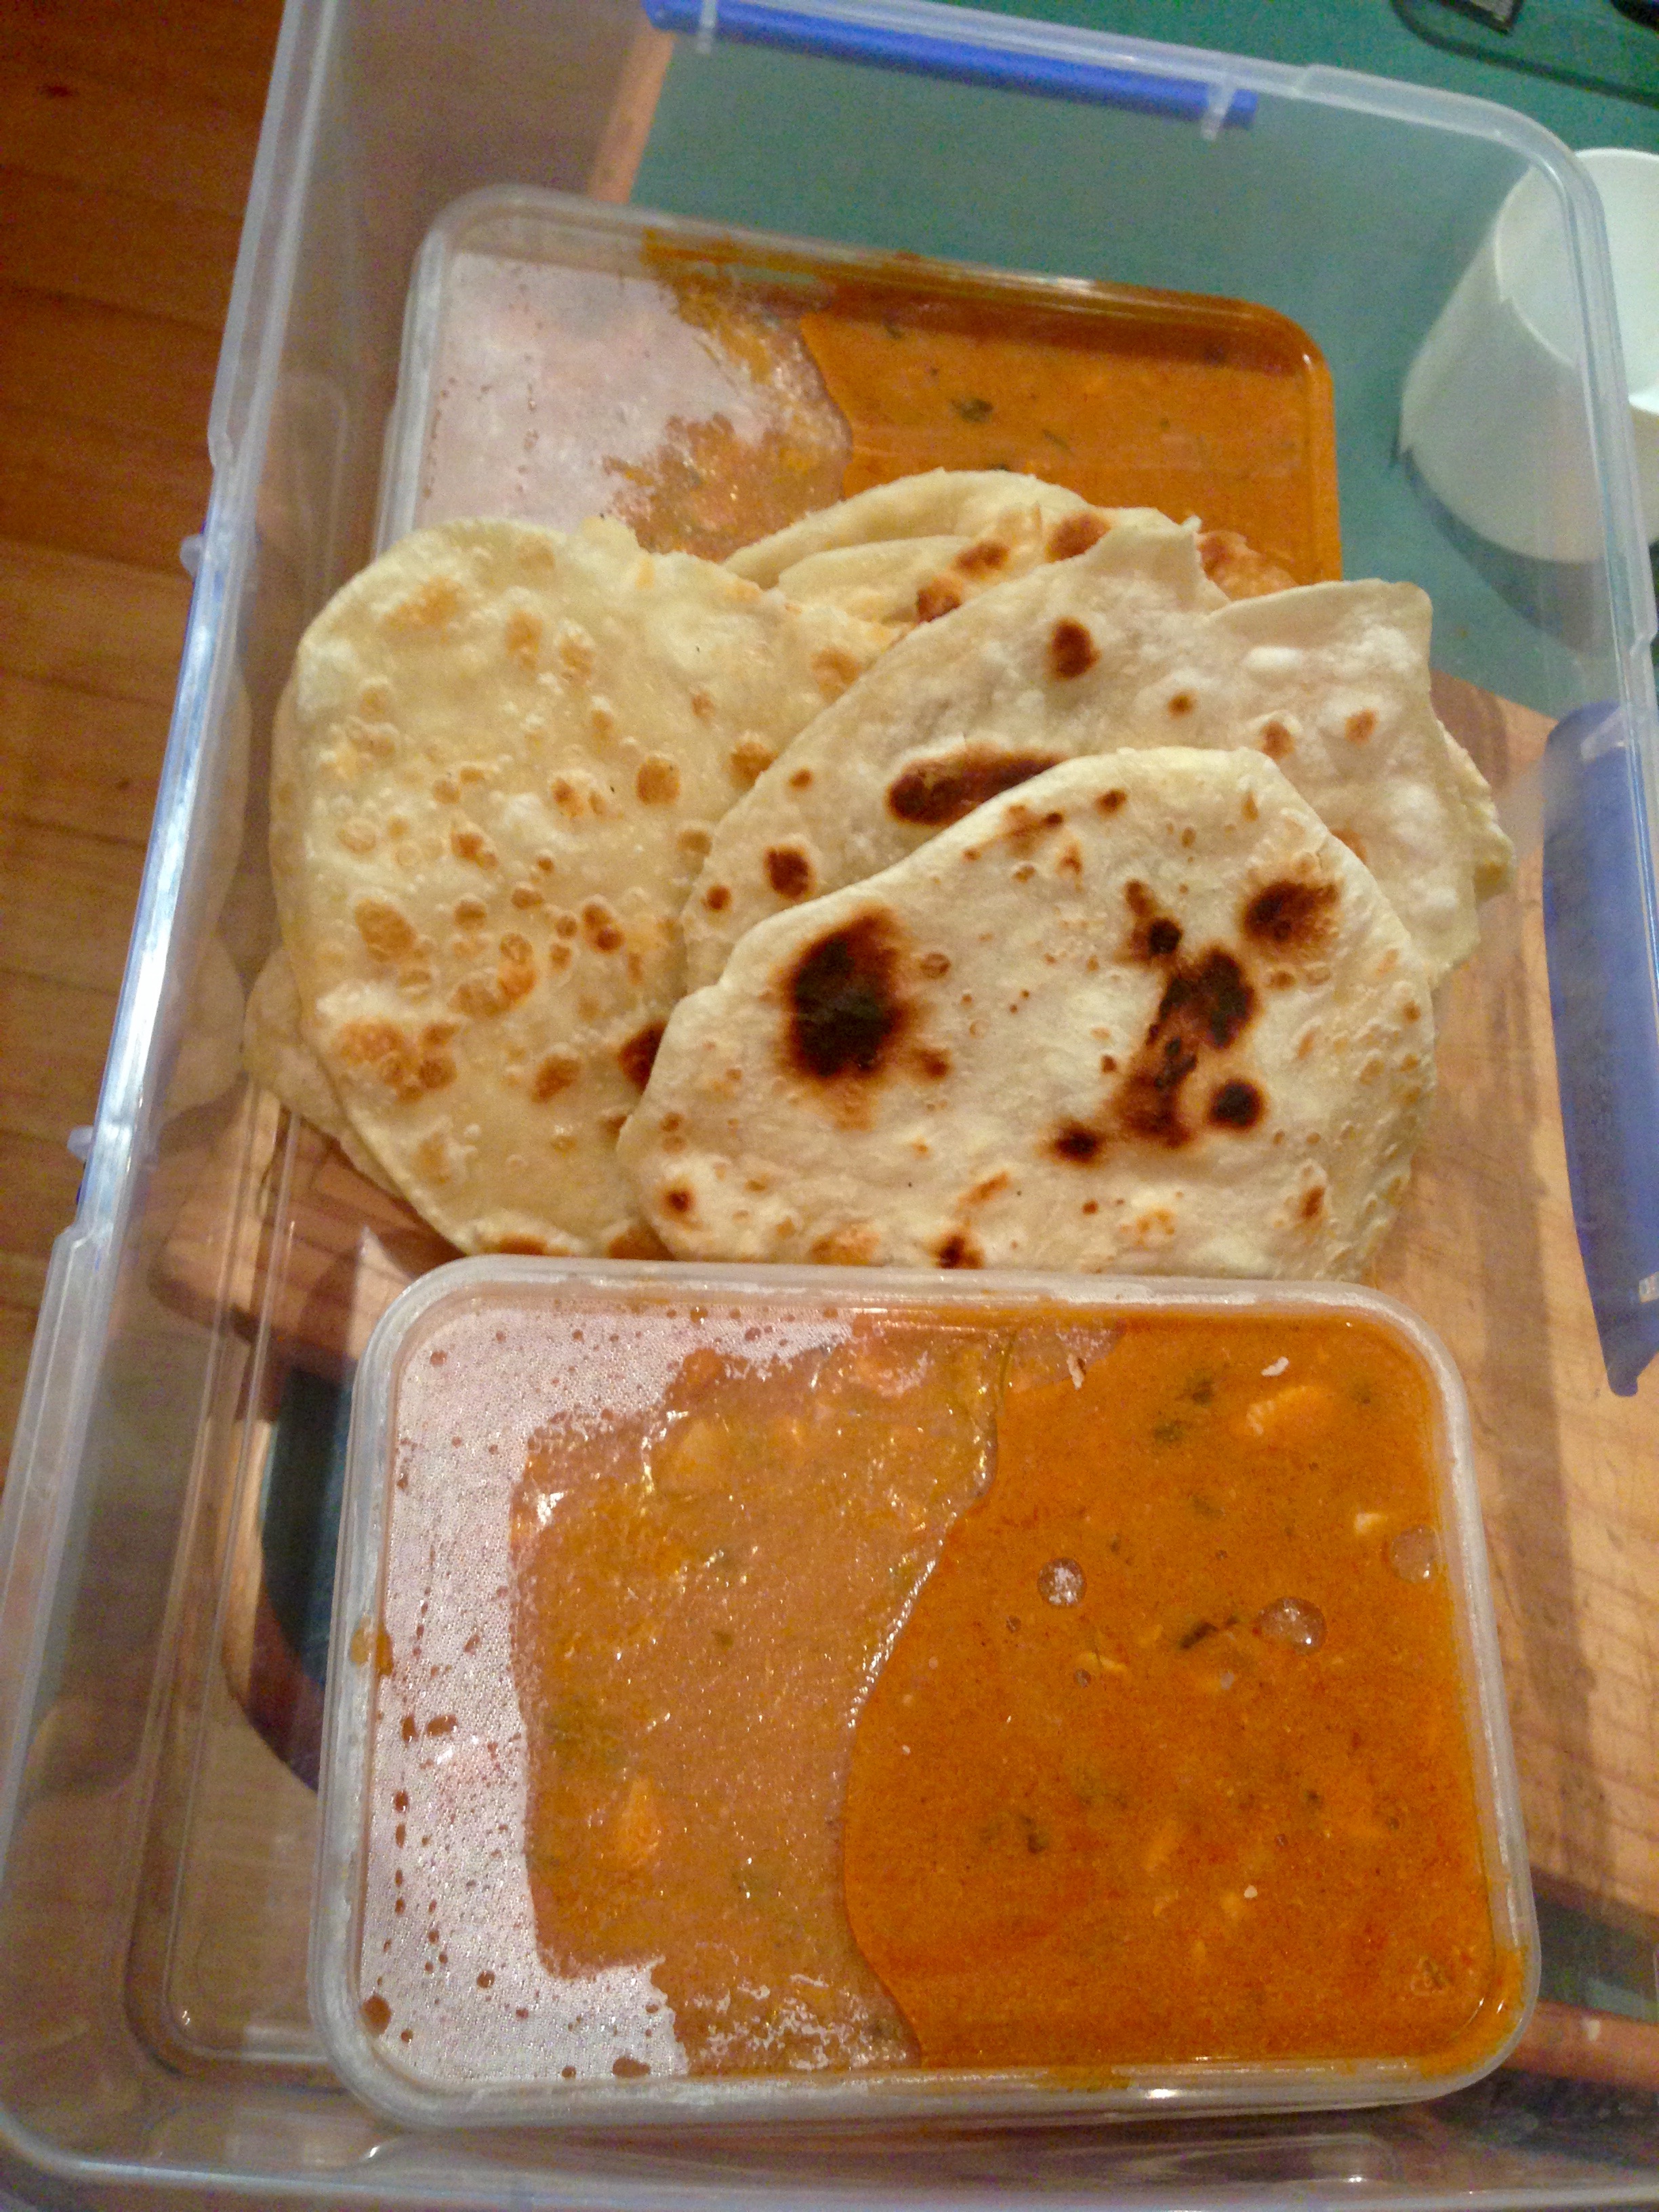
This recipe really gets a workout in our household because 1. we love Indian food, 2. we especially love having it with bread to soak up all the curry sauce deliciousness, & 3. this recipe is incredibly quick, easy & non-scary as it doesn’t involve yeast. We make rotis particularly when having butter chicken, but it’s great with all kind of curries. Thankfully, it only takes about 15-20 minutes from start to finish so is perfect for while your curry is simmering away.
It also travels really well as I discovered last week when we took butter chicken & rotis over to my grandparents’ house for dinner (see pic below), and will keep in cling wrap at room temperature for a couple of days (perfect for any leftover curry!)
Ingredients (makes 12 rotis) 1 ½ tablespoons vegetable oil
2 cups plain flour
½ teaspoon salt
200ml water
Method In a medium bowl, stir together flour, salt, water and oil until the mixture pulls away from the sides of the bowl. Turn the dough out onto a flat, floured surface and knead until smooth and pliable (around 10 minutes).
Preheat frying pan on medium-high heat.
Divide the dough into 12 equal parts, form into rounds and then roll each out to 15-20cm rounds with a rolling pin.
Cook the roti for about a minute on each side, or until it has some dark brown spots on each side. Serve warm.
I’ve wanted to start the savoury baking section of my blog for a while now, but unlike with sweet baking, my savoury baking is almost never planned (and consequently not photographed). Finally, after months & months of struggling to decide which recipe to put up as my first in the section, I decided on one of my all-time favourites: peking duck pancakes.
If I’m honest, they are a bit time-consuming to make, and duck breasts certainly aren’t cheap, but considering how much you can pay for these babies in a restaurant, it’s certainly worth your while having a go at home, and they’re absolutely delicious!
The recipe I have written here is enough for a main meal for 4, but feel free to halve it if it’s just for an entrée, or double it to make it serve more.
Ingredients (makes approximately 40 small pancakes) For the pancakes:
4 ½ cups plain flour
1½ -2 cups boiling water
Sesame oil
For the duck:
4 duck breasts
Salt
To serve:
1 large cucumber, cut into batons
The green tops of 2-3 spring onions, julienned
Coriander/cilantro
Hoisin sauce (aka the greatest thing ever)
Method To make the pancakes, place the flour in a large bowl and stir in the boiling water. Knead until the dough is smooth.
Place the dough into a clean bowl, cover with a clean,damp cloth and allow to stand for at least 30mins.
Knead again for about 5mins, then divide into approximately 40 balls.
Dip one side of a ball into a little sesame oil. Press the oiled ball together with another (unoiled) dough ball, oiled side towards the centre, and roll out to form a 15cm circle. Repeat with the remaining dough balls.
Fry the pancakes in a lightly oiled pan over a low heat, turn and lightly cook the other side. Both sides should be only very little browned (sort of like a mini tortilla).
Carefully peel the pancakes apart (careful not to burn yourself!) and keep warm until ready to serve.
Preheat oven to 200°C and 2 frypans to a medium-high heat. Prepare the duck by scoring the skin with a sharp knife and lightly salting it.
I know I said 4… and this is 6. But I had 2 left over for another time
Place 2 breasts in each pan, skin-side down and cook for 3-4 minutes or until the skin is golden. Turn and cook for a further minute.
Transfer the duck breasts onto a lightly oiled baking tray and cook in the preheated oven for a further 8-10 minutes.
While the duck is cooking, prepare your vegetables.
Once the duck is cooked, rest it for 5 minutes and then slice.
To assemble the pancakes, put approximately a teaspoon of hoisin sauce onto the middle of the pancake, top with 2 slices of duck, some cucumber, spring onion & coriander and roll. Enjoy!
Pancake recipe adapted from ‘The World’s Finest Food’ by Ann Creber, Elisabeth King & Phil Wymant


 Method