Café Style Baked Beans

These rustic, café style baked beans are perfect for a hearty breakfast or easy dinner and are a great way of incorporating more beans in your diet. They’re full of rich tomato, garlic, bacon and herb flavours and are so delicious that even a traditional canned baked bean hater, like myself, will enjoy them.

Ingredients (serves 4-6)

1 tablespoon olive oil
1 brown onion, finely chopped
100g bacon, chopped*
1-2 garlic cloves, crushed
1 teaspoon fresh thyme leaves
½ teaspoon dried oregano
400g tin chopped tomatoes
2 x 400g tins cannellini beans, rinsed
Sea salt and fresh ground black pepper
Thick-cut bread (I like pane di casa), to serve

Method

Preheat the oven to 160°C (140°C fan-forced).

Heat the olive oil in a large saucepan over medium heat. Add the onion and cook, stirring occasionally, for 5 minutes or until the onion is soft. Add the bacon and cook for a further 5 minutes or until crisp. Add the garlic, thyme, and oregano and cook for a further minute.

Add the tomatoes and half a cup of water and bring to the boil. Reduce the heat and simmer for 10 minutes. Stir in the rinsed beans, season with salt and pepper and transfer into a large casserole dish with a lid. Bake in preheated oven for 30 minutes.

While the beans are baking, toast the bread.

To serve, top two pieces of toast with the beans. Add further salt and pepper to taste. Enjoy!

Adapted from Bill Granger’s Everyday

*Omit to make it vegetarian

Easy Red Velvet Waffles

Valentine’s Day is right around the corner and that always gets me in the mood for all things red velvet. Over the years, I’ve posted several red velvet recipes; my favourites being red velvet crinkle cookies and red velvet cupcakes. Today, I present to you my red velvet waffles with a cream cheese glaze. These are extremely quick and easy to make as they use a boxed cake mix, although you could certainly make a cake batter from scratch if you prefer. These waffles are perfect to spoil a loved one (or yourself!) this Valentine’s Day.

z50HST3HRby17RfmnZAWzQ_thumb_2883

Ingredients (makes 6 waffles)
1 x Betty Crocker Devil’s Food Cake mix (or equivalent)
1 tablespoon cocoa powder
2 teaspoons vanilla extract
2 tablespoons red food colouring (or until you are satisfied with the colour)
Cream Cheese Glaze
115g cream cheese, softened
60g butter, softened
1½ cups icing sugar
1 teaspoon vanilla extract
½ cup milk
To serve
Raspberries
Sugar hearts (optional)

HzHni1R2R5aA5HLzeZzw6A_thumb_287e

Whip together the cream cheese and butter in a large bowl until smooth. Stir in the icing sugar, vanilla and milk and whisk until smooth. Set aside.

Make cake batter according to the instructions on the box (I use the vegetable oil and milk options). Add cocoa, vanilla and food colouring and whisk until smooth.

Heat your waffle iron according to the manufacturers’ instructions. Spray the waffle iron with cooking oil and then pour the waffle batter onto the iron so that the grid is covered. Cook (I use level 3-4) until the waffles are cooked through and crisp on the outside.

Repeat with the remaining waffle batter.

Serve waffles warm drizzled with the glaze and topped with berries and sugar hearts. Enjoy!

h+dcP1+%RMCpbyQOKVeFjg_thumb_2876

Inspiration from Pinterest, glaze recipe adapted from Kevin Is Cooking.


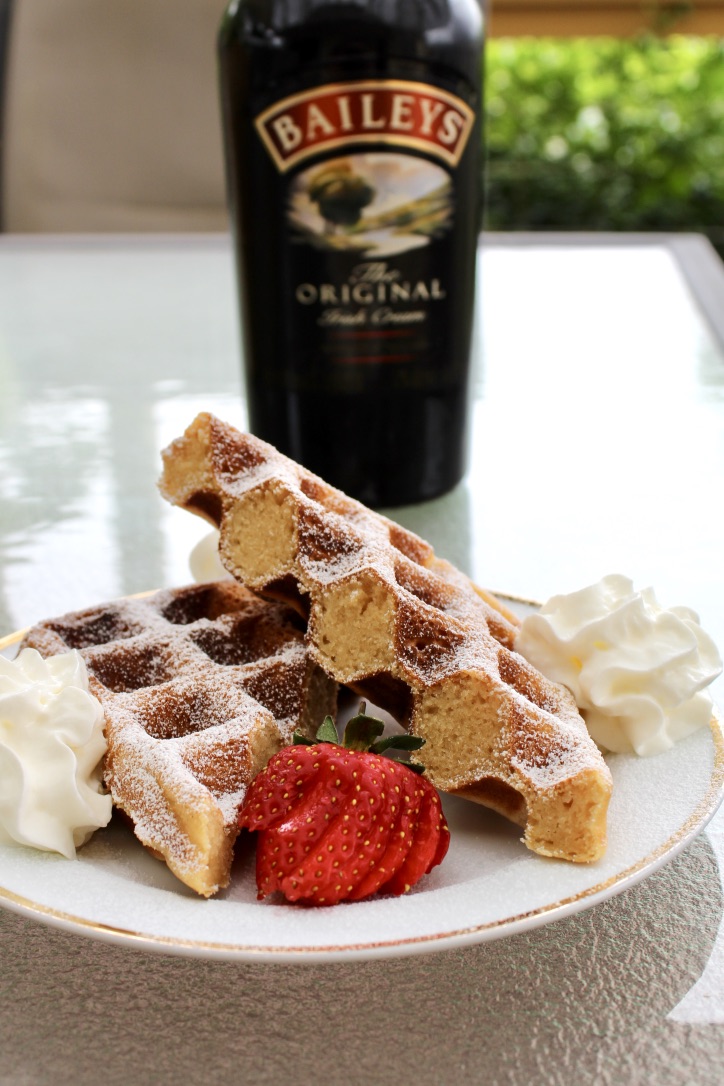
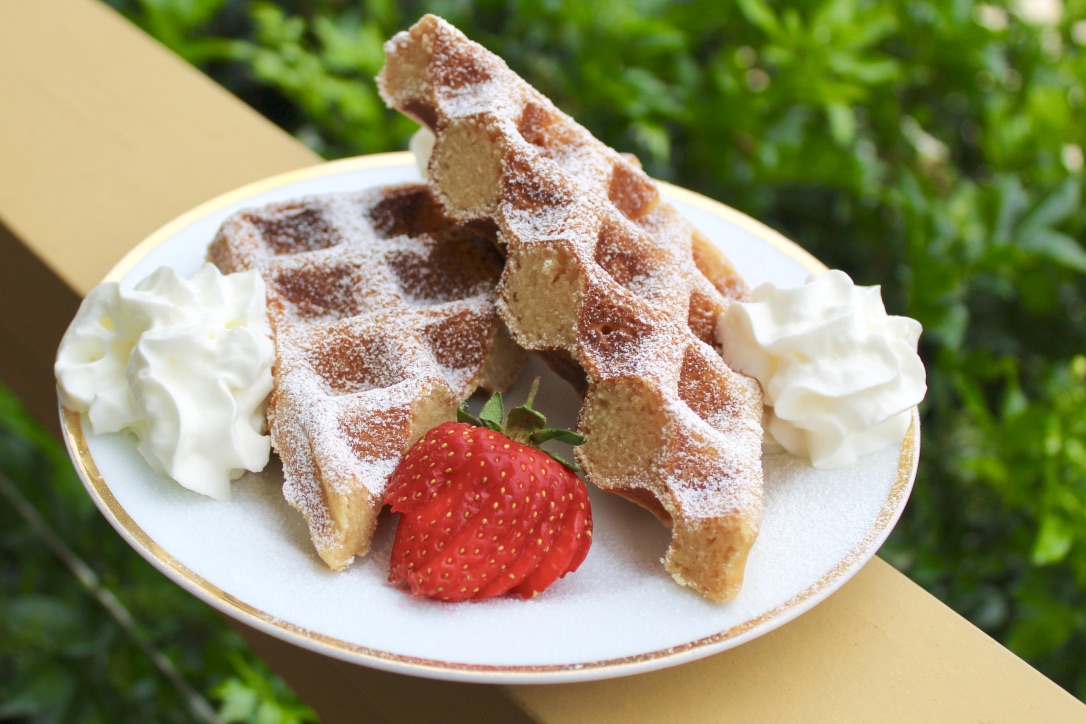
Baileys Waffles with Whipped Cream

My family has a thing for Baileys. It’s our go-to after dessert liquor, holiday staple, and even the name of our dog!

thumb_IMG_0227_1024
Our adorable Bailey girl ♥

These waffles celebrate all things Baileys and are the perfect decadent Christmas morning breakfast (or any other breakfast, because every day is worth celebrating, right?!) They would also work well for dessert, perhaps served with chocolate sauce (#cleaneating).

0618FUomTnu107FzxSg_thumb_1bc1

Waffles (makes 8 large square waffles)
2 cups flour
4 teaspoons baking powder
2 eggs, separated
2 tablespoons white sugar
½ cup canola oil
1 cup milk
1 cup Baileys Irish Cream

Whipped Cream
1 cup thickened cream
¼ cup Baileys Irish Cream
1 teaspoon vanilla extract
2 tablespoons icing sugar

fHBIVBTVRaGJT8Af8aAmtg_thumb_1bbc

Sift the dry ingredients into a large bowl and make a well in the centre.

Whip the egg whites in a medium bowl with a handheld beater until stiff peaks form.

In a separate bowl, combine egg yolks, sugar, oil, milk and Baileys. Pour into the well in the centre of the dry ingredients and mix until there are no more lumps.

Gently fold in the whipped egg whites.

Heat your waffle iron to a medium-high heat and spray generously with cooking oil. Pour the mix into the waffle iron and cook until golden brown. Repeat with remaining mixture.

While the waffles are cooking, make the Baileys whipped cream by beating the cream, Baileys, vanilla and icing sugar with an electric mixer until very thick.

Serve waffles with whipped cream and berries. Enjoy!

1aT6v5cQRGWGiiS73yHHGg_thumb_1bc5

Adapted from Buzzfeed Tasty ‘Bailey’s Waffles’

Banana & Nutella Swirl Muffins

These muffins are the perfect way to use up ‘dead’ bananas as they use 4 in one hit. They’re also my favourite kind of bake; one where you bung a whole heap of ingredients in a bowl, combine and then bake. From start to finish they take approximately 30 minutes and they fill your home with a heavenly aroma.

I’ve cut down the sugar significantly from the original recipe (which had a cup of sugar), as I found that the bananas and Nutella are sweet enough for me. Of course, feel free to add more sugar to taste.

thumb_IMG_0022_1024

Ingredients (makes 12 large muffins)
4 medium over-ripe bananas, mashed
½ cup packed brown sugar
1 large egg
¼ cup vegetable oil
2 tspns vanilla extract
2 cups flour
1 tspn baking soda
1 tspn baking powder
½ cup chopped walnuts (optional)
12 tspns Nutella

thumb_IMG_0023_1024

Preheat oven to 180°C. Spray a 12-hole muffin tin liberally with cooking oil.

In a large bowl, whisk together banana, sugars, egg, oil and vanilla. Add in your dry ingredients and mix until it is lump free. Fold through walnuts if desired.

Spoon the mixture into the muffin tin and top each muffin with approximately 1 teaspoon of Nutella. Using a toothpick, swirl the Nutella into the batter.

Bake the muffins for 15-20 minutes or until a skewer inserted into the centre comes out clean.

Leave to cool in the tray for 5 minutes before transferring onto a wire rack to cool completely. Enjoy!

thumb_IMG_0027_1024

Adapted from The Novice Chef’s ‘Nutella Banana Swirl Muffins’

Banana Bread with Chocolate Chips

This banana bread is super simple to make and is a perfect way to use up ‘dead’ bananas. It travels well so is great in kids’ lunch boxes, and will last for ~2 months in the freezer.

thumb_img_2899_1024

Ingredients (serves 8-10)
125g butter, softened
¾  cup caster sugar
2 eggs
2 teaspoons vanilla essence
3 overripe bananas
1 ¾ cups plain flour
1 teaspoon bicarb soda
½ cup milk chocolate chips (optional)

thumb_img_2893_1024

Method
Preheat your oven to 180°C (160°C fan-forced). Grease and line a 1-litre loaf pan.

Cream the butter and sugar with a handheld mixer until pale and thick. Beat in the eggs, vanilla and banana, followed by the flour and bicarb soda, beating until just combined. If desired, stir through the chocolate chips until evenly dispersed.

Pour the mixture into your prepared pan, smooth over the top and then bake for 55-60 minutes or until a skewer inserted in the thickest part of the bread comes out clean.

Allow to cool in the tin for 5 minutes before transferring to a wire rack to cool completely.

Enjoy! I love mine fresh for the first few days and then toasted with a bit of margarine.

thumb_img_2897_1024

Adapted from Matt Preston’s “Rock Star Banana Bread” from his Cook Book.

Mum’s Apricot Jam

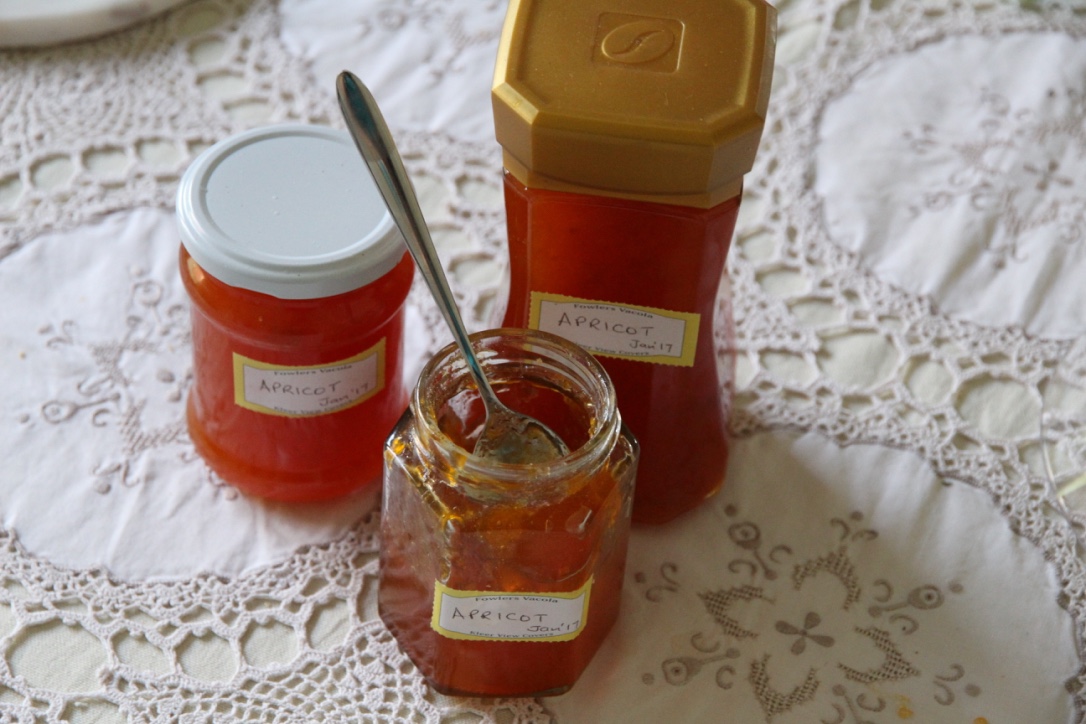
One of our traditions when we go down to the family beach house at Victor Harbor is to eat homemade apricot jam on toast for breakfast while enjoying the sea view and, when we’re lucky, watching dolphins frolic in the waves.

fullsizerender-1
The view from the house

Because I have such fond memories associated with it, apricot is my favourite jam flavour, especially when homemade with local (or even better homegrown) apricots. This is Mum’s recipe and makes approximately 4 cups of sweet and tangy apricot goodness.

thumb_img_2885_1024

Ingredients (makes 4 cups)
1kg fresh apricots, halved with the kernels removed
1 vanilla bean, halved lengthways
1 cup water
1kg white sugar

thumb_img_2887_1024

Method
Sterilise jars by putting them and their lids through the hottest cycle of your dishwasher without detergent, or by standing the jars in the oven on the lowest temperature for 30 minutes.

Combine apricots, vanilla and water in a large saucepan. Bring to the boil. Reduce heat, and simmer, covered, for about 15 minutes or until pulpy.

Add sugar and stir over a high heat, without boiling, until the sugar dissolves. Bring to the boil and boil, uncovered and without stirring, for around 35 minutes or until the jam jells when tested.

Discard the vanilla bean and pour the hot jam into sterilised jars; sealing immediately. Label the jars with the date once cool.

Enjoy! Delicious on toast or scones with cream.

thumb_img_2886_1024

Adapted from the Australian Women’s Weekly ‘Apricot & Vanilla Bean Jam’


Quick & Easy Belgian Waffles

I recently purchased a Cuisinart 4 slice belgian waffle maker (not easy to come by as they’ve been discontinued, but they continue to get the best reviews world-wide) and have been making waffles almost non-stop in a quest to find the perfect recipe. The waffles themselves have to be golden brown, crunchy on the outside and soft and fluffy on the inside, preferably with a mild vanilla flavour. Ideally, they would also be quick to whip up (waffles are often made on a whim in my experience) and freeze well.

My first attempt was halfway there – crispy on the outside and soft on the inside (in fact texturally perfect) but they had a horrible flavour due to an incredible amount of baking powder. My second attempt tasted good but were flat and soft – not at all right. Finally, after much research, I found a recipe on Allrecipes.com that I have adapted so they produce, in my opinion, the ultimate belgian waffles. While not strictly traditional (no yeast) these are super fast to make, use only one bowl, and are better for you than traditional belgian waffles as they are made with vegetable oil rather than butter. They also taste AMAZING! I dare you to stop at one 🙂

thumb_IMG_1527_1024

Ingredients (makes 6-8 waffles depending on thickness)
2 eggs
2 cups plain flour
1 ¾ cups milk
½ cup vegetable oil
2 tablespoons white sugar
4 teaspoons baking powder
3 teaspoons vanilla extract

thumb_IMG_1533_1024

Method
Heat waffle iron (I tend to use level 3½). Beat eggs in a large bowl with handheld beaters until light and bubbly. Beat in flour, milk, oil, sugar, baking powder & vanilla until smooth and incorporated.

Spray preheated waffle iron with non-stick cooking oil. Pour mix onto the waffle iron (I use a ladle and the spread with a silicone spatula). Cook until golden brown (I like to check every 3 minutes or so and tend to leave it in a little longer than my machine thinks – it beeps when it’s “ready”). Dust with icing sugar, cut in half if desired and serve warm with toppings of your choice. Enjoy!

thumb_IMG_1529_1024Adapted from ‘Waffles I’ – allrecipes.com

Cinnamon Rolls

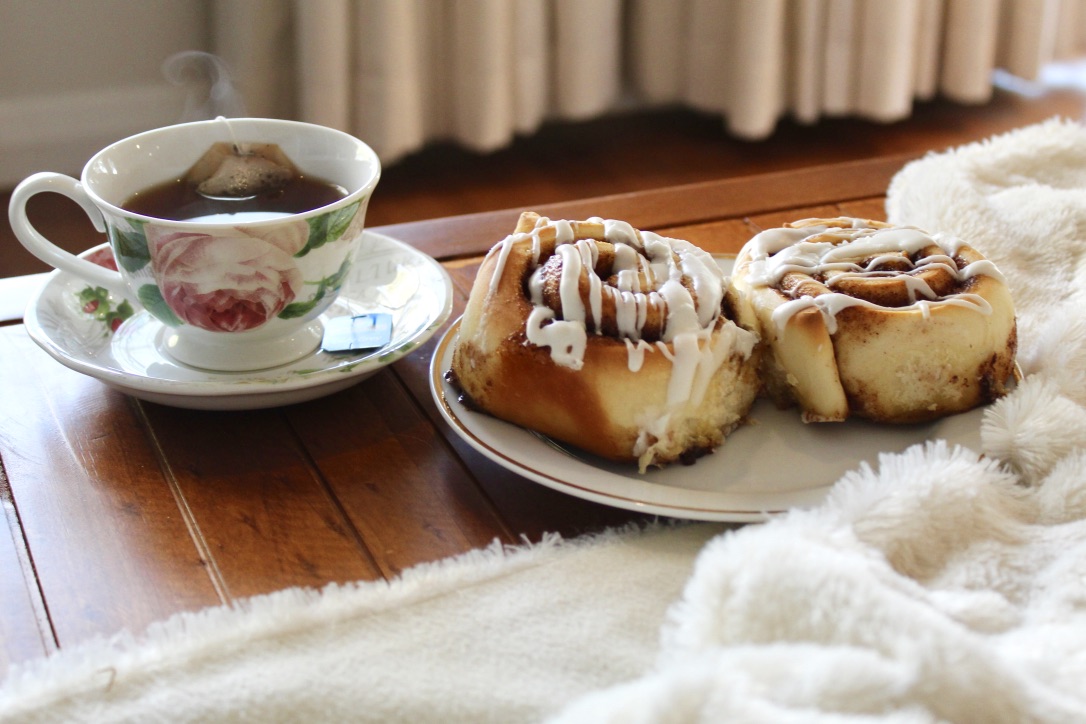
Inspired by the movie The Proposal which features some divine looking homemade cinnamon rolls, I decided to give making them from scratch a go. I did lots of research & eventually found a recipe on Pinterest which promised me a quick and easy bake using everyday ingredients. I was a little skeptical that they could possibly be considered ‘easy’, but they worked perfectly. The rolls are light, fluffy and packed full of sweet cinnamon flavour. They also fill your home with the most heavenly aroma and are especially amazing eaten fresh from the oven while still warm.

EYz0Pih7QumWBx1%tKn+TQ_thumb_cca

Ingredients (Makes 12)
1 cup milk
55g butter, chopped
3 ¼ – 3 ½ cups flour
1x 7g packet instant yeast
¼ cup white sugar
1 egg

Filling
1 cup brown sugar
1 ½ tablespoons ground cinnamon
115g butter, very soft

Cream Cheese Frosting
¾ cup icing sugar
13 tablespoon cream cheese
1 teaspoon vanilla
1 tablespoon of milk

CEb8sd2SQqGHRCOsygyK2g_thumb_cd1

Method
Heat milk & butter in the microwave (about 1 and a half minutes) or until the butter is at least partially melted. Stir using a small whisk, and set aside.

In the large bowl of your stand mixer (using the paddle attachment), mix together 2 cups of the flour, the yeast and the white sugar. When the milk mixture is warm but not hot, add it to the flour mixture along with the egg and beat for about 1 minute, or until well combined. Switch to the dough hook attachment and add remaining flour, half a cup at a time, until the dough just leaves the sides of the bowl (it should be very soft and slightly sticky). Continue with the dough kneading for another 5 minutes. Turn dough onto a floured surface and let rest while you make the filling.

To make the filling, ensure butter is soft and mix in the brown sugar and cinnamon until you have a paste.

To assemble, roll the dough into a large rectangle (around 30cm x 35cm) and spread brown sugar mixture evenly over the surface. Roll up from the longer side of the rectangle and pinch the edges to close. Score the roll into 12 equal pieces and then cut into rolls (a non-serrated sharp knife or even dental floss can work well here!!).

Place into a 23cm by 33cm (or similar) pan that has been sprayed with cooking oil, cover with a clean tea towel and let the dough rise in a warm place for half an hour. Set oven to 180°C.

When the rolls have finished rising, bake for 15-20minutes or until light golden brown.

Make the icing by beating all ingredients together until smooth. Drizzle rolls with icing while still warm. Enjoy!
B3JNvDQuTX6HEnYoX0YlkQ_thumb_cc7

Adapted from the ‘Everyday Cinnamon Rolls’ recipe on ourbestbites.com

6Jyq0TgmWSlyatAMspQ_thumb_ccc

Notes:
– These rolls can be frozen at almost any point (before rising, after rising or when finished) and keep well in the freezer when covered in cling wrap and foil – then you have a delicious treat in a heart beat!
– If you don’t have a free standing mixer, use handheld beaters to combine the dough initially and then knead the dough by hand for around 7 minutes.