Peanut Butter Cookies with Chocolate Chunks

Image

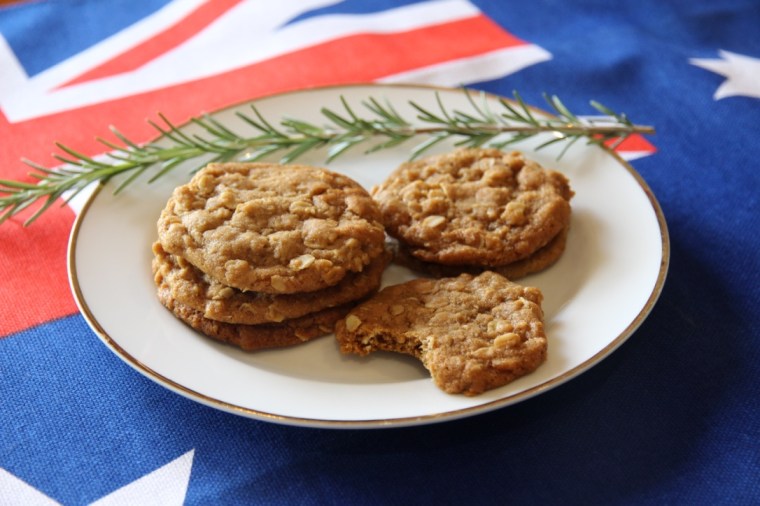
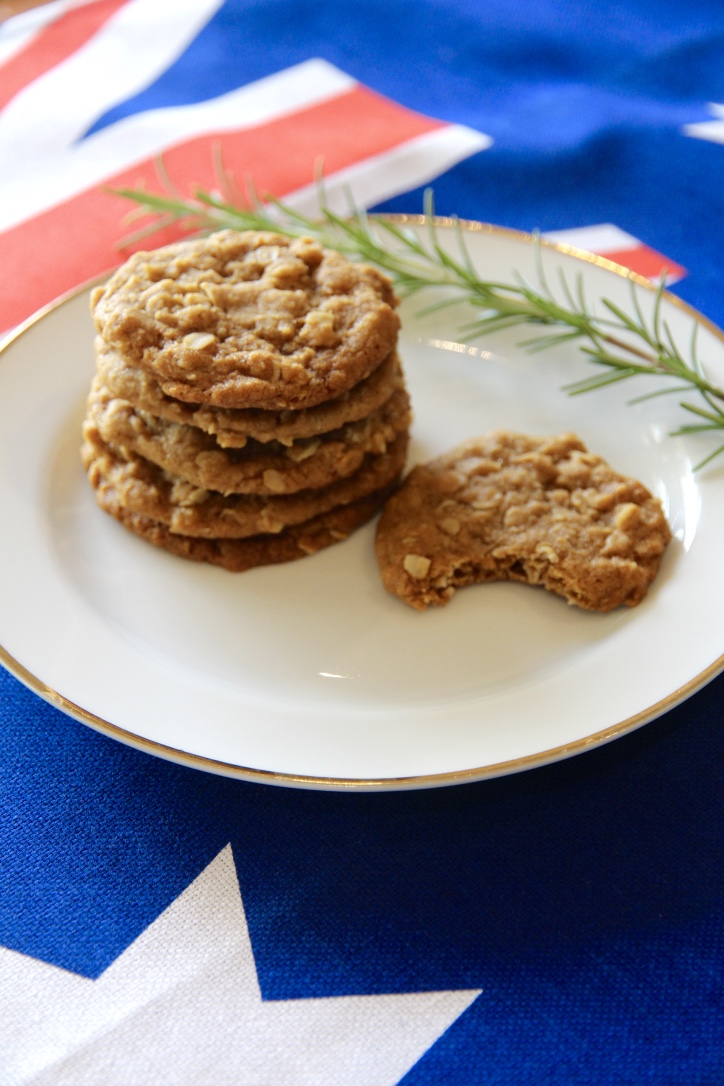
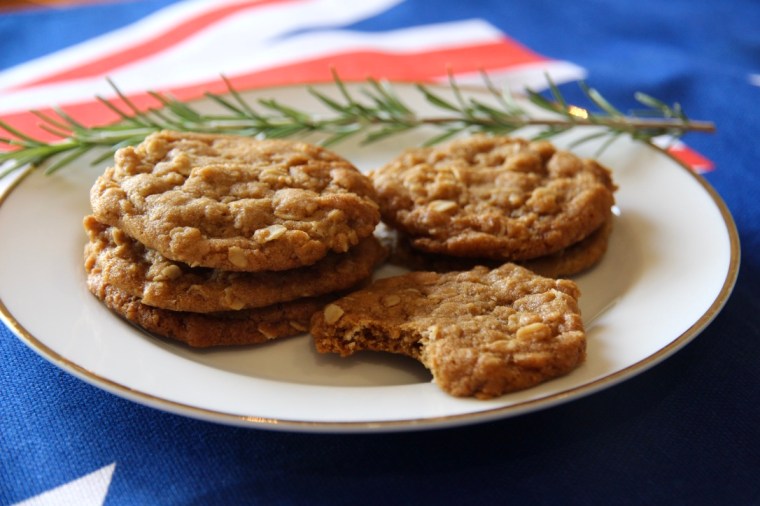
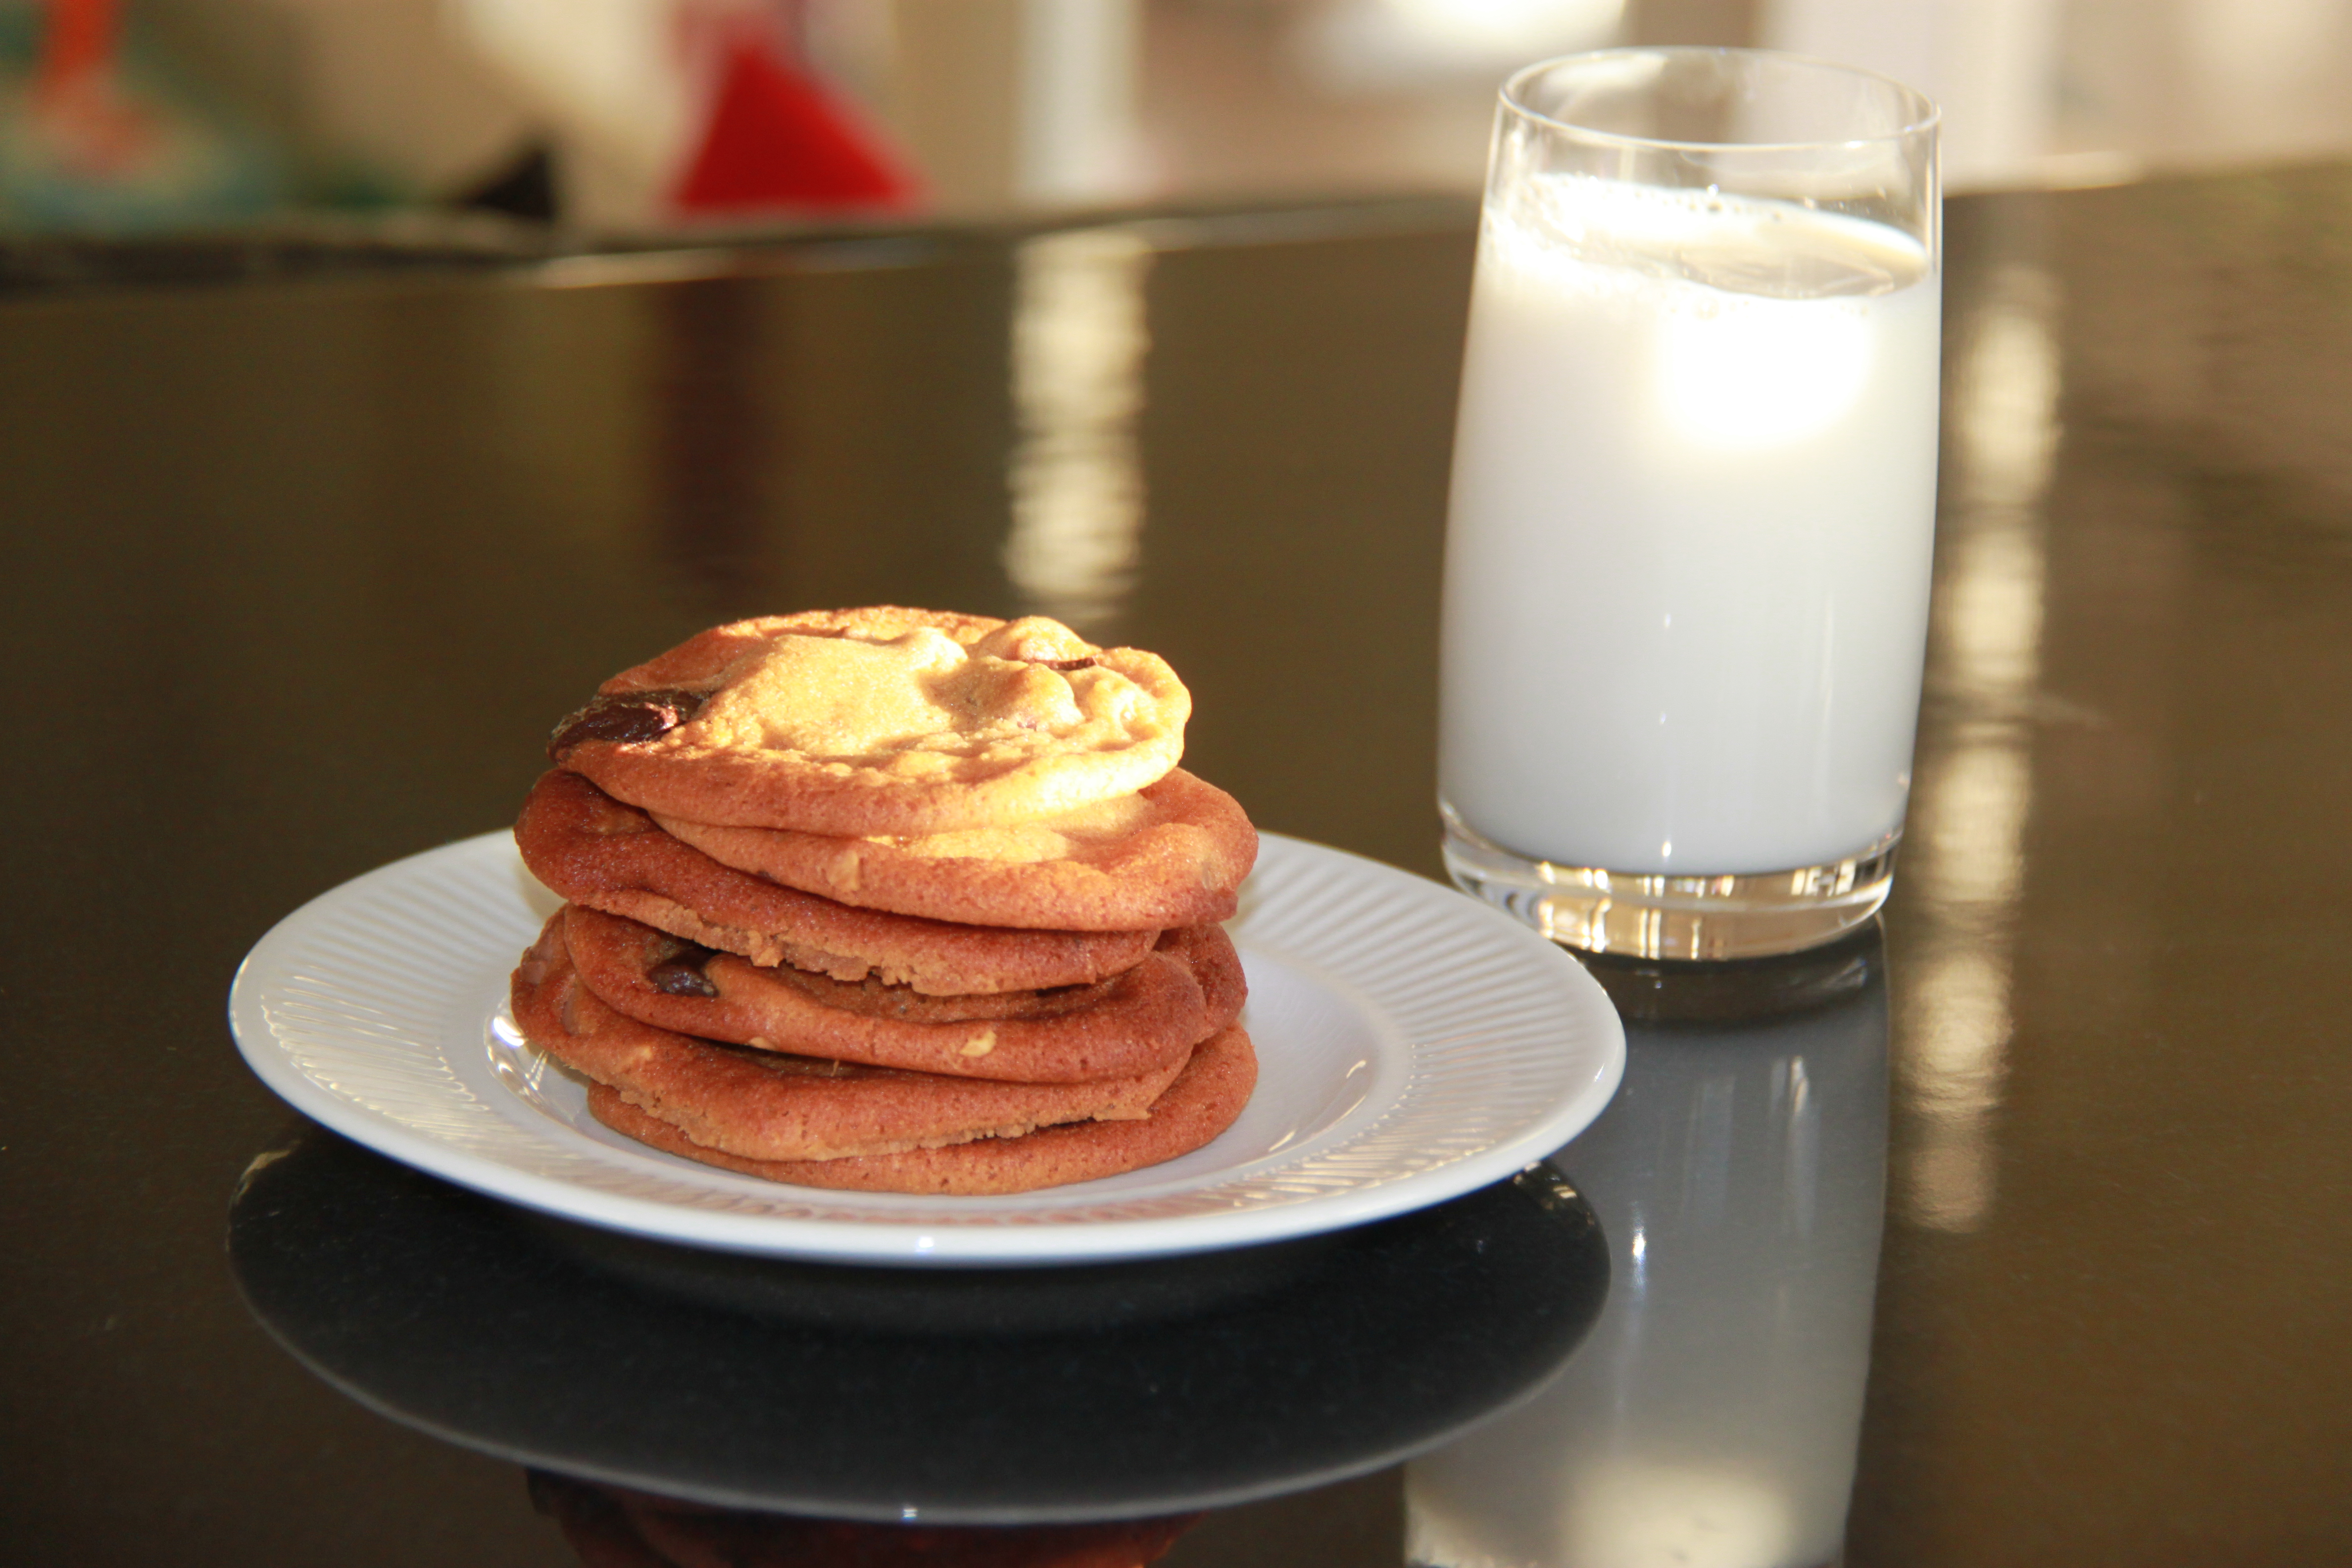
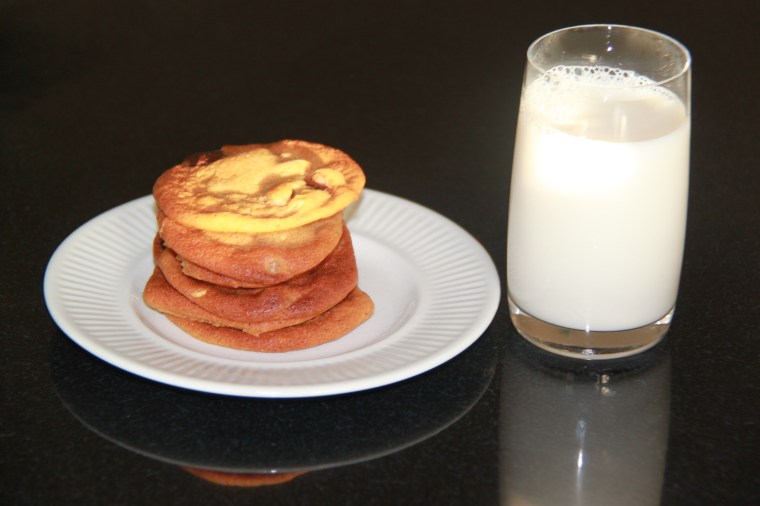
Wow! These cookies are to die for. Based on a Curtis Stone recipe I found in LA last year (but waited until SwotVac to try for procrastibaking purposes), these cookies are so ridiculously chewy and chocolatey and perfect that even the sun wanted in (photographic evidence above and below). Warning: highly addictive.

Ingredients
1 cup flour
½ tspn baking soda
1 cup crunchy peanut butter
1 cup brown sugar
125g butter, softened
1 ½ tblspns honey
1 large egg
1 tspn vanilla extract
155g dark chocolate, roughly chopped

Image


Method
Preheat oven to 180°C (160°C fan-forced) and line 3 large baking trays with baking paper.

Sift the baking soda and flour into a medium bowl. Set aside.

Using an electric mixer, beat the peanut butter, brown sugar, butter, honey, egg, and vanilla in a large bowl until well combined.

Stir the dry ingredients into the peanut mixture in 2 additions.

Stir in the chopped chocolate.

Scoop a heaped teaspoon (so that it is about the size of a ping pong ball) of dough for each cookie onto the prepared baking sheet (spacing so there is room for spreading).

Bake for about 7 minutes, or until the cookies are starting to turn golden but are still soft to the touch.

Cool the cookies on the tray for 5-10 mins (this is where they will harden slightly) and then transfer to a cooling rack or eat warm.

Makes around 36 cookies, provided you don’t eat too much dough (not that I would ever do that or anything).

IMG_3347

Recipe from Curtis Stone

Almond Croissants

thumb_IMG_1380_1024

These cheat’s almond croissants are perfect for breakfast, brunch or afternoon tea. Crunchy on the outside and soft and luscious in the middle – just one bite and you’ll be hooked!

Ingredients
8 mini or 6 medium croissants
½ cup flaked almonds

For the almond butter
80g butter, softened
½ cup caster sugar
1 tsp vanilla essence
2 drops almond essence
1 egg
1 cup almond meal
1 ½ tblspns plain flour

thumb_IMG_1402_1024

Method
Make almond cream by beating butter, sugar, vanilla & almond essence with an electric mixer until pale and creamy. Add egg. Mix until well combined. Stir in almond meal & flour and mix well.

Preheat oven to 180°C. Line a baking tray with baking paper, slice croissants in half lengthways & place bases on tray. Spread 1 tblspn of almond cream on each and cover with croissant tops. Thickly spread one tablespoon of remaining almond cream over the top of each and sprinkle with flaked almonds, pressing with fingertips to secure.

Bake croissants for 15mins or until golden. Serve warm. Enjoy!

thumb_IMG_1390_1024

Recipe from Mum

Berry Coulis

Delicious with a vast array of desserts, a tangy berry coulis is a simple way to add depth and decadence to desserts.

DArJ5juDSU+tXEGKJH+MIQ_thumb_1b3c

Ingredients
500g berries of your choice (defrosted)
1 ½ tablespoons icing sugar
3 tablespoons water

sYnkjsnBQaeH2be5epkr6Q_thumb_1b44

Method
Combine ingredients in a large stick blender beaker.

Blend with a stick blender until liquid and add extra water until desired consistency is reached.

For a seed-free coulis, push the mixture through a fine sieve.

Transfer to a serving jug.

Anzac Biscuits

thumb_IMG_3846_1024

They shall grow not old,
As we that are left grow old,
Age shall not weary them,
Nor the years condemn.
At the going down of the sun,
And in the morning
We will remember them.

Anzac biscuits are said to have been created by Australian (and New Zealand) women on the home-front during WWI as they were cheap to produce, would last the long voyage to the troops (as they didn’t contain eggs or other ingredients that would go off), and deliver both on a taste and nutritional basis. Since then, these biscuits have become a symbol of the ANZACs eaten in their millions on ANZAC day (25th April) in Australia and across the Tasman. This version is my favourite with a crunchy top and chewy inside, adapted from an old family recipe for ‘brown biscuits’ as they were called at the time.

thumb_IMG_3831_1024

Ingredients (makes 30+ biscuits)
1 cup plain flour
1 cup rolled oats
1 cup brown sugar
½ cup desiccated coconut
125g butter
2 tblspns golden syrup
2 ½ tblspns water
½  tsp bicarb soda

Method
Sift the flour into a large bowl. Add sugar, oats and coconut and mix well.

Melt the butter in a saucepan with golden syrup and water. Add the bicarb of soda to the liquid mixture and add to the dry mix.

Stir until thoroughly combined.

Place walnut sized balls of mixture onto a greased tray. Press down gently with the back of a teaspoon.

Bake at 150°C for 8-12 mins or until deep golden brown.

Note: Biscuits will harden when cool so don’t worry if they seem undercooked.

thumb_IMG_3845_1024

Adapted from a combination of an old family recipe and BestRecipes.com.au 

Luscious Lemon Curd 2.0

This lemon curd could not be easier to make. Honestly. It takes 5 minutes and uses a microwave (the horror!!)

I have tried many recipes for lemon curd in my time, and can honestly say that this is far and away the tastiest, easiest and most luscious. You will want to slather this stuff on EVERYTHING – pikelets, bread or between sponge cake layers, tartlets (like these mini lemon meringue pies), ice cream or on a spoon right out of the jar (not that I would ever do anything as undignified as that). It is liquid gold.

IMG_4418

Ingredients (makes approx. 2½ cups)
1 cup white sugar
3 eggs
1 cup fresh lemon juice (approx. 4-5 lemons)
Zest of 2 lemons
½ cup (115g) butter, melted

Method
Whisk together the sugar and eggs in a large microwave safe bowl until thoroughly combined. Whisk in lemon juice, zest and melted butter.

Cook in the microwave on full power for 50 second intervals, whisking after each interval. You will know your lemon curd is ready when it coats the back of a metal spoon (approximately 3-5 50 second intervals).

Pour into a sterile jar or container and allow to cool to room temperature before covering it with a lid and storing it in the refrigerator.

Keeps for ~2 weeks.

0A9F68F9-83F6-4EB8-833A-0E432081B237_1_105_c

Adapted from My Baking Addiction microwave lemon curd.

Chocolate Easter Nests

5Q5Eso4wTuuPv1lzkCmaHQ_thumb_28e2

This recipe is incredibly quick & easy (only 5 steps & 4 ingredients) so it’s perfect for making with the kids. The nests look adorable and, most importantly, taste even better –  I’ve never met someone who hasn’t loved them!

TyFF4FB8SsqOZekDaturcA_thumb_28f1

Ingredients
1x 100g packet Chang’s Original Fried Noodles (or equivalent)
2 tbspns crunchy peanut butter
200g dark chocolate melts
1 bag of Cadbury “Mini Eggs” (or equivalent)

Method
Microwave peanut butter and chocolate until melted.

Mix until it is a smooth paste.

Add the noodles and coat them well.

Spoon the mixture onto grease-proof paper and shape into small nests.

Top with three mini eggs and then place in the refrigerator until set.

7hKQ+mHFRs+g2v7A79ugiw_thumb_28e8

Adapted from Chang’s Original Fried Noodles ‘Chocolate Spiders’ recipe.

Banoffee Pies

Inspired by the banoffee pie scene in Love Actually, I decided to have a go at making some. I was unsure whether I’d like them or not, but with their buttery pastry, dark caramel and fluffy whipped cream topping, even a banana-hater like myself thoroughly enjoyed them.

IMG_0064

IMG_0084

Ingredients
395g sweetened condensed milk
3 small bananas
Juice of ½ lemon
300ml thickened cream
2 tablespoons grated chocolate

Pastry
1 ⅔ cups plain flour, sifted
110g butter, chilled
110g pure icing sugar
1 egg yolk

IMG_0073

Method
Remove and discard label from the condensed milk can, then using a can opener, make 2 small holes in the top. Place in a saucepan, open-side up. Fill pan with cold water to come almost to the top of the can (about 1cm to the top). Bring to the boil, then reduce to medium-low and simmer for 3 hours until a caramel forms, topping up water to keep the same level. Carefully remove cans and cool.

For the pastry, place flour, butter and icing sugar in a food processor and process until the mixture resembles fine breadcrumbs. Add egg yolk and 2 tblspns cold water and process until the mixture comes together in a smooth ball. Enclose in a plastic wrap and chill for 30mins.

Preheat the oven to 190°C.

Roll out pastry on a lightly floured surface and use to line eight 10cm loose-bottomed tart pans. Chill for a further 15mins. Line the pastry with baking paper and fill with pastry weights. Blind-bake for 10mins, then remove paper and weights and return to the oven for 5mins or until crisp and golden. Allow to cool.

Open the condensed milk can, then spoon the caramel toffee into each pastry shell to almost fill. Thinly slice bananas, toss in the lemon juice, then place an overlapping layer over the toffee. Whip the cream and pile on top. Decorate with chocolate curls.

IMG_0064

Adapted from delicious. ‘Sweet’ cookbook.

Grasshopper Pie

Image

Happy St Patrick’s Day everyone! In honour of the occasion I have decided to post a green recipe. I sadly lack good taste when it comes to my food and drink and love horrendously fake hues (I have a real thing for blue cocktails) and so this pie is right up my alley 🙂 I also love the classic combination of mint and chocolate so this dessert hits all the right notes for me. I choose to use marshmallows instead of gelatine in this recipe as I find it makes it faster to make and less fiddly – although it does take a while for it to set. I tend to serve mine with a little bit of whipped cream and some chocolate curls.

Ingredients (serves 8)
20 oreos (with filling removed)
100g butter, melted
¾ cup milk
24 large, white marshmallows (approx. 180g)
¼ cup creme de menthe liqueur
2 tblspns white creme de cacao liqueur
1 cup whipped cream
1-2 drops green food colouring

Image

Method
Preheat oven to 180°C. In a food processor process oreos until they resemble large crumbs. Mix in butter and then pat into the bottom and sides of a 25cm pie dish.

Bake for 5-10mins, remove from oven and cool completely. Once cooled, place into the freezer to chill.

In a saucepan melt marshmallows in the milk over a medium heat. Remove from the heat and add creme de menthe and creme de cacao. Mix well. Add food colouring and then fold in whipped cream.

Pour into chilled pie shell and freeze for 3-4 hours.

Serve with whipped cream and chocolate shavings.

img_0011_out

Adapted from Grandma’s recipe.

Lemon Meringue Pie

Image

It is thought that the meringue was invented in 1720 by a Swiss pastry chef named Gaspirini. It rapidly became a favourite of the French Court and apparently Marie Antoinette herself used to make it!

The Lemon Meringue Pie is a favourite of many – a staple on cafe and restaurant menus and always incredibly popular among my family and friends. However many people seem to think it’s too hard to make at home. Au contraire mon ami! This recipe makes the whole process very simple and so you can wow your friends and family in no time.

Ingredients (serves 8)
Pastry
1½ cups plain flour
3 tspns icing sugar
140g cold butter, chopped
1 egg yolk
2 tblspns water

Lemon filling
½ cup cornflour
1 cup caster sugar
½ cup lemon juice
1¼ cups water
2 tspns finely grated lemon rind
3 egg yolks
50g butter

Meringue
3 egg whites
½ cup caster sugar

IMG_0034
Method
Put flour, icing sugar, butter, yolk and water into a food processor and process until just come together. Press dough into a ball, knead gently on a floured surface until smooth; cover, refrigerate 30 mins.

Preheat oven to 180°C fan-forced. Lightly grease a 24cm flan tin. After resting, roll dough on floured surface until large enough to line the tin. Lift pastry into tin, ease into sides and trim the edge.

Place tin on an oven tray, line pastry with baking paper and fill with pie weights or uncooked rice. Bake for 10mins then remove baking paper and weights and bake, uncovered for a further 10 mins or until pastry case is browned lightly. Cool, reduce oven temperature to 160°C fan-forced.

To make filling: combine corn flour and sugar in a medium saucepan. Gradually stir in juice and water. Stir over heat until mixture boils and thickens (mixture should be very thick, jelly-like). Reduce heat, simmer, stirring for 30 secs. Remove from heat and quickly stir in egg yolks, butter and rind. Stir until smooth and leave, covered, until room temperature.

Once at room temperature, spread filling into pastry case.

Image

To make meringue: beat egg whites in a medium bowl with electric mixer until soft peaks form. Gradually add sugar, beating until dissolved after each addition. Mixture should be smooth and glossy.

Top pie with meringue mixture (I like to make it look rustic with mounds of differing heights) and bake for 5 – 10 mins at 160°C fan-forced until browned lightly. Stand for 5 mins before serving.

IMG_0042

Adapted from the Australian Women’s Weekly Recipe

Vanilla Buttercream Frosting

This is probably my most requested frosting/icing/addictive substance that goes on cakes. It works beautifully on cupcakes and large cakes and is a favourite with both children and adults!

thumb_img_2908_1024

Ingredients
Note: This makes HEAPS and I often halve or only use 3/4 of the recipe, however if you want really thick icing or will make a second batch soon after, the full recipe is the way to go (it lasts for about a week)
200g butter, softened
½ cup milk
1 tblspn vanilla extract
8 cups icing sugar
A few drops of food colouring/flavouring as desired

Yaxh0kg6T2+SJzFIs38sfA_thumb_d31

Method
Cream the butter for 1-2 mins in a large bowl using an electric mixer. Add the milk, vanilla and half of the icing sugar and beat for at least 3 mins (until the mixture is light and fluffy). Add the remaining icing sugar and beat for a further 3 mins or until of a spreadable consistency. Add extra milk if too dry or extra icing sugar if too wet. Add  colouring/flavouring and beat in until combined and the desired colour/flavour has been achieved.

Using a knife or piping bag, apply buttercream to cupcakes or cake and decorate as desired.

Cds2oTvKTQChj+iFM86QIw_thumb_d2e

Adapted from the Crabapple Cupcake Bakery Cookbook

image1-16July-Aug 2011 094