Spinach, Leek & Feta Tart

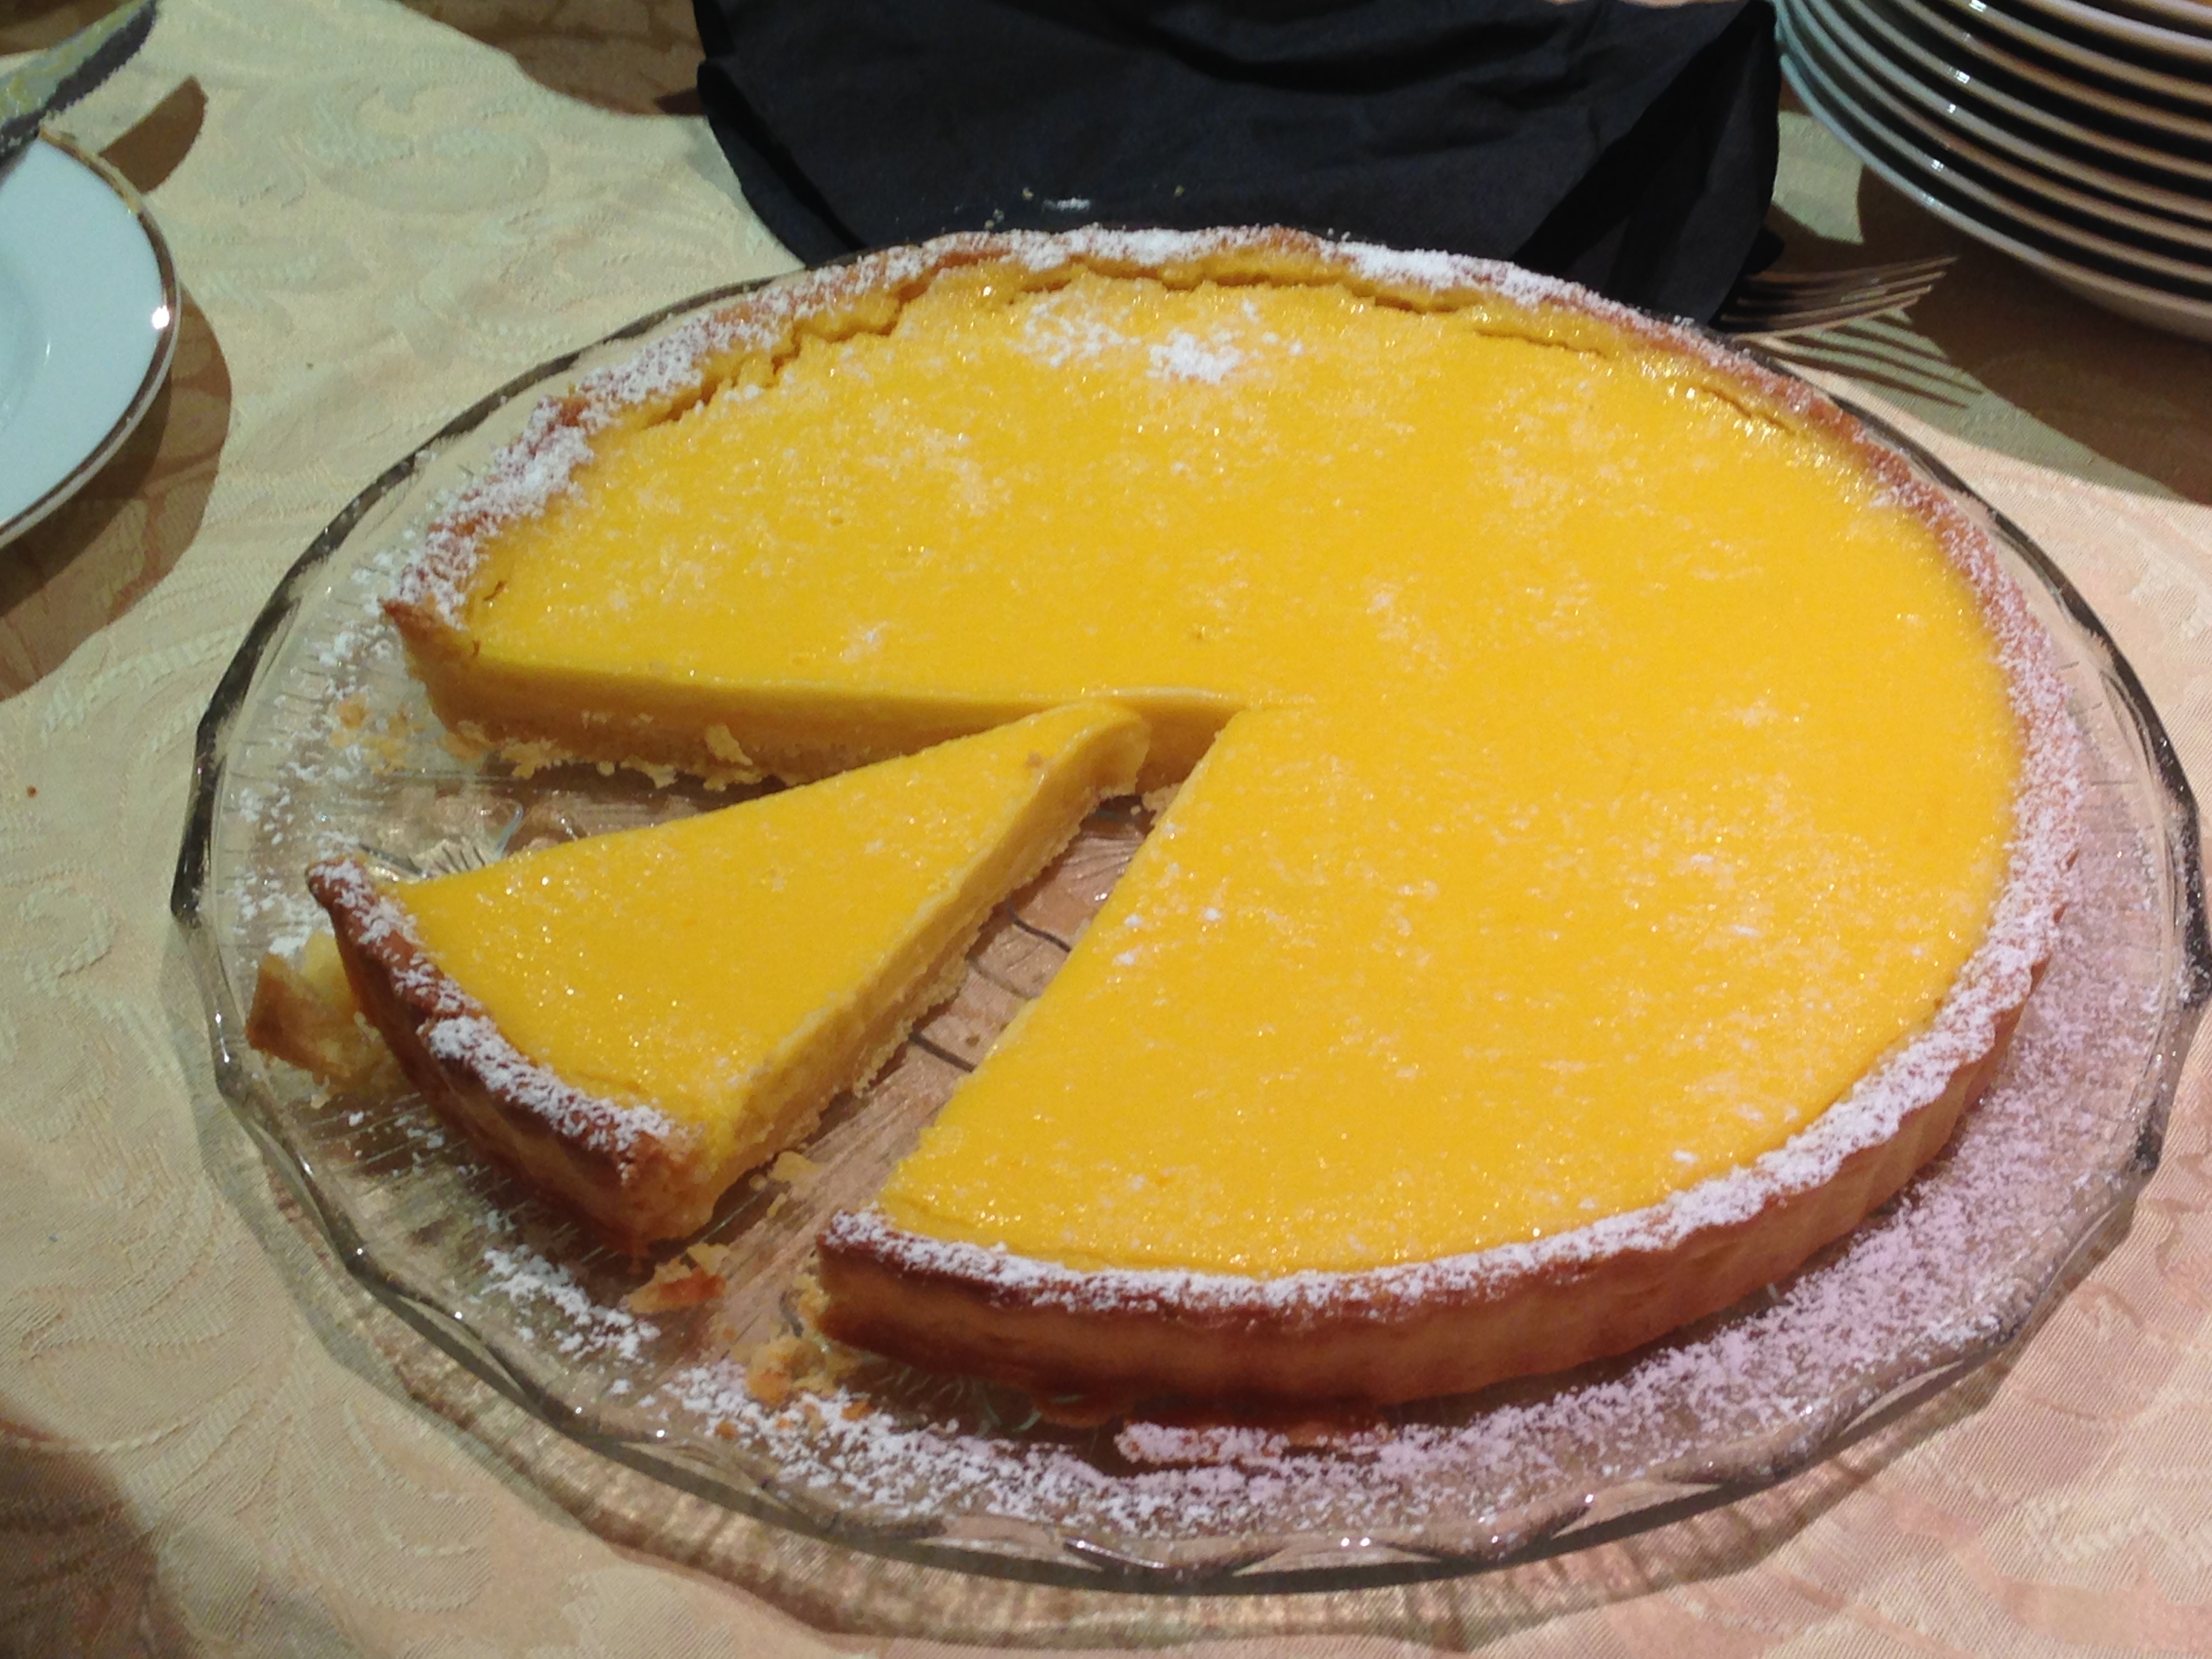
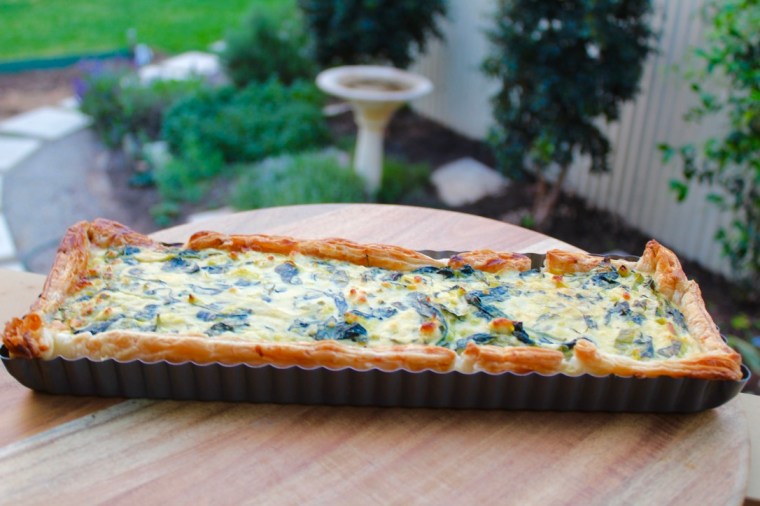
This savoury tart is a delicious and easy way to eat your greens. I always associate it with spring picnics (which it is perfect for!) but it is also a great midweek meal or work/school lunch.

hPXpS5rUTVS%Ya0NrNq0IA_thumb_1ba6

Ingredients (Serves 4-6)
200g Greek feta, crumbled
1 leek
20g butter
160g baby spinach leaves
½ cup sour cream
½ cup thickened cream
3 eggs, lightly beaten
2 tablespoons shredded basil leaves
2 sheets frozen puff pastry, thawed

eFkSKhIjQrWiHxRw2gSSjg_thumb_1ba9

Method
Preheat oven to 200ºC. Cut the leek in half and thinly slice the white and pale green part to achieve 1 cup full.

Melt the butter in a saucepan and lightly sauté the leek over a medium heat for 4 minutes. Transfer to a bowl and set aside.

Add spinach to the saucepan, cover and cook until wilted. Take off the heat and then press leaves into a strainer to remove excess moisture.

In a bowl, combine sour cream, cream and eggs. Add the feta, leek, spinach and basil. Stir will and season to taste.

Line a non-stick rectangular quiche pan (35cm x 13cm) with the two pieces of pastry, overlapping slightly, and gently push the pieces together in the middle to seal the pastry case. Trim excess pastry. Lightly prick the pastry base with a fork and place the quiche pan onto an oven tray.

Bake the pastry case for 5-10mins until it has started to colour and puff.

Pour in prepared filling and bake for 30-35mins until firm and golden in the centre.

Remove from baking tray and allow to cool slightly before serving. Enjoy!

0fs7PRL6RoiuX5S%TaJ9Bw_thumb_1bad

Adapted from Baker’s Secret

Advertisement

Pumpkin Pies with a Brûlée Topping

Thanksgiving is almost upon us and while my family doesn’t celebrate it, we have developed a fondness for pumpkin pie since the first pumpkin pie I made for “Chrisgiving” in 2014. To change things up this year, I decided to make individual pies for everyone and for crunch, added a brûlée topping. Yum!

thumb_img_2562_1024
It was my first time using a blowtorch so some bits got a little darker than anticipated – lots of fun though! 

Ingredients (makes 8)
Pastry
1 ⅔ cups plain flour, sifted
110g butter, chilled
110g pure icing sugar
1 egg yolk

Filling
2 cups pumpkin puree (made by roasting 1 whole butternut pumpkin (skinless), blitzing it into a smooth paste in a blender and then putting it in a sieve for an hour to remove the excess juice)
3 large eggs
½ cup sugar
⅓ cup brown sugar
¾ cup cream
1 ½ teaspoons vanilla extract
1 ½ teaspoons ground cinnamon
1 teaspoon ground nutmeg
½ teaspoon ground ginger
¼ teaspoon ground cloves
A pinch of salt
1 quick grind of pepper

Brûlée Topping
Caster sugar

thumb_img_2569_1024

Method
For the pastry, place flour, butter and icing sugar in a food processor and process until the mixture resembles fine breadcrumbs. Add egg yolk and 2 tblspns cold water and process until the mixture comes together in a smooth ball. Enclose in a plastic wrap and chill for 30mins.

Preheat the oven to 190°C. Grease 8 10cm loose-bottomed tart pans well with margarine and canola oil spray.

Roll out pastry on a lightly floured surface and lift pastry into a tin, easing into the sides & trimming the excess. Repeat with the remaining tins. Chill the pastry in the tins for 15mins. Line the pastry with baking paper and fill with pastry weights. Blind-bake for 10mins, then remove paper and weights and return to the oven for 5mins or until crisp and lightly golden. Allow to cool slightly.

Meanwhile, whisk eggs and sugar until smooth. Add the pumpkin puree, cream, vanilla and spices and stir until all incorporated.

Remove the baking paper and pie weights and pour mixture into pastry cases. Bake pies in the oven for 10 minutes before reducing the heat to 160°C fan-forced and baking for a further 20-25 minutes, or until the filling has set.

Allow to cool completely before gently removing pies from the tins. These can be served without the brûlée topping as mini pumpkin pies.

thumb_img_2554_1024

To create the brûlée topping, sprinkle the tops of the pies liberally with caster sugar and then heat with a blowtorch until the sugar has melted and formed a crisp coating. Serve with ice cream or whipped cream. Enjoy!

thumb_img_2561_1024

Pastry recipe adapted from the delicious. ‘Sweet’ cookbook and pumpkin pie filling recipe from Inspired Taste.net


Tangy Lemon Tart

Since moving to Adelaide, I’ve been lucky enough to have access to an abundance of homegrown lemons. In our rental house in 2013, our lemon tree provided perfect fruit almost all year round, and my Aunt & Uncle also grow outstanding citrus and always seem to have plenty to give away. This has meant lots of experimentation with lemon desserts and this one has to be one of my most popular! This tart has a strong, slightly tart lemon flavour and  gorgeously short, melt-in-your-mouth pastry. Serve dusted with icing sugar and with thickened cream or ice cream for a perfect dinner party dessert.

e3HDCt%LQaqor6f1h3H8dw_thumb_28f5

Ingredients (Serves 12)
Pastry
2 cups plain flour
½ cup icing sugar, sifted
180g cold unsalted butter, chopped
1 egg, lightly beaten

Filling
5 eggs
3 egg yolks
150g caster sugar
200ml freshly squeezed lemon juice, strained
100ml freshly squeezed orange juice, strained
250ml pouring cream

Icing sugar, to dust
Double cream or vanilla ice cream, to serve

image1-19

Method
To make the pastry, process the flour, icing sugar & butter in a food processor until the mixture resembles breadcrumbs. Add the egg and process until the mix just comes together. Form the pastry into a disc, wrap in glad wrap and refrigerate for at least 2 hours.

Preheat oven to 180°C (160°C fan-forced). Spray a 27cm tart pan with a removable base with cooking oil. Roll out pastry on a lightly floured surface until 4mm thick and use to line the prepared pan. Trim the edge, then line with baking paper and fill with pastry weights (or dried rice). Bake for 15mins then remove weights and paper and cook for a further 5mins until golden. Set aside.

Reduce oven to 150°C.

To make lemon filling, place eggs, yolks & sugar into a bowl and stir until just combined (try to avoid creating bubbles). Gently stir in lemon and orange juices. Pour cream into a small saucepan and bring almost to the boil, then stir it into egg mixture. Using a fine sieve, strain lemon filling into a jug. Place tart shell onto an oven tray and pour in the filling.

Bake for 15mins, then carefully rotate to ensure even cooking. Bake for a further 10mins or until just set. To check, gently shake the tart; it should be slightly wobbly in the centre.

Cool the tart to room temperature, then dust with icing sugar and serve with double cream or ice cream.

jMSeO5usSQOH+Bysd3Z9qA_thumb_28f7.jpg

Adapted from Matt Moran’s Lemon Tart featured in MasterChef Magazine – Issue 3, July 2010.

Chocolate Reindeer Tartlets

Only 12 days until Christmas!! I LOVE Christmas time (and I mean LOVE) and have been madly baking and decorating along to Christmas tunes ready for the big day. I have also been joined by a little puppy, Bailey, who has made baking more of a challenge but has by no means curbed my enthusiasm for it.

image2-6image1-7

These adorable reindeer tartlets are delicious and so easy to make – a perfect recipe to involve the kids in and to take to the multitude of Christmas functions where you need to ‘bring a plate’. If you don’t want all the reindeer to be Rudolphs, feel free to swap the jaffas for brown m&ms 🙂

image1-6Ingredients (makes 20)
1 packet Butternut Snap Biscuits (or equivalent)
65g butter, chopped
⅓ cup cream
200g dark chocolate melts
Approximately 10 white marshmallows, halved
20 jaffas or equivalent red lollies
20 white mini marshmallows, halved
Chocolate writing icing (or black icing pen, or additional melted chocolate applied with a toothpick)
1 packet of pretzels

Method
Preheat oven to 160°C fan-forced. Place 1 biscuit per hole in a 12-hole, round-based tartlet tin. Bake for 2-3 minutes or until soft. Remove from oven. Carefully press softened biscuits into tin to mould into a cup shape (use a spoon to make it easier if you like). Allow to cool slightly before transferring to a plate and repeating with remaining biscuits.

image1

Heat butter, cream and chocolate in a saucepan over very low heat. Stir constantly for approximately 5 minutes or until melted and smooth. Pour into a clean, dry bowl and refrigerate for 20 minutes or until cool but not set.

Fill biscuit cases with 1 heaped teaspoon of chocolate mixture. Refrigerate until set.

image1-2

While the ganache is setting, carefully cut pretzels in half and trim so it looks like a lower case ‘f’ for the antlers (I seem to break as many as I successfully cut so that’s why I recommend allowing a full packet!!)

image2-2

Gently press 1 marshmallow half, sticky side up into each tartlet.

image1-3

Attach 1 jaffa to each marshmallow.

image2-3

Attach 2 mini marshmallow halves above nose, cut-side up, to form eyes. Use an icing pen/or a spot of chocolate ganache applied with a toothpick to create the pupils.

image1-5

Place 2 pretzel pieces above eyes. Press to secure. Serve & enjoy!

image2-4image1-6

Recipe adapted from Arnott’s ‘Chocolate Butternut Snap Tartlets’ recipe.

Lemon Meringue Pie

Image

It is thought that the meringue was invented in 1720 by a Swiss pastry chef named Gaspirini. It rapidly became a favourite of the French Court and apparently Marie Antoinette herself used to make it!

The Lemon Meringue Pie is a favourite of many – a staple on cafe and restaurant menus and always incredibly popular among my family and friends. However many people seem to think it’s too hard to make at home. Au contraire mon ami! This recipe makes the whole process very simple and so you can wow your friends and family in no time.

Ingredients (serves 8)
Pastry
1½ cups plain flour
3 tspns icing sugar
140g cold butter, chopped
1 egg yolk
2 tblspns water

Lemon filling
½ cup cornflour
1 cup caster sugar
½ cup lemon juice
1¼ cups water
2 tspns finely grated lemon rind
3 egg yolks
50g butter

Meringue
3 egg whites
½ cup caster sugar

IMG_0034
Method
Put flour, icing sugar, butter, yolk and water into a food processor and process until just come together. Press dough into a ball, knead gently on a floured surface until smooth; cover, refrigerate 30 mins.

Preheat oven to 180°C fan-forced. Lightly grease a 24cm flan tin. After resting, roll dough on floured surface until large enough to line the tin. Lift pastry into tin, ease into sides and trim the edge.

Place tin on an oven tray, line pastry with baking paper and fill with pie weights or uncooked rice. Bake for 10mins then remove baking paper and weights and bake, uncovered for a further 10 mins or until pastry case is browned lightly. Cool, reduce oven temperature to 160°C fan-forced.

To make filling: combine corn flour and sugar in a medium saucepan. Gradually stir in juice and water. Stir over heat until mixture boils and thickens (mixture should be very thick, jelly-like). Reduce heat, simmer, stirring for 30 secs. Remove from heat and quickly stir in egg yolks, butter and rind. Stir until smooth and leave, covered, until room temperature.

Once at room temperature, spread filling into pastry case.

Image

To make meringue: beat egg whites in a medium bowl with electric mixer until soft peaks form. Gradually add sugar, beating until dissolved after each addition. Mixture should be smooth and glossy.

Top pie with meringue mixture (I like to make it look rustic with mounds of differing heights) and bake for 5 – 10 mins at 160°C fan-forced until browned lightly. Stand for 5 mins before serving.

IMG_0042

Adapted from the Australian Women’s Weekly Recipe