

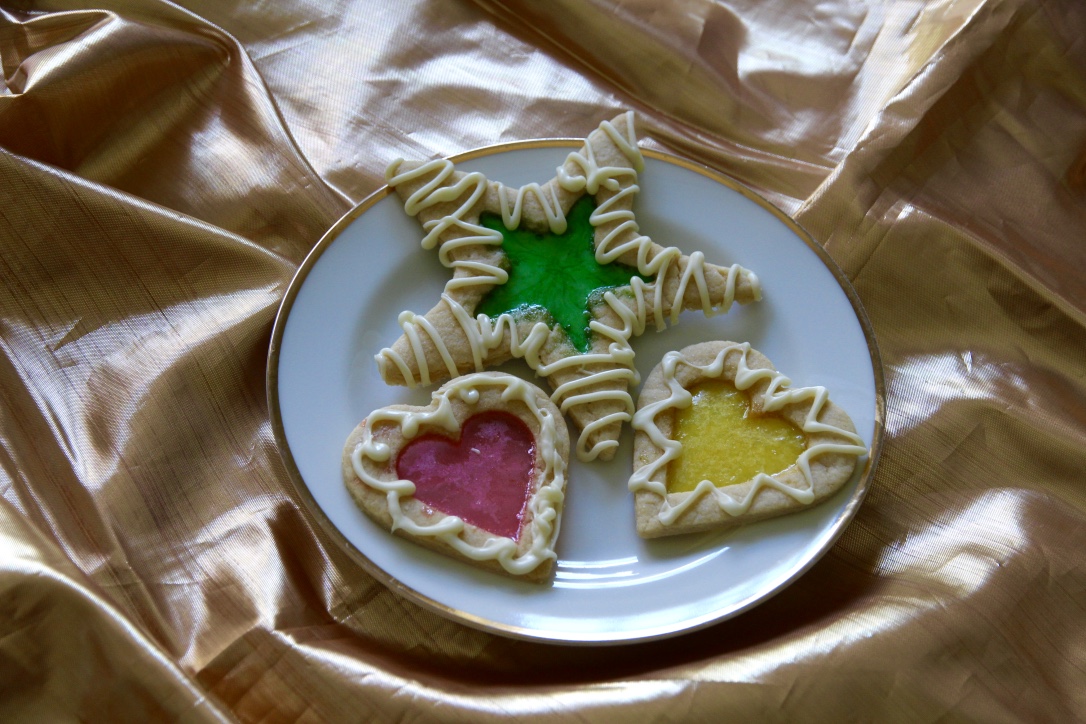
Ingredients (makes approx. 25 large round cookies)
125g butter
½ cup sugar
1 teaspoons vanilla extract
1 egg
1 ½ cups plain flour
2 teaspoons mixed spice
1 teaspoon baking powder
Approx 200g white fondant icing
Icing sugar
Vanilla essence
Red and green food colouring
Method
Cream butter, sugar & vanilla using electric beaters until well combined. Add the egg and beat until light and fluffy.
Using a wooden spoon or silicone spatula, mix sifted dry ingredients into wet ingredients until a dough forms. Knead gently for 1-2 minutes on a lightly floured bench and then divide into 2 roughly equal pieces, cover with clingfilm and refrigerate for at least 30 minutes.
Preheat oven to 180°C (160 fan-forced). Roll out dough onto a lightly floured surface using a rolling pin until you reach your desired thickness (I like mine around 5-6mm) and cut out circles using a large round cookie cutter. Repeat until you have used all the dough.
Place onto a baking tray (they don’t have to be spread out much as they don’t really expand) and bake for approximately 12-15 minutes, or until lightly golden.
While the cookies cool, make your vanilla glaze by combining vanilla essence and icing sugar until you have a thick syrup consistency.
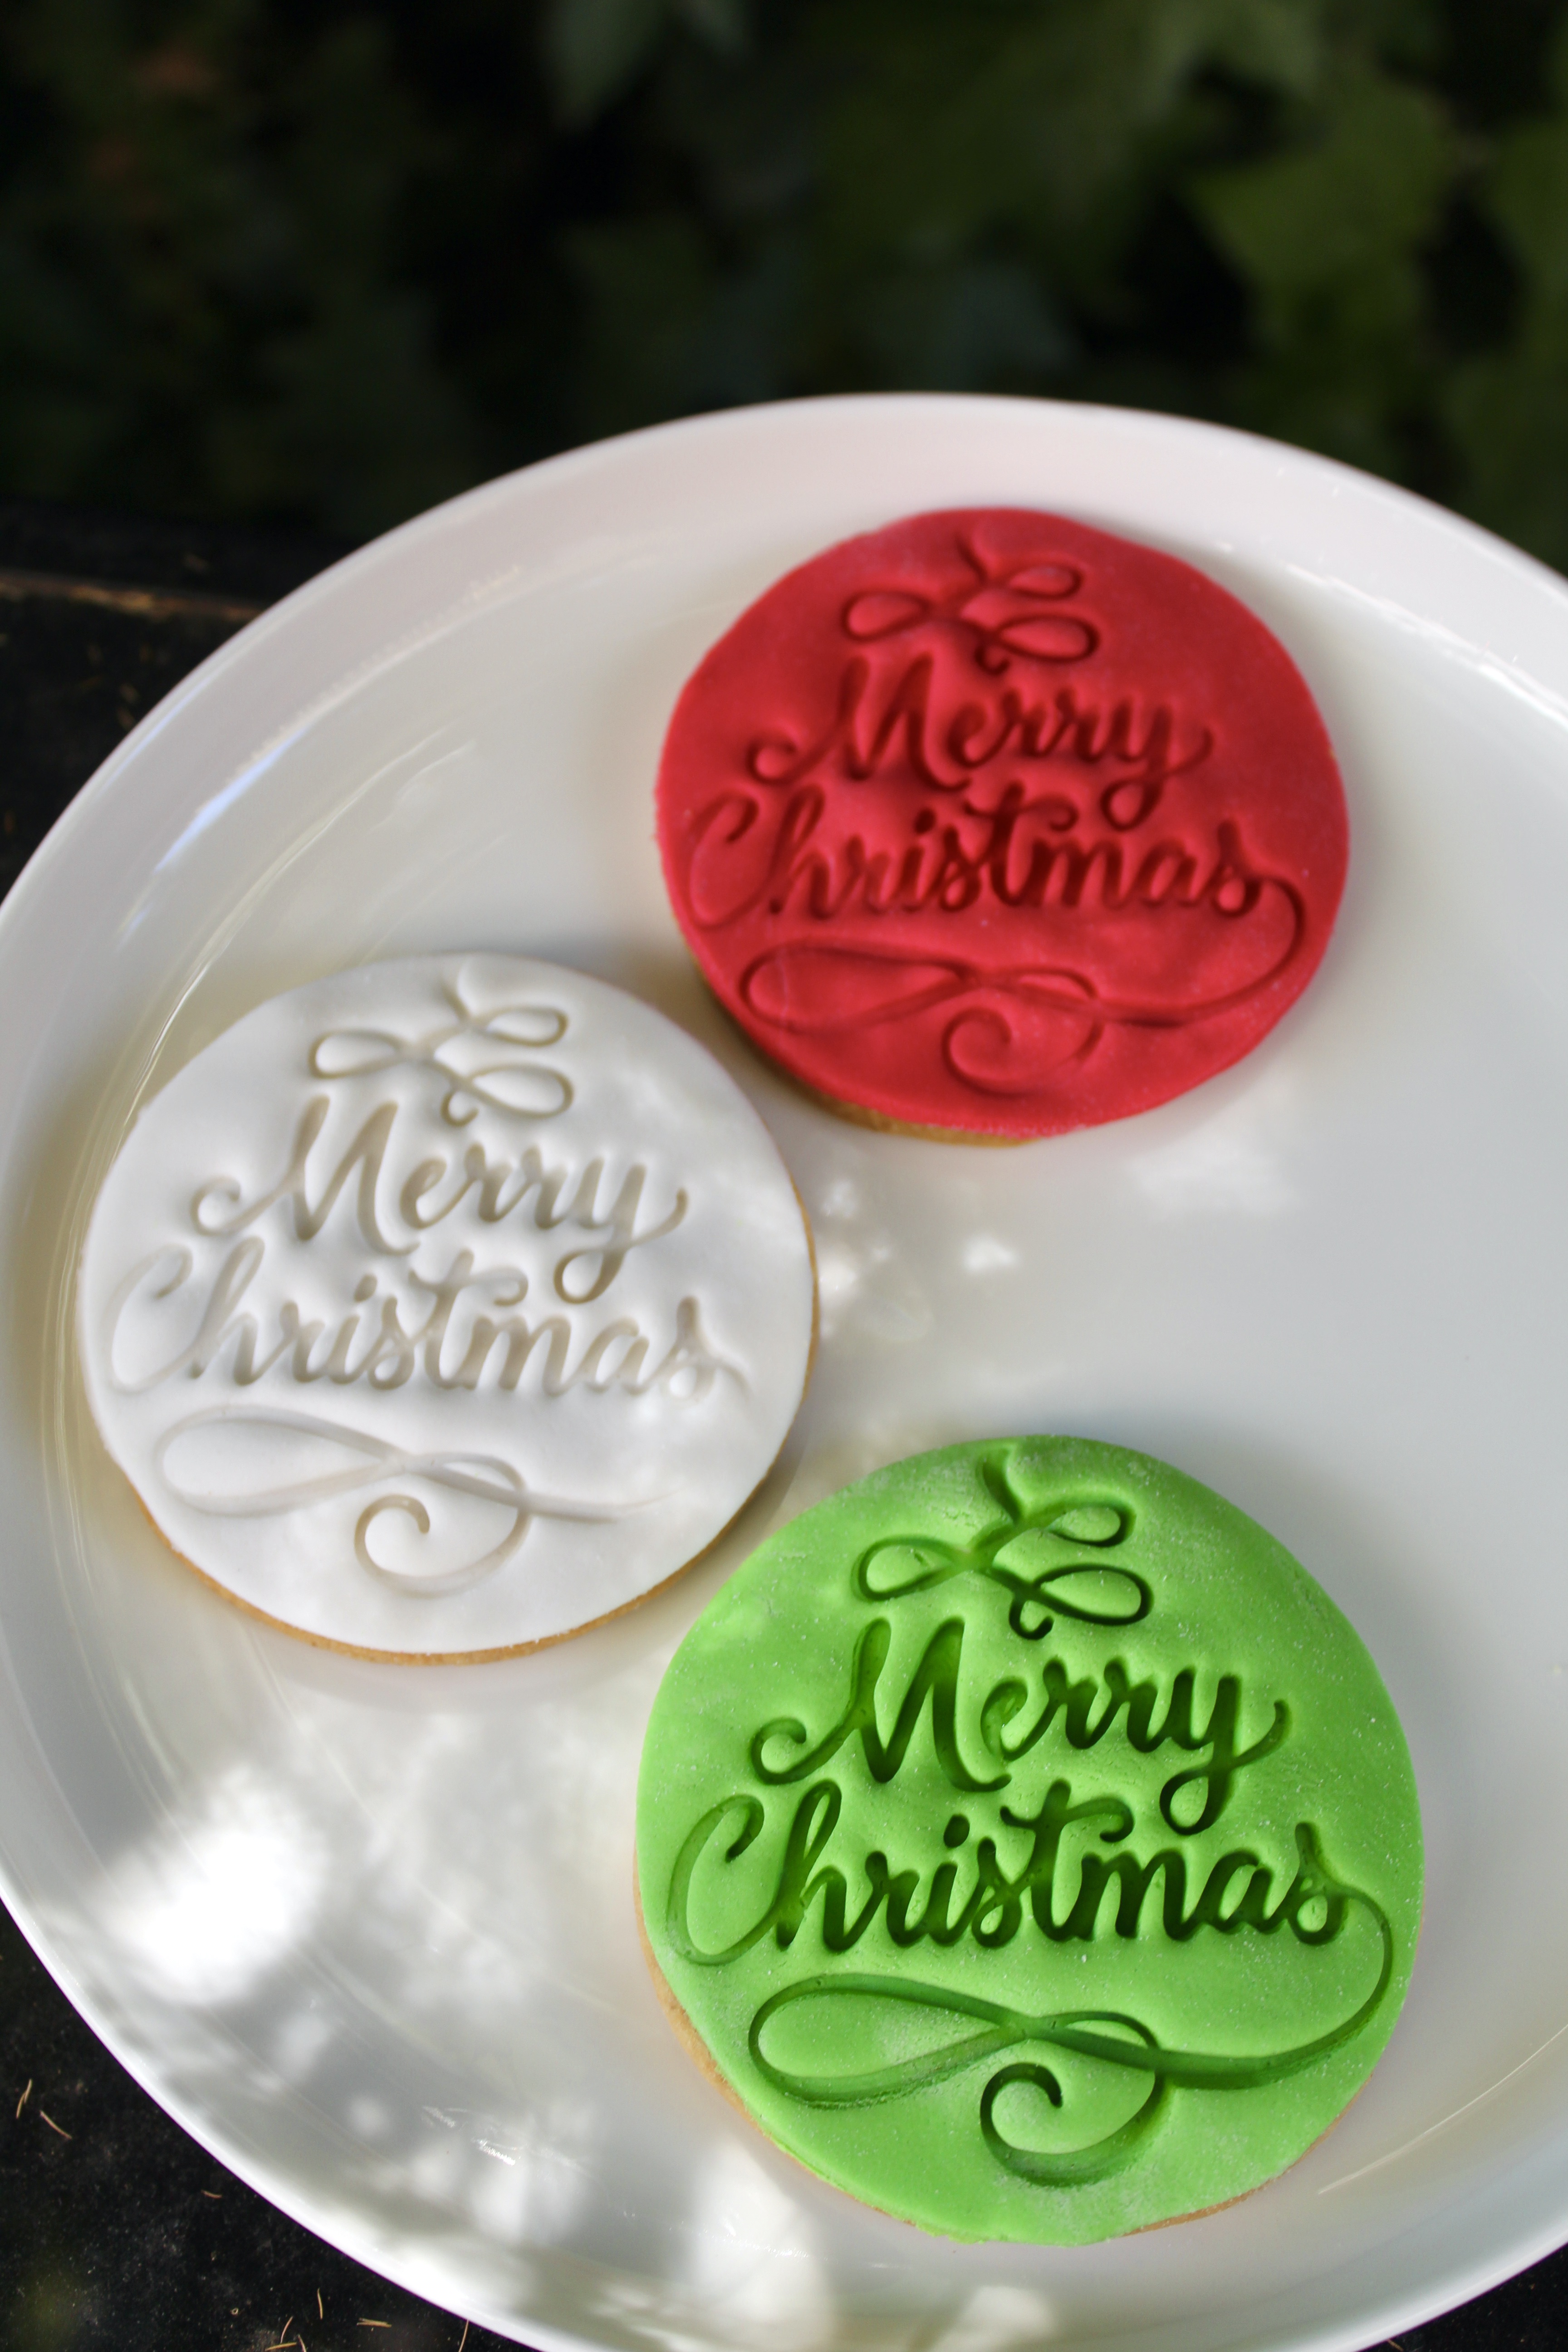
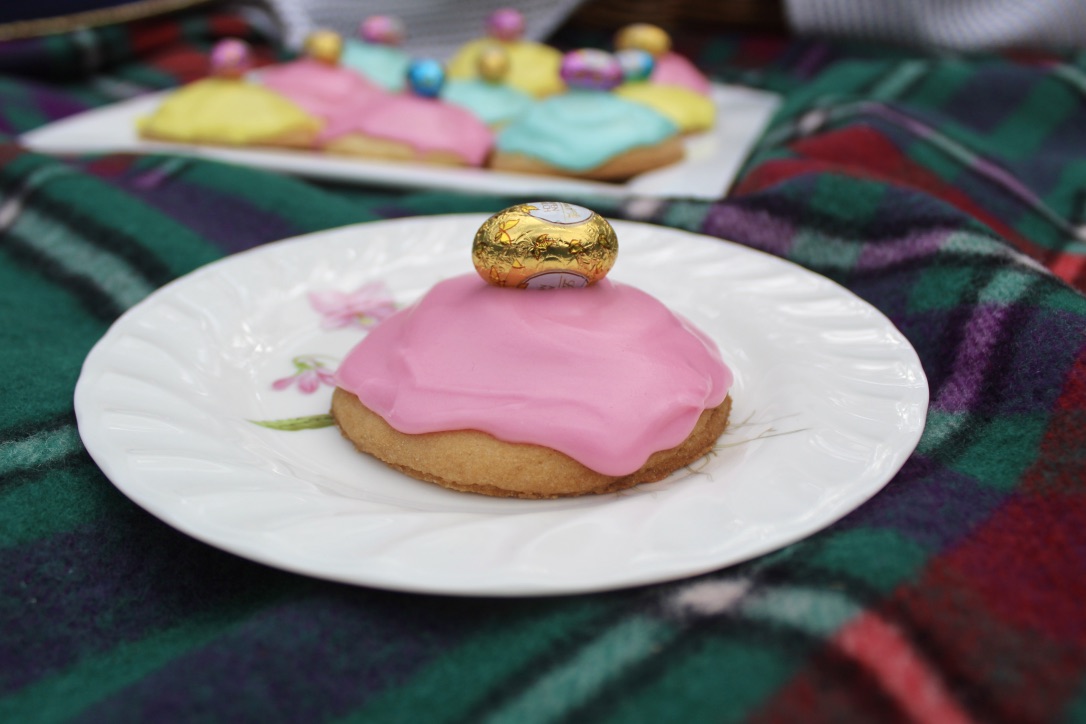
Divide your fondant icing into 3 roughly equal parts. Colour one red, one green and leave the other white.
Roll out your fondant using a rolling pin on a surface lightly dusted with icing sugar until 3-4mm thick. Use the same round cutter as for the cookie to cut out circles of fondant.
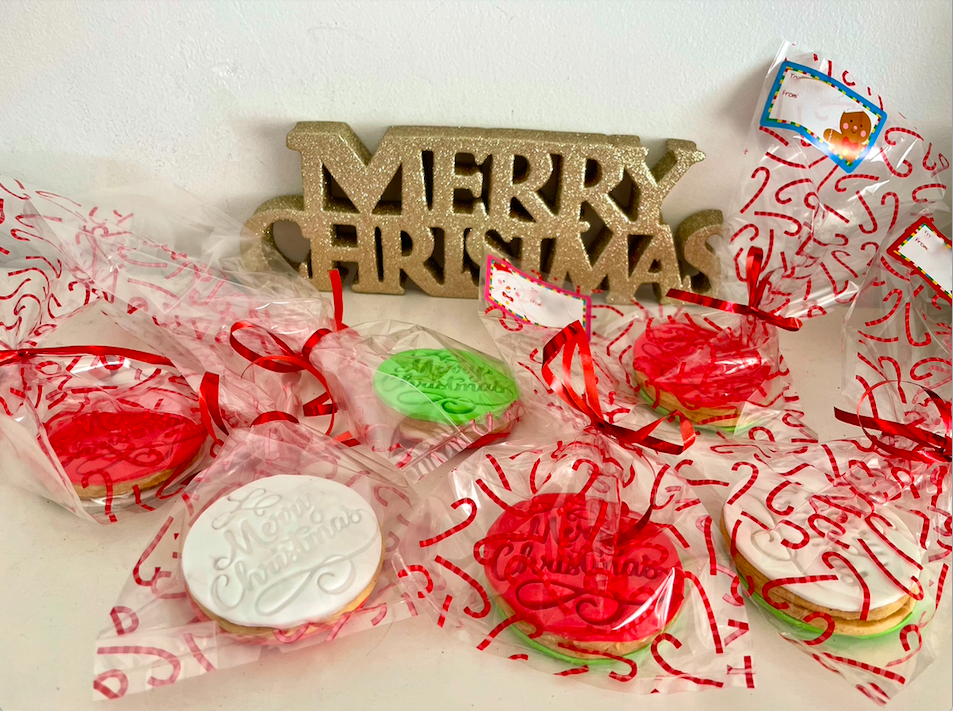
Brush each cookie with a small amount of the vanilla glaze and the top with fondant. Press down gently to ensure the fondant has adhered completely to the cookie. Stamp with a ‘Merry Christmas’ cookie stamp or decorate as desired. Repeat until all cookies have been decorated. Enjoy!
Recipe adapted from ‘The Best Valentine Sugar Cookies’ on Alice & Lois.com


