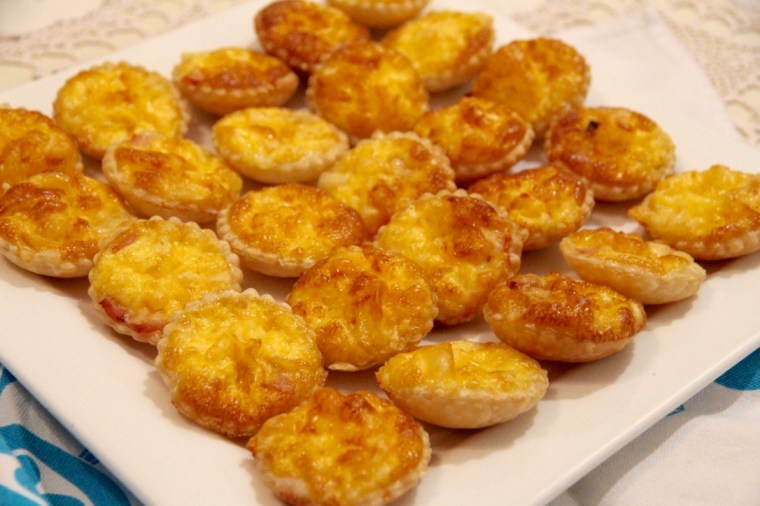
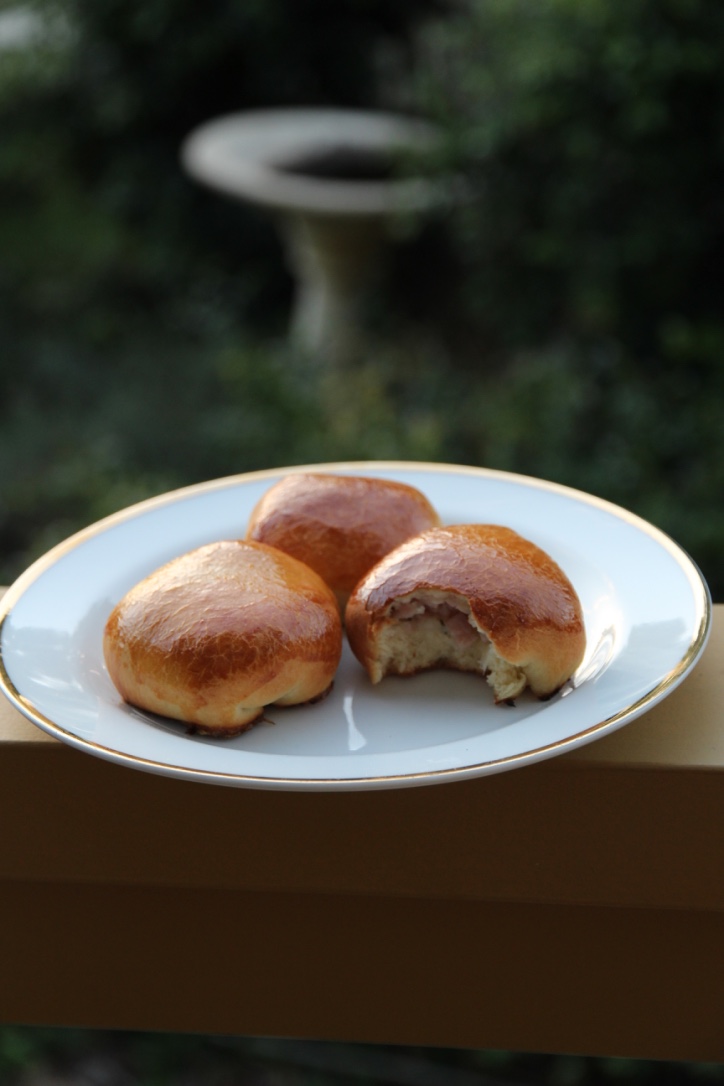
Piroshki (also known as pirozhki or pyrizhky), literally translating to ‘small pie’, are individual-sized buns with either a sweet or savoury filling. There are many variants of piroshki across Eastern Europe, but this recipe most closely resembles the Russian version. These piroshki are baked rather than fried and stuffed with the dreamy combination of bacon, caramelised onion and thyme. We usually serve these as hors d’oeuvres but they are great for lunches and picnics as they are easily transportable and don’t make a mess.
While they do take time and effort to make, they more than make up for it in terms of flavour and I find the baking process is very rewarding. There’s something so satisfying about making things from scratch and I’m always left feeling very self-righteous (plus who doesn’t love kneading dough? So fun and therapeutic). Next time you have a free afternoon, try making a batch – your tastebuds will definitely thank you for it!

Ingredients (makes 35-40)
60g fresh yeast
2 tablespoons sugar
315ml lukewarm milk
375g plain flour
Salt & pepper
125g melted butter
3 large brown onions, chopped
55g butter, extra
250g bacon
2 tablespoons fresh thyme leaves
1 egg, beaten
Method
Combine the yeast and sugar; stir in the milk.
In a large bowl, mix flour and 2 teaspoons salt and make a well in the centre. Pour the yeast mixture and the melted butter into the centre. Beat well for 3 minutes until a smooth batter is formed. Cover with Gladwrap and leave in a warm place for 1 hour or until doubled in size.
Gently cook onions in extra butter until golden. Chop bacon finely and add to the onions along with a teaspoon of pepper and the thyme leaves.
Knead the risen dough lightly and then divide into 35 to 40 portions. Wrap a teaspoon of the bacon filling into each portion of the dough. Allow the buns to prove in a warm place on greased trays for 15 minutes.
Preheat oven to 230°C.
Brush each bun with egg and bake in the prepared oven for 10-15 minutes or until golden brown. Enjoy!

Recipe adapted from Hors D’Oeuvres (1988) by June Budgen.