Tangy Lemon Tart

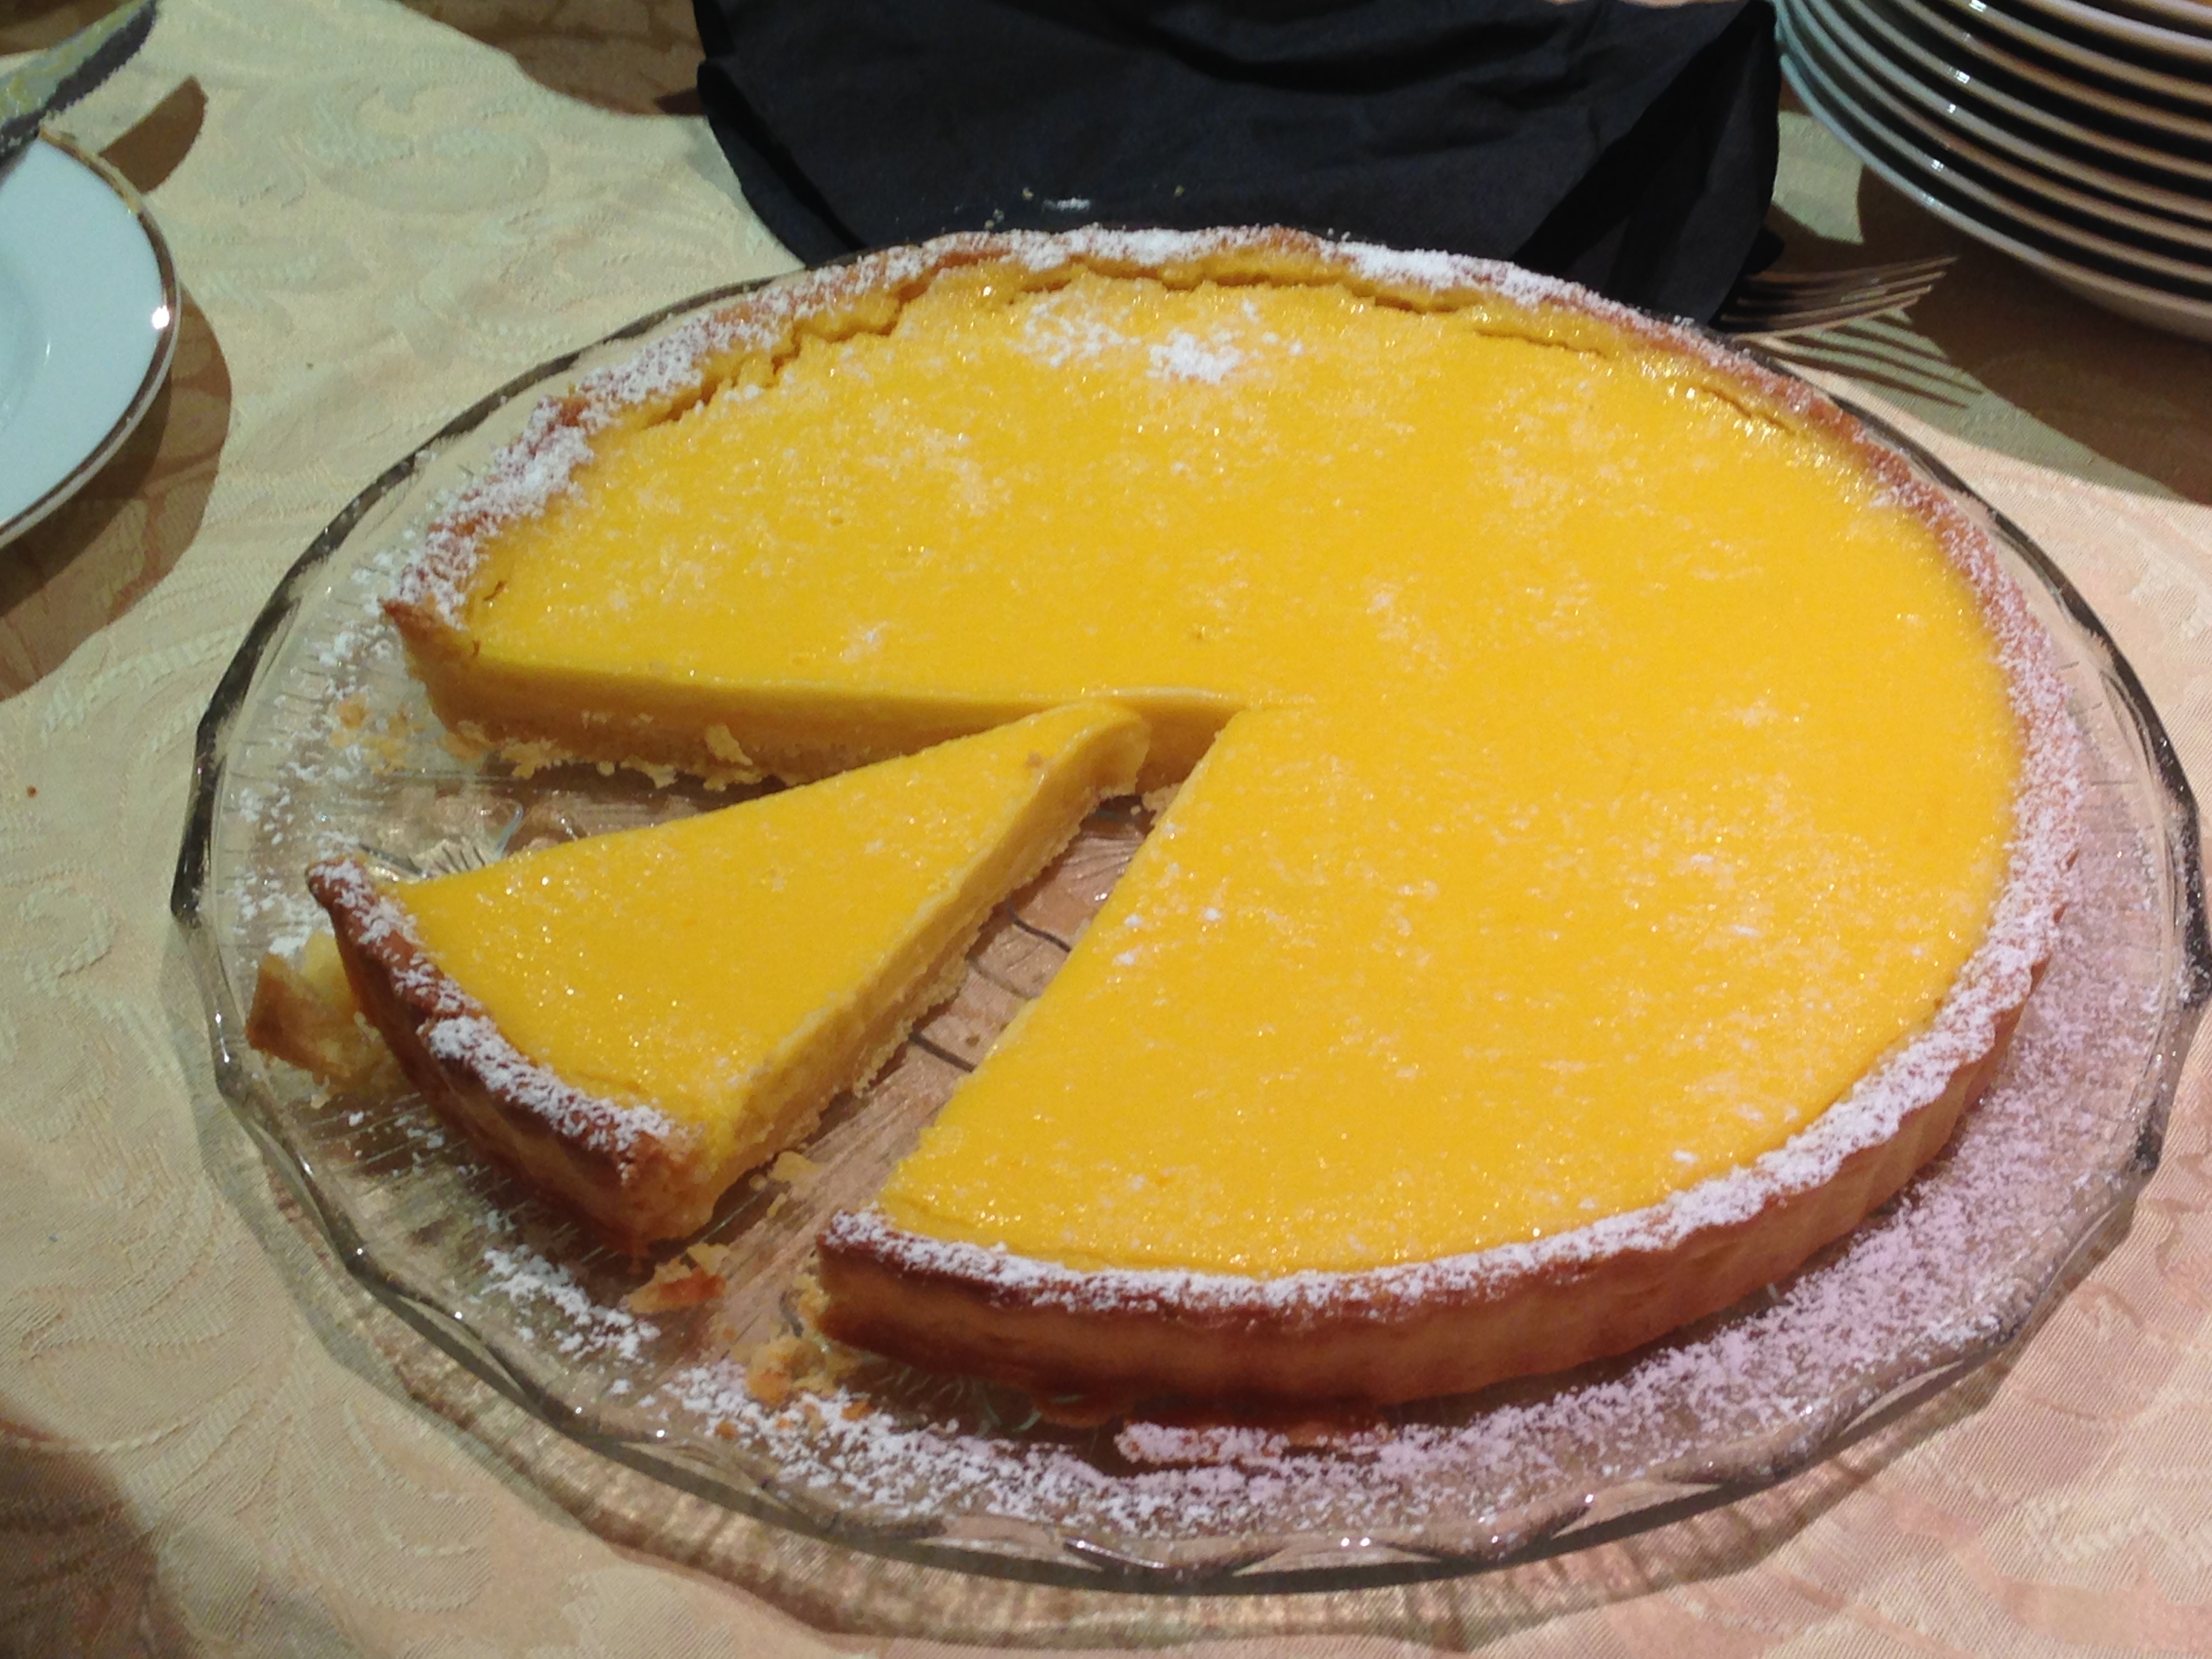
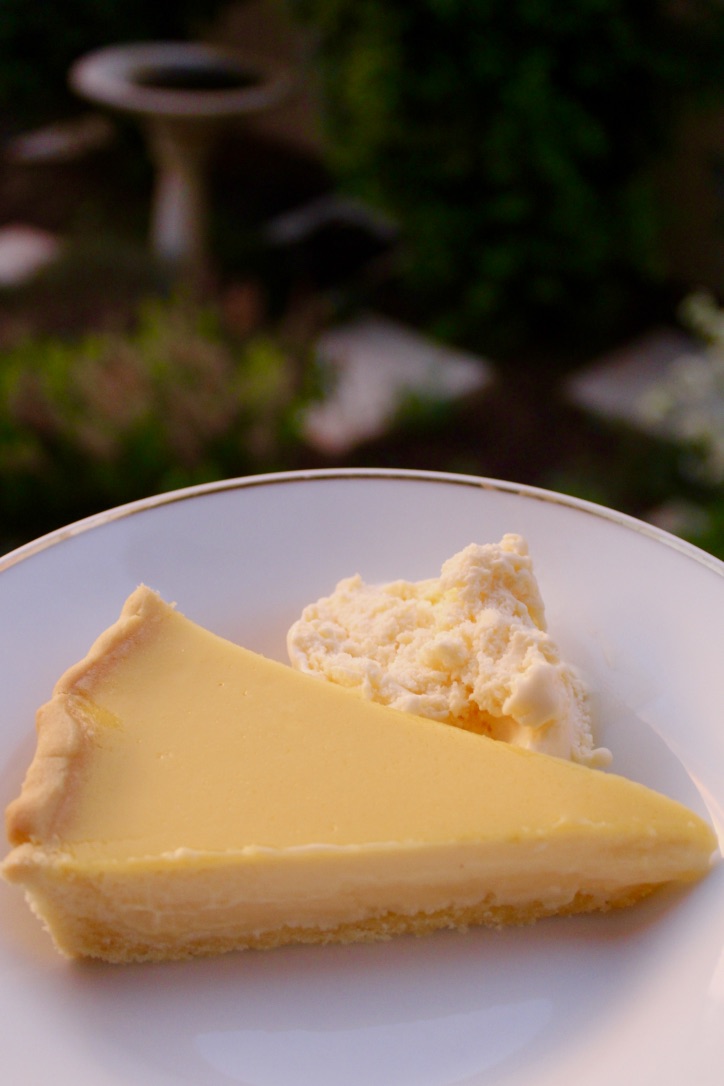
Since moving to Adelaide, I’ve been lucky enough to have access to an abundance of homegrown lemons. In our rental house in 2013, our lemon tree provided perfect fruit almost all year round, and my Aunt & Uncle also grow outstanding citrus and always seem to have plenty to give away. This has meant lots of experimentation with lemon desserts and this one has to be one of my most popular! This tart has a strong, slightly tart lemon flavour and  gorgeously short, melt-in-your-mouth pastry. Serve dusted with icing sugar and with thickened cream or ice cream for a perfect dinner party dessert.

e3HDCt%LQaqor6f1h3H8dw_thumb_28f5

Ingredients (Serves 12)
Pastry
2 cups plain flour
½ cup icing sugar, sifted
180g cold unsalted butter, chopped
1 egg, lightly beaten

Filling
5 eggs
3 egg yolks
150g caster sugar
200ml freshly squeezed lemon juice, strained
100ml freshly squeezed orange juice, strained
250ml pouring cream

Icing sugar, to dust
Double cream or vanilla ice cream, to serve

image1-19

Method
To make the pastry, process the flour, icing sugar & butter in a food processor until the mixture resembles breadcrumbs. Add the egg and process until the mix just comes together. Form the pastry into a disc, wrap in glad wrap and refrigerate for at least 2 hours.

Preheat oven to 180°C (160°C fan-forced). Spray a 27cm tart pan with a removable base with cooking oil. Roll out pastry on a lightly floured surface until 4mm thick and use to line the prepared pan. Trim the edge, then line with baking paper and fill with pastry weights (or dried rice). Bake for 15mins then remove weights and paper and cook for a further 5mins until golden. Set aside.

Reduce oven to 150°C.

To make lemon filling, place eggs, yolks & sugar into a bowl and stir until just combined (try to avoid creating bubbles). Gently stir in lemon and orange juices. Pour cream into a small saucepan and bring almost to the boil, then stir it into egg mixture. Using a fine sieve, strain lemon filling into a jug. Place tart shell onto an oven tray and pour in the filling.

Bake for 15mins, then carefully rotate to ensure even cooking. Bake for a further 10mins or until just set. To check, gently shake the tart; it should be slightly wobbly in the centre.

Cool the tart to room temperature, then dust with icing sugar and serve with double cream or ice cream.

jMSeO5usSQOH+Bysd3Z9qA_thumb_28f7.jpg

Adapted from Matt Moran’s Lemon Tart featured in MasterChef Magazine – Issue 3, July 2010.

Salted Caramel Blondies

These delicious blondies taste like a cross between choc chip cookies and cake. Be careful not to over cook them as they’re definitely best when fudgy.

GlGdzQI2RmuJf%EzUYw+DQ_thumb_1b88

Z7qs2o8yQdeQ+yZpNoD%Yw_thumb_1b8b

Ingredients (Makes about 25 blondies)
180g unsalted butter, melted
1 ½ cups lightly packed brown sugar
2 eggs
2 teaspoons vanilla extract
1 ½ cups plain flour
Sea salt flakes
½  cup white chocolate melts
½ cup white chocolate chips
½ cup milk chocolate chips (optional)

Method
Preheat the oven to 190°C (or 170 fan-forced). Line a 20cm square baking tin with baking paper.

Mix the melted butter and brown sugar together in a large bowl. Beat in the eggs, one at a time, and then the vanilla extract.

Gently stir in the flour and a pinch of sea salt. Carefully fold in the chocolate, making sure it is evenly dispersed.

Spoon the mixture into the prepared baking tin and smooth the top with a spatula. Sprinkle a couple of pinches of salt over the top and then bake for 20-30 minutes, or until the outside is cooked and the middle has a slight wobble.

Remove from the oven, sprinkle once more with a pinch or two of salt, and allow to cool for 30 minutes in the tin. Gently remove the blondie from the tin by the baking paper and leave to cool for a further 5-10 minutes on a cooling rack.

Once cool, cut into squares. Enjoy!

wojLkPEET7SYVKkYi%3Krw_thumb_1b8c

Adapted from Callum Hann’s ‘Salted Dirty Blondies’ in I’d Eat That, 2014.


Anzac Biscuits

thumb_IMG_3846_1024

They shall grow not old,
As we that are left grow old,
Age shall not weary them,
Nor the years condemn.
At the going down of the sun,
And in the morning
We will remember them.

Anzac biscuits are said to have been created by Australian (and New Zealand) women on the home-front during WWI as they were cheap to produce, would last the long voyage to the troops (as they didn’t contain eggs or other ingredients that would go off), and deliver both on a taste and nutritional basis. Since then, these biscuits have become a symbol of the ANZACs eaten in their millions on ANZAC day (25th April) in Australia and across the Tasman. This version is my favourite with a crunchy top and chewy inside, adapted from an old family recipe for ‘brown biscuits’ as they were called at the time.

thumb_IMG_3831_1024

Ingredients (makes 30+ biscuits)
1 cup plain flour
1 cup rolled oats
1 cup brown sugar
½ cup desiccated coconut
125g butter
2 tblspns golden syrup
2 ½ tblspns water
½  tsp bicarb soda

Method
Sift the flour into a large bowl. Add sugar, oats and coconut and mix well.

Melt the butter in a saucepan with golden syrup and water. Add the bicarb of soda to the liquid mixture and add to the dry mix.

Stir until thoroughly combined.

Place walnut sized balls of mixture onto a greased tray. Press down gently with the back of a teaspoon.

Bake at 150°C for 8-12 mins or until deep golden brown.

Note: Biscuits will harden when cool so don’t worry if they seem undercooked.

thumb_IMG_3845_1024

Adapted from a combination of an old family recipe and BestRecipes.com.au