I’ve been a huge fan of Christina Tosi for years, ever since I tried her famous Crack and Candy Bar Pies at Ma Peche on my first trip to New York in 2012.
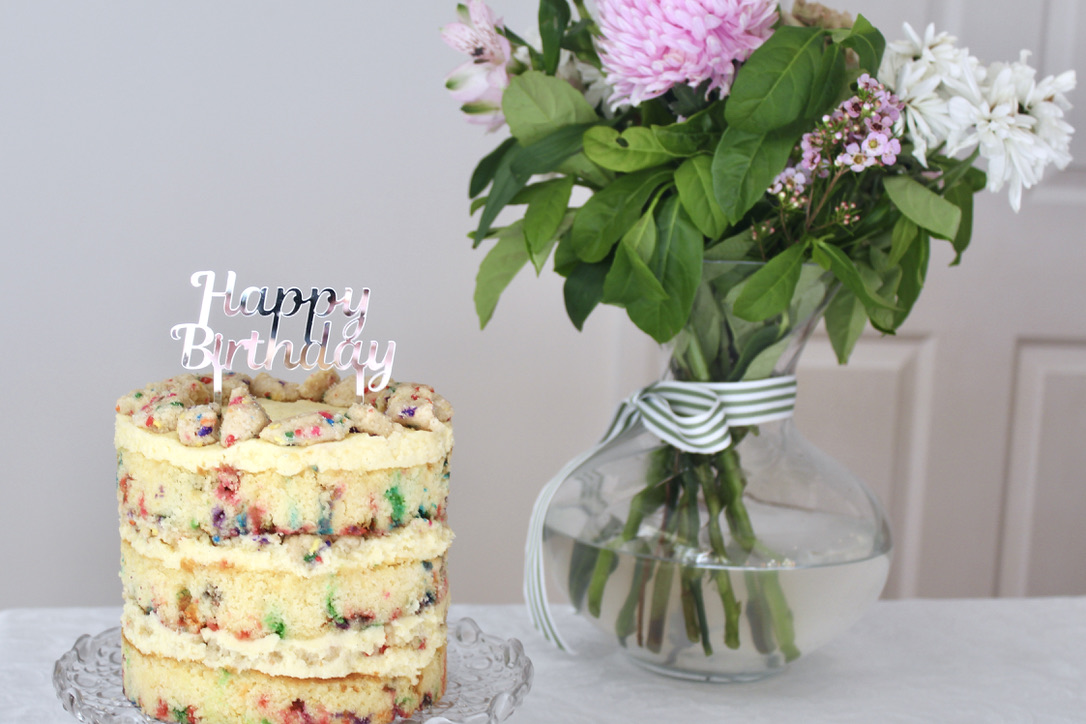
So, naturally, I had to visit one of her Milk Bar stores on my most recent trip to the US in 2019 and it did not disappoint! I tried a slice of her vanilla birthday cake and it was like no cake I’d tried before – somehow both nostalgic and completely innovative. Ever since then, I’ve wanted to bring a taste of Milk Bar to Adelaide, especially as travel is not on the cards for a while. With this recipe, I think I’ve succeeded.
I’ll be honest, this cake is not for the faint-hearted. It’s a labour of love and requires some unusual equipment: a 9 by 13 inch “quarter sheet pan”, a 6 inch cake ring, 6 inch wide acetate to make cake collars and thick high-quality sprinkles/”jimmies”. I managed to source all of these from eBay relatively cheaply, but it is an investment – I guess I’ll just have to make lots more of these cakes to justify the purchases!
Start this cake at least the day ahead of serving. I actually spread it out over 3 days to make it far less intimidating, I made my crumbs on the Thursday evening, the cake on the Friday evening and then the buttercream, milk soak and assembly on Saturday.
Ingredients (serves 14-16)
Crumbs
¼ cup white sugar
1½ tablespoons brown sugar
¾ cup plain flour
½ teaspoon baking powder
½ teaspoon salt
2 tablespoons rainbow sprinkles
¼ cup grapeseed oil
½ tablespoon vanilla extract
Cake
230g butter, softened
200g caster sugar
1 tablespoon vanilla extract
3 eggs, room temperature
2¼ cups plain flour, sifted
3 teaspoons baking powder
1 cup full-cream milk, room temperature
¼ cup full-fat greek yoghurt, room temperature
¼ cup rainbow sprinkles
Buttercream
230g butter, roughly chopped, room temperature
3 teaspoons vanilla extract
4 cups icing sugar
2 tablespoons full-fat greek yoghurt, room temperature
1-2 tablespoons full-cream milk, room temperature
⅛ teaspoon baking powder
Milk Soak
60ml full-cream milk
1 teaspoon vanilla extract
Method
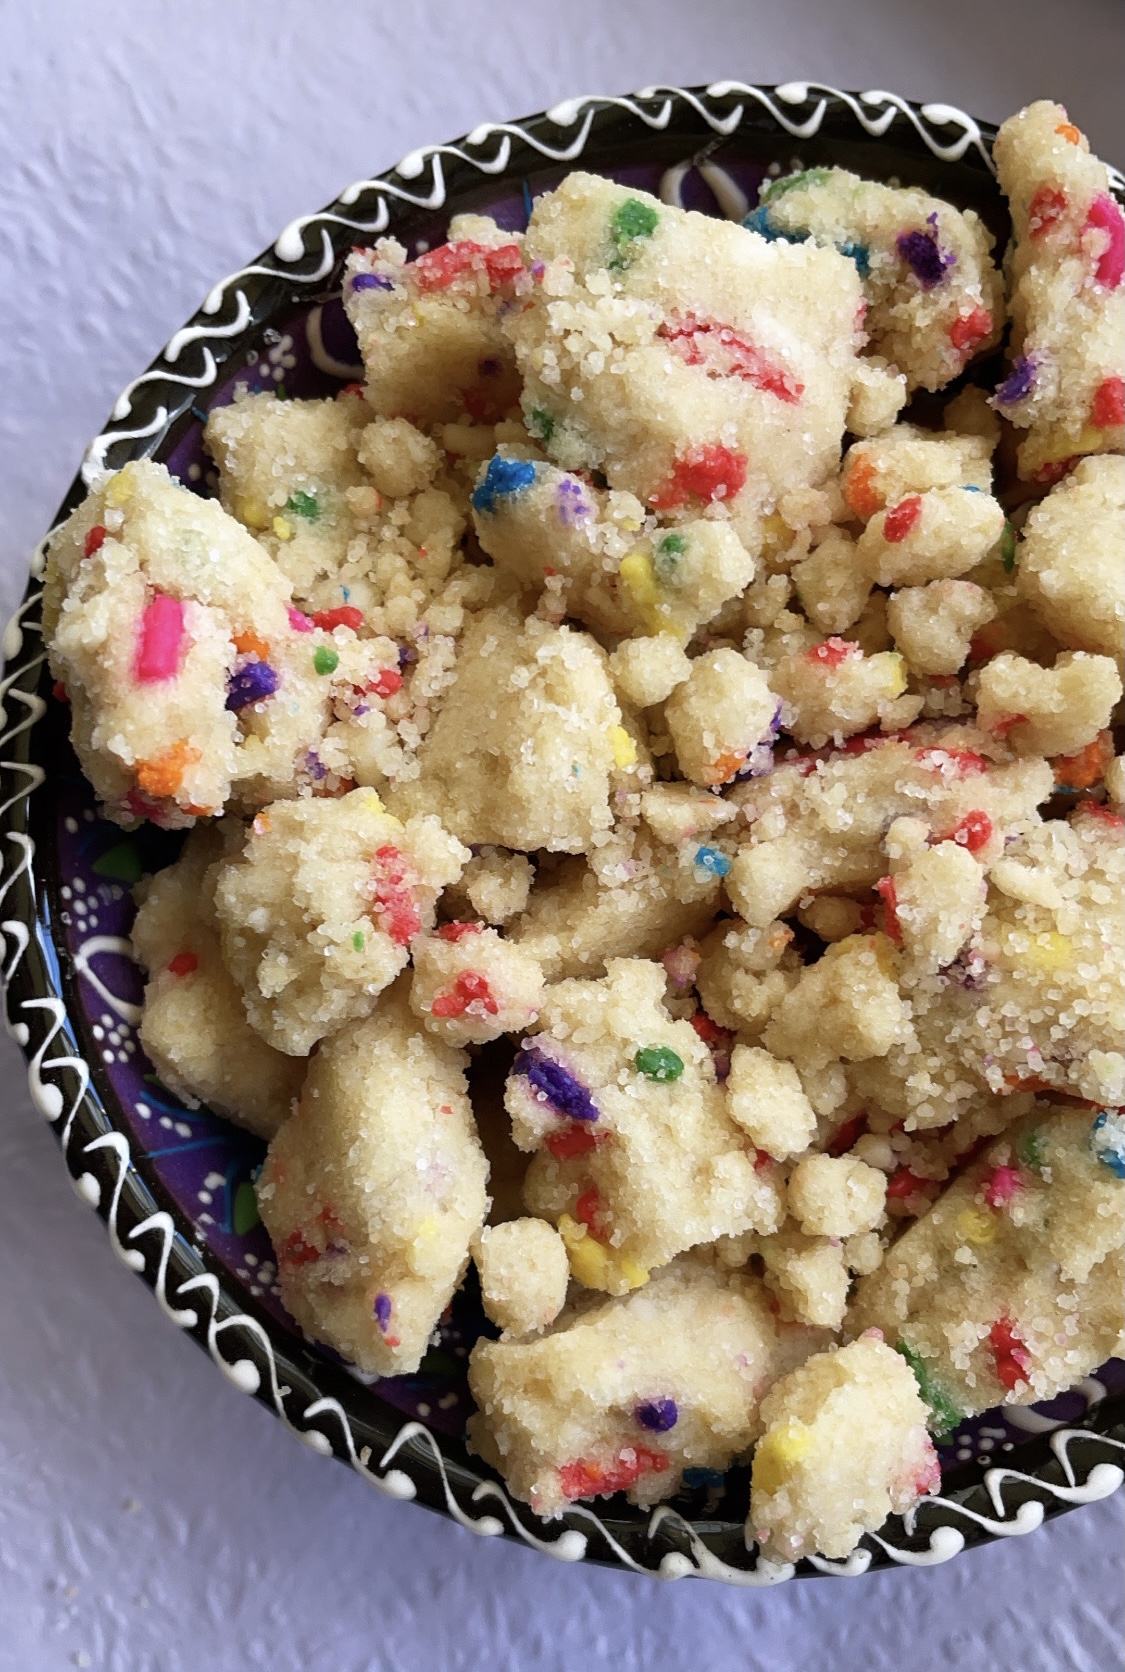
Crumbs
Preheat the oven to 150°C.
Combine sugars, flour, baking powder, salt, and sprinkles in a medium bowl and beat with electric beaters on low speed until well combined. Add the oil and vanilla and beat again to distribute. The wet ingredients will help the dry ingredients form small clusters; continue beating until that happens. Ideally, you want a mixture of large-medium and small crumb clusters.
Bake for 15 minutes. Cool completely and store in an airtight container (they will keep fresh for a week at room temperature or a month in the freezer).
Cake
Preheat the oven to 160°C fan-forced. Spray the base and sides of a quarter sheet pan with cooking oil and line the base with baking paper.
In a large bowl, add butter, sugar and vanilla and beat with an electric mixer on medium speed until pale and creamy. Add eggs, one at a time, and beat after each addition.
In a separate bowl, combine flour and baking powder. Add half of the flour mix and all the milk to the butter/sugar mix and beat on a low speed until combined.
Add remaining flour mix and greek yoghurt and continue to mix on a low speed until just combined. Gently stir in sprinkles with a silicone spatula.
Pour cake into prepared pan and smooth the top. Bake for 25-30 minutes or until golden and a skewer inserted in the middle comes out clean. Set on a wire rack to cool completely.
Buttercream
Beat butter in a large mixing bowl with an electric mixer on medium speed for 1-2 minutes until butter is pale and creamy.
Add vanilla and 1 cup of icing sugar. Beat on a low speed to combine, then turn up to medium and mix for 30 seconds. Add an extra 2 cups of icing sugar, along with the greek yoghurt. Beat on medium speed until combined. Add the final cup of icing sugar, milk and baking powder. Beat on medium speed until the buttercream is light and fluffy.
Milk Soak
Add milk and vanilla to a small bowl and whisk to combine.
Assembling the Cake
Ensure all of your components are in easy reach. Set aside 12-14 large, roughly even-sized crumbs to use to decorate the top of the cake.
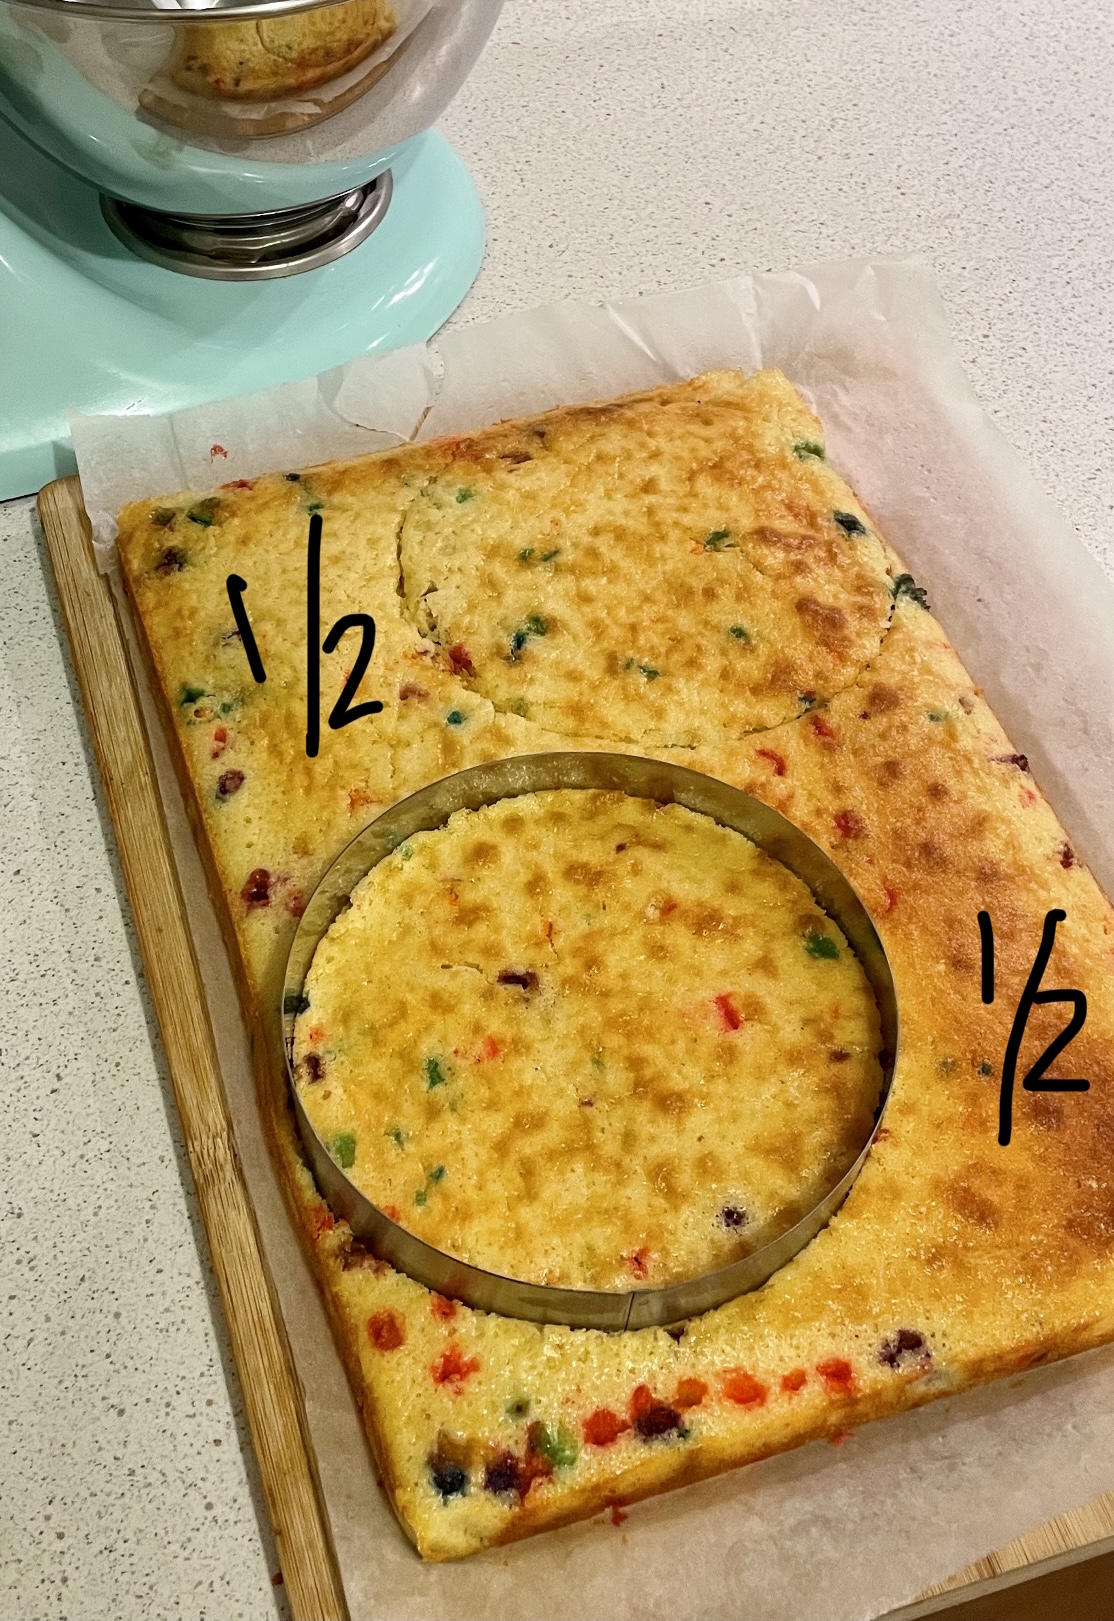
Place your cake on a large chopping/bread board. Using the picture below as a guide, use a 6 inch metal cake cutter to cut out two rounds of cake and then two half pieces.
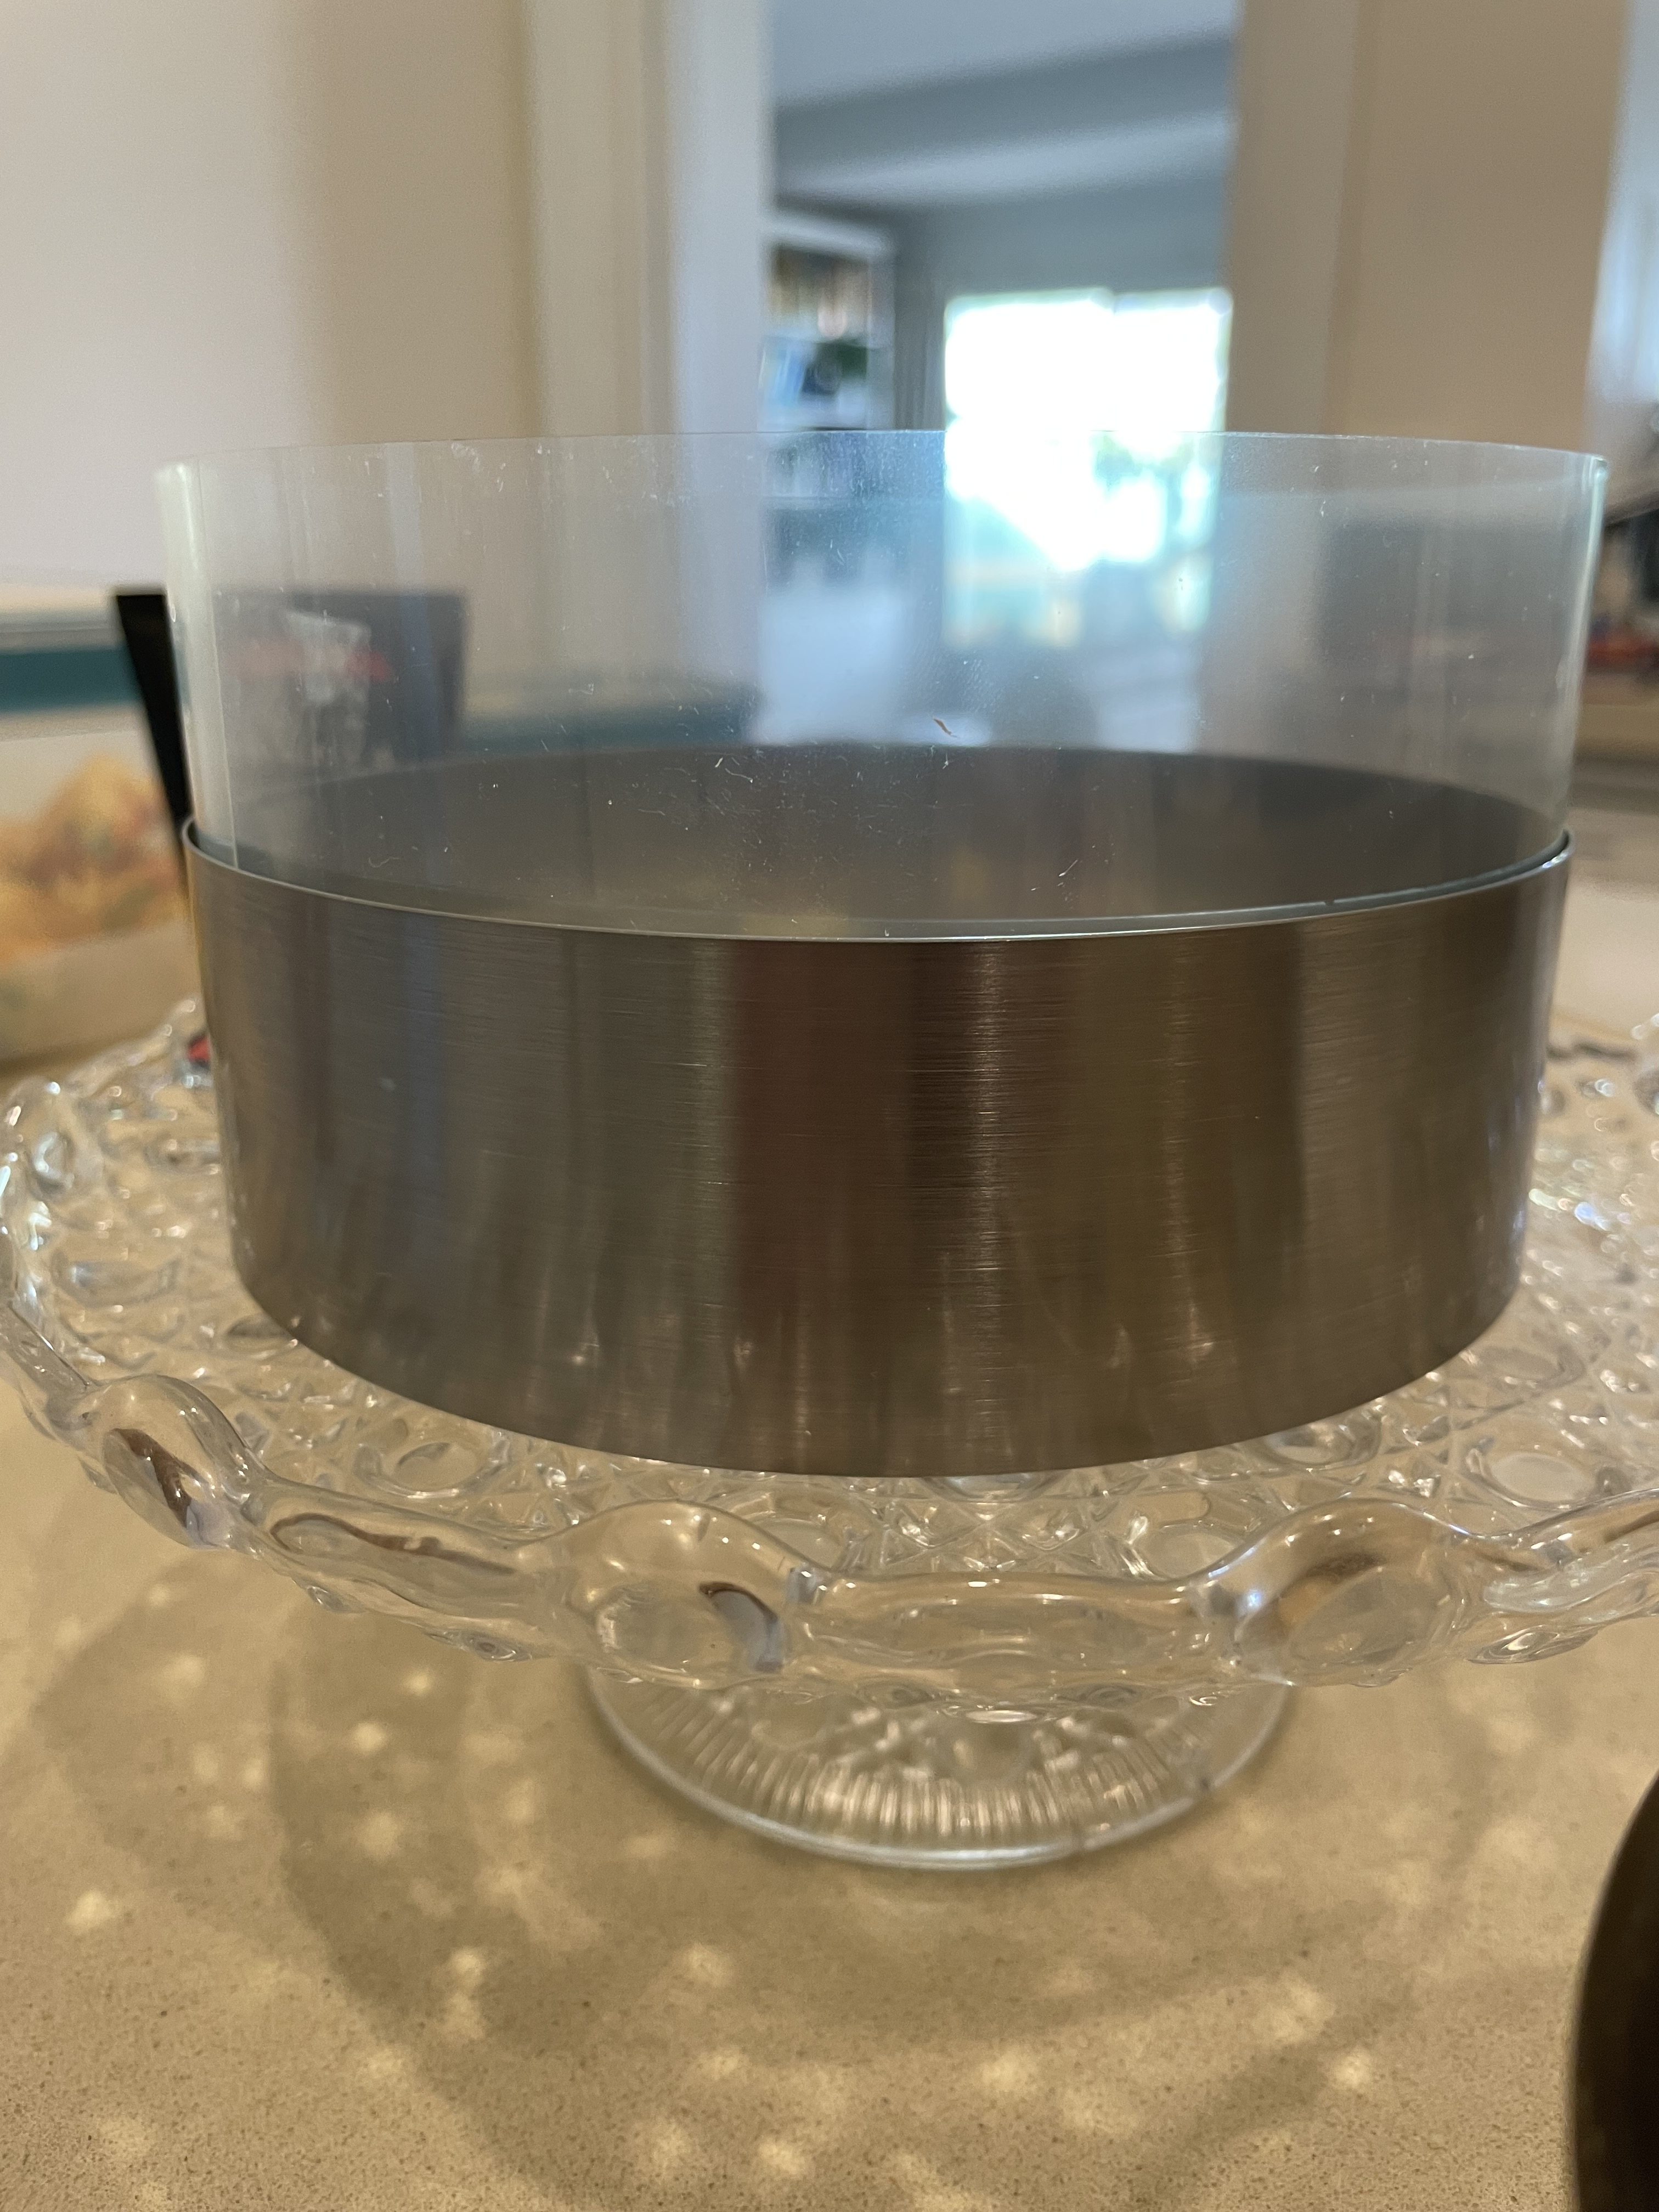
Place the 6 inch cake ring onto a plate or cake stand. Line the inside of the cake ring with a ‘collar’ of acetate.
Place the two half pieces of cake at the bottom and press down firmly. If there are any gaps, use extra cake scraps to fill in the holes and press down very firmly to make one even layer. Carefully remove the cake ring (but leave the acetate). Enjoy snacking on any residual cake offcuts while you work, or make into cake pops later.
Spoon 2 tablespoons of the milk soak over the cake layer. Add a few tablespoons of buttercream and spread into an even layer. Scatter over a handful of crumbs. Add a couple of extra tablespoons of buttercream on top (you don’t need to completely cover the crumbs) and smoothe with a spatula to ensure the layer is (roughly) even.
Repeat this process for the second layer: cake, milk soak, buttercream, crumbs, buttercream. If you need to, attach another layer of acetate on top of your current cake collar to ensure it is tall enough so that all cake will be supported.
Add the final layer of cake, spoon with 2 tablespoons of the milk soak and add the remaining buttercream to the top. Top the cake with the large crumbs you set aside earlier.
Place cake in the fridge for at least 1 hour to set. Gently peel away the acetate strip/s. Refrigerate until approximately half an hour before serving. Because the cake is so rich, cut into very small pieces (I use this method) to serve. Enjoy!

Cake inspired by Christina Tosi’s ‘Vanilla Birthday Cake’. Crumb recipe from Milk Bar Store. Cake, buttercream and soak recipe adapted from The Sweetest Menu ‘Milk Bar Birthday Cake’.