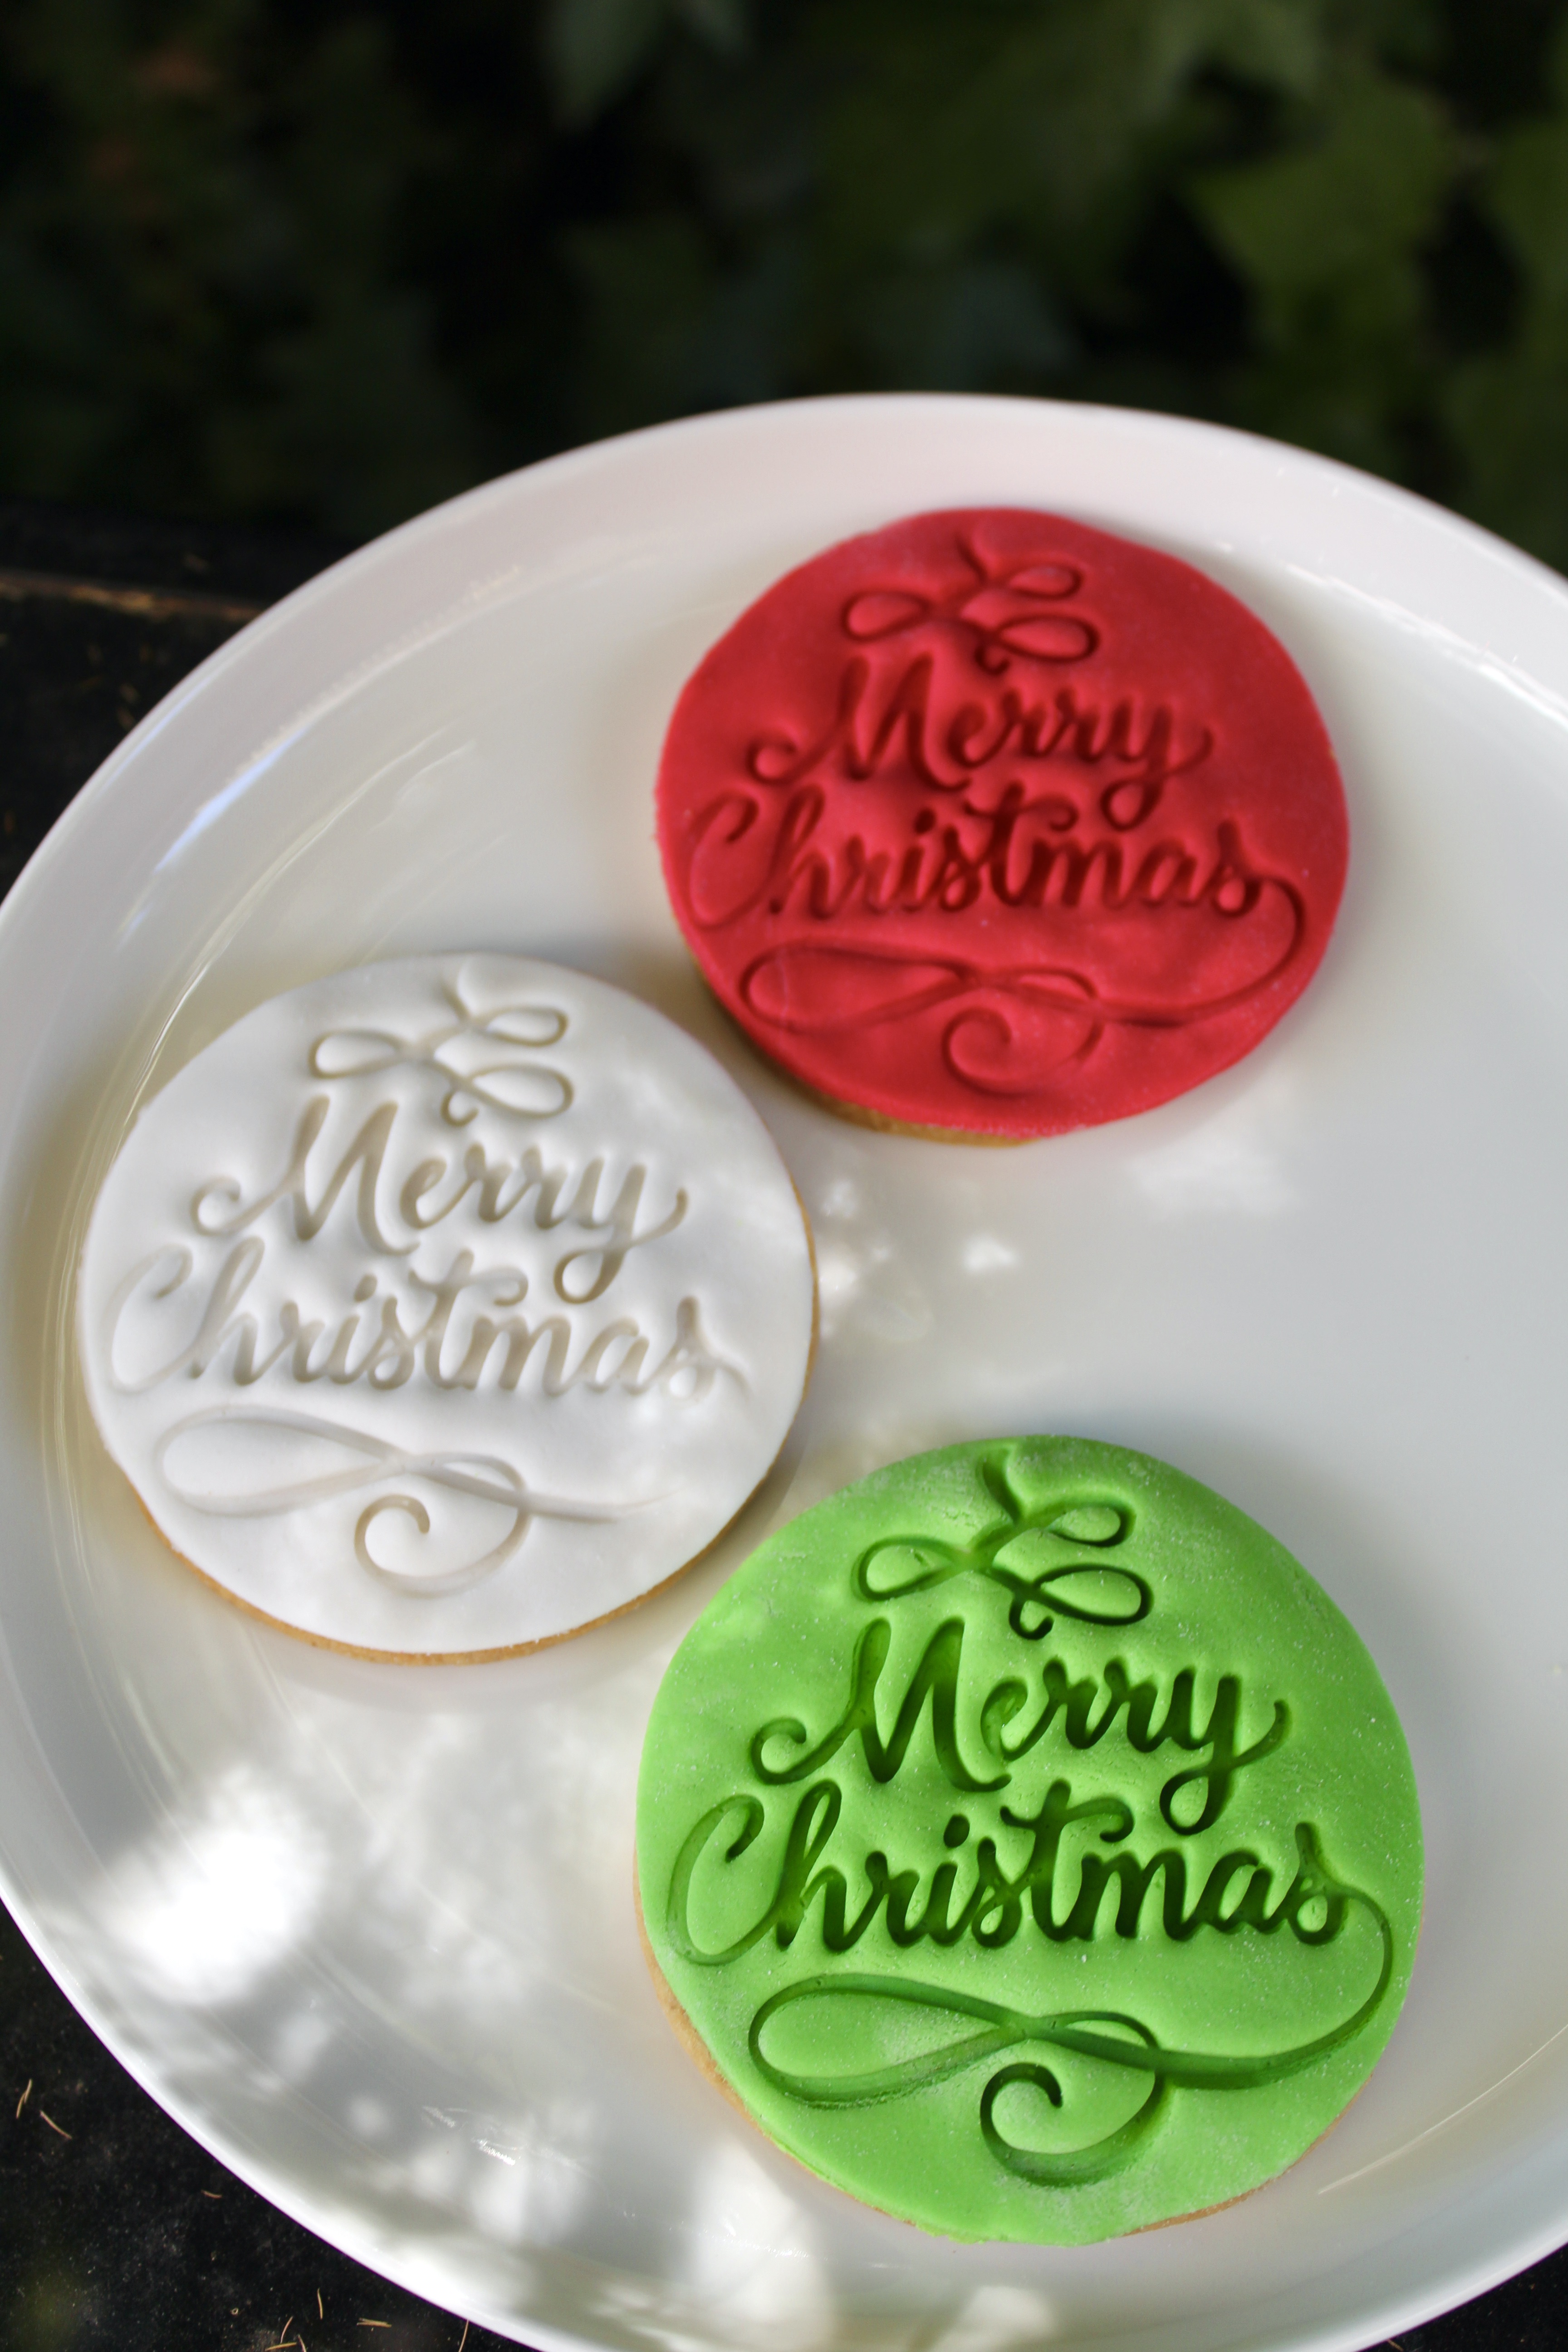
This is one extra special dessert and with its festive colours, it’s perfect for Christmas. Start this recipe the day ahead.
Ingredients (serves 10-12)
Raspberry Jelly
1 packet raspberry jelly
125g fresh raspberries
Pistachio Sponge
250g unsalted butter, at room temperature
200g caster sugar
2 teaspoons vanilla bean paste
50g pistachio paste or cream (I use this brand)
150g marzipan
4 eggs
250g shelled, unsalted pistachios
75g almond meal
50 ml raspberry liqueur (I use Chambord)
Green food colouring (optional)
Vanilla Cream
500g Paul’s double thick vanilla custard
500g thickened cream
Raspberry Coulis
500g fresh or frozen raspberries
25g icing sugar
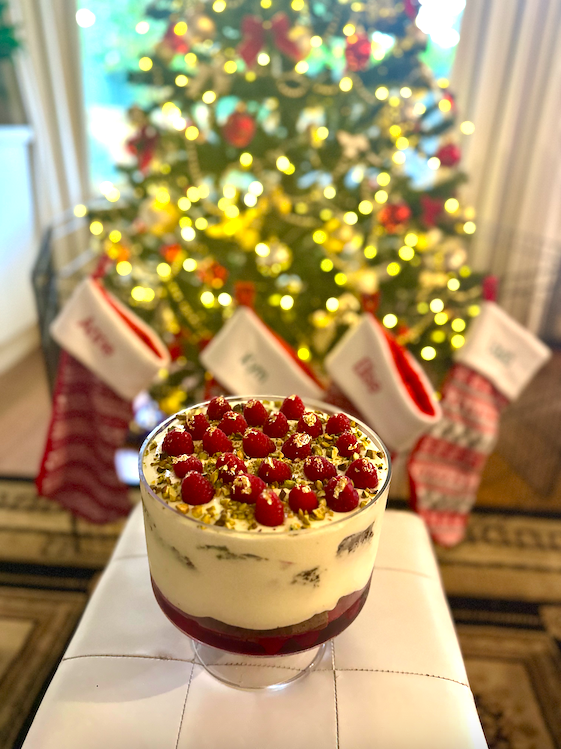
Decoration
125g raspberries
2 tablespoons chopped pistachios
Edible gold leaf

Method
Make the jelly according to packet instructions in a large trifle dish (3L capacity) and add raspberries. Leave in the fridge to set overnight.
Preheat oven to 150°C fan-forced. Grease and line two 20cm cake tins.
To make the cake, blitz pistachios in a food processor until it resembles sand. Place the butter, sugar and vanilla in the bowl of an electric mixer with a paddle attachment and beat on medium speed. When the mixture is pale and fluffy, add the pistachio paste/cream and marzipan and mix to combine. Add the eggs one at a time, beating well between each addition. When incorporated, add the ground pistachios and almond meal. Slowly add in raspberry liqueur and a drop or two of green food colouring. Once incorporated, divide the mixture between the prepared tins. Bake for 45-55 minutes or until a skewer inserted into the centre comes out clean. Allow to cool in the tins for 30 minutes and then place in the fridge to set overnight.
To make the raspberry coulis, combine the frozen raspberries and icing sugar in a medium saucepan over low heat until melted. Blitz with a stick blender until smooth. Strain through a fine sieve, pressing down to extract as much liquid as possible, then discard the seeds.
Approximately 3 hours before serving, whip the thickened cream until soft peaks form. Fold the thickened cream into the vanilla custard.
To assemble, place the first sponge into the trifle dish (cutting to size as necessary) on top of the jelly. Follow with a layer of cream, then the raspberry coulis. Cut the other sponge to fit the trifle bowl exactly, place on top and finish with a layer of cream. Allow to set in the fridge for three hours. Decorate with fresh raspberries topped with gold leaf and chopped pistachios. Enjoy!

Recipe adapted from Guillaume Brahimi’s ‘Raspberry and pistachio trifle’ featured in good food.